Building an F5 Mandolin – This is much harder than I thought
Alright, I'll be honest: I had no idea what I was getting into when I started this project. I watched so many people on youtube build these things with such ease, I dunno, I thought it wouldn't be as hard as it is. There are so many little things that have been getting in the way that no book I have read, no posts on forums, or mentions in videos have accurately described.
A lot has happened since the last I posted: I'll try to cover it all here:
After I installed the truss rod in the neck, I went to figure out how to manage the peghead overlay.
But then I found out that the largest piece of ebony peghead veneer you can buy off stewmac is TOO SMALL for the standard F5 peghead pattern
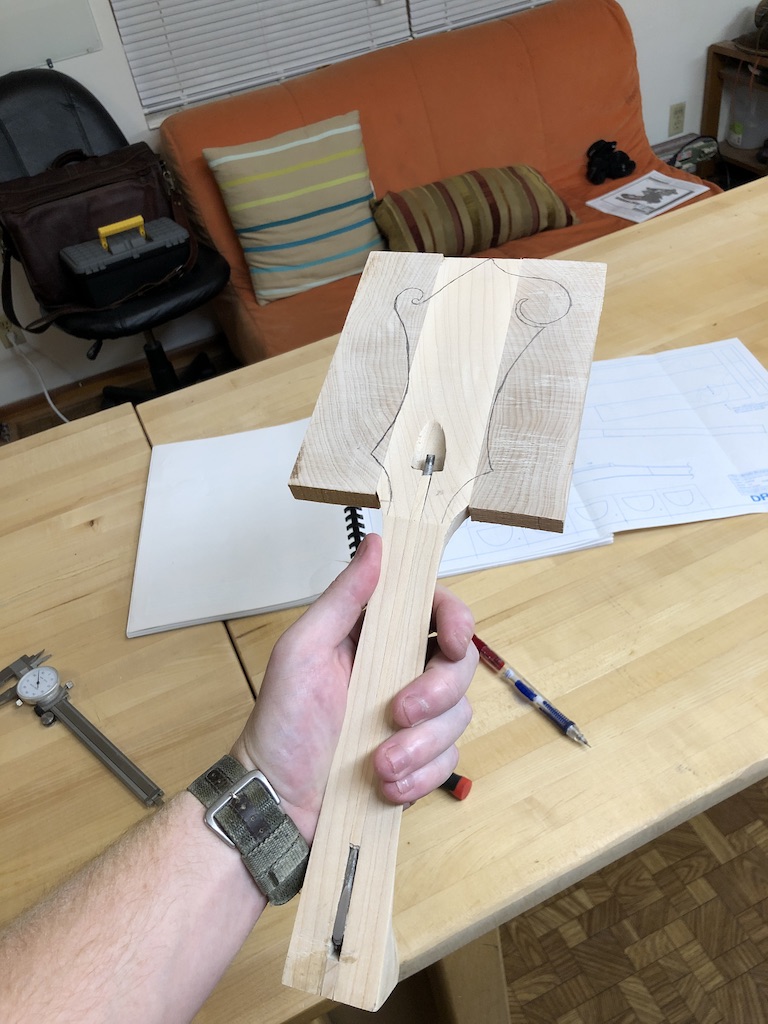
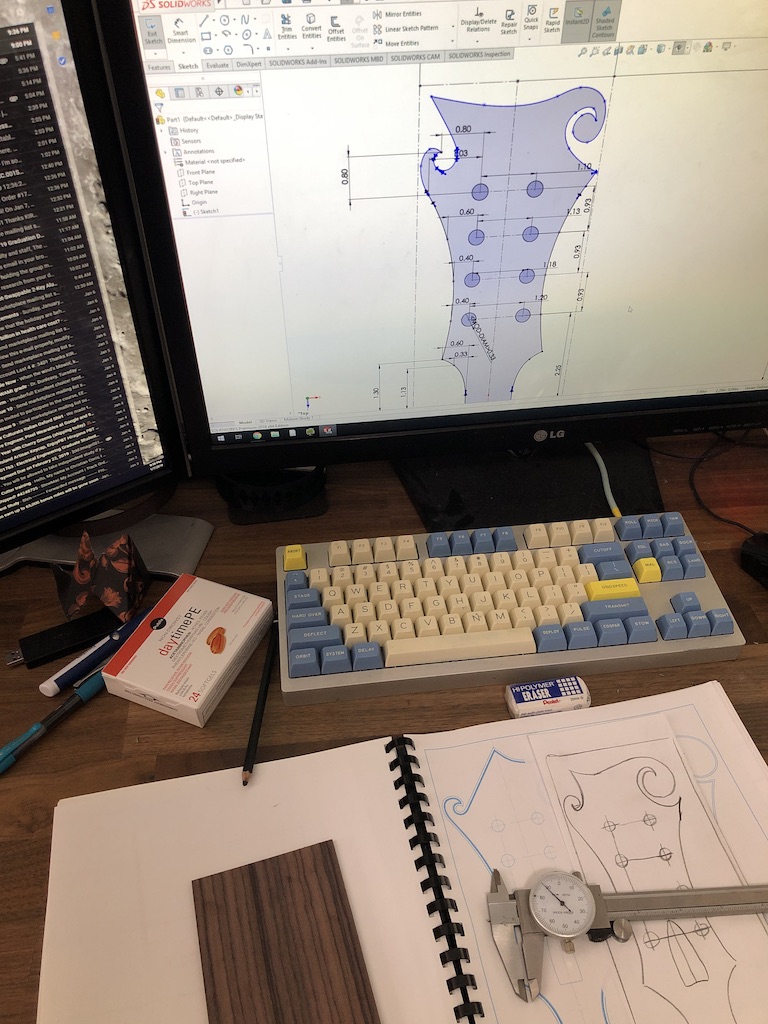
So, I had to design a whole new peghead that fit the F5 tuners but fit in the ebony veneer I got.
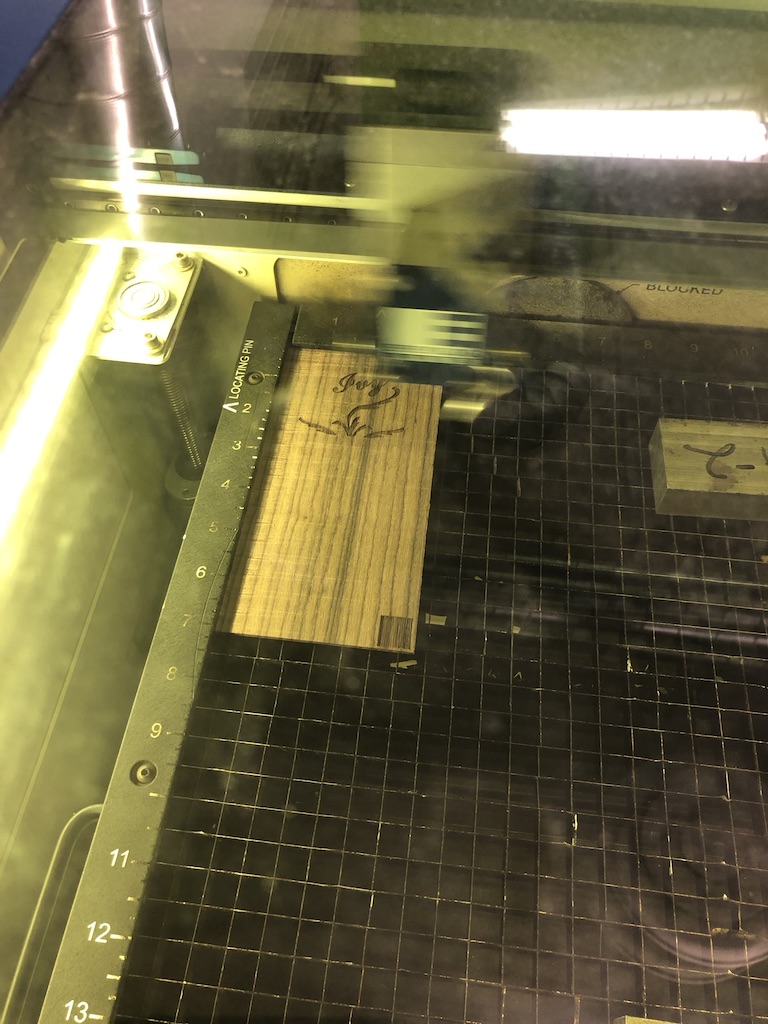
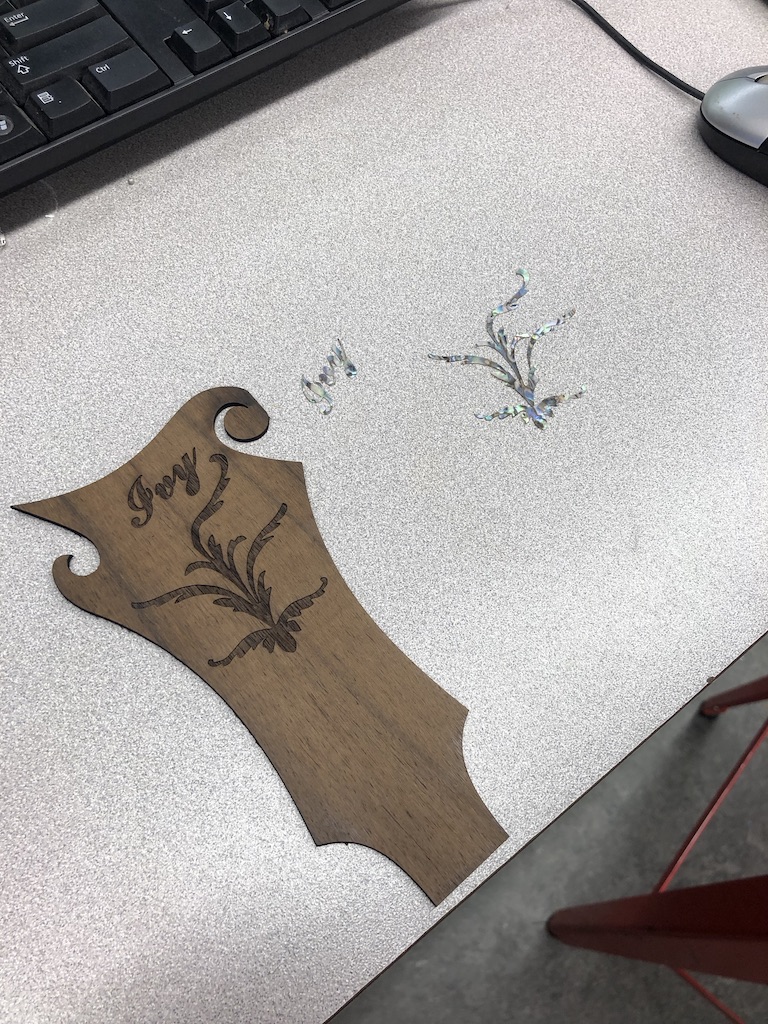
I bought some abalone material to do an inlay as well. I used the laser cutter at school to cut out the peghead shape as well as engrave in the inlay cavity; much easier than routing all that by hand.
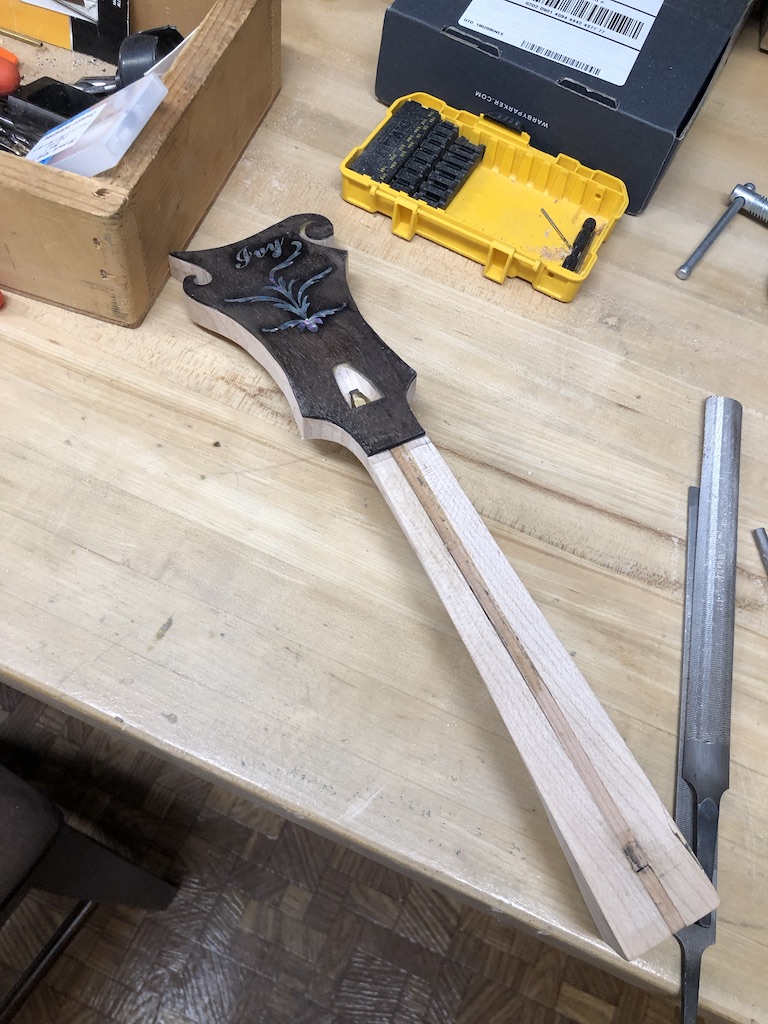
I tried both a piece of rosewood as well as ebony. Here is the ebony result with the laser cut abalone.
It looked pretty good all glued up.

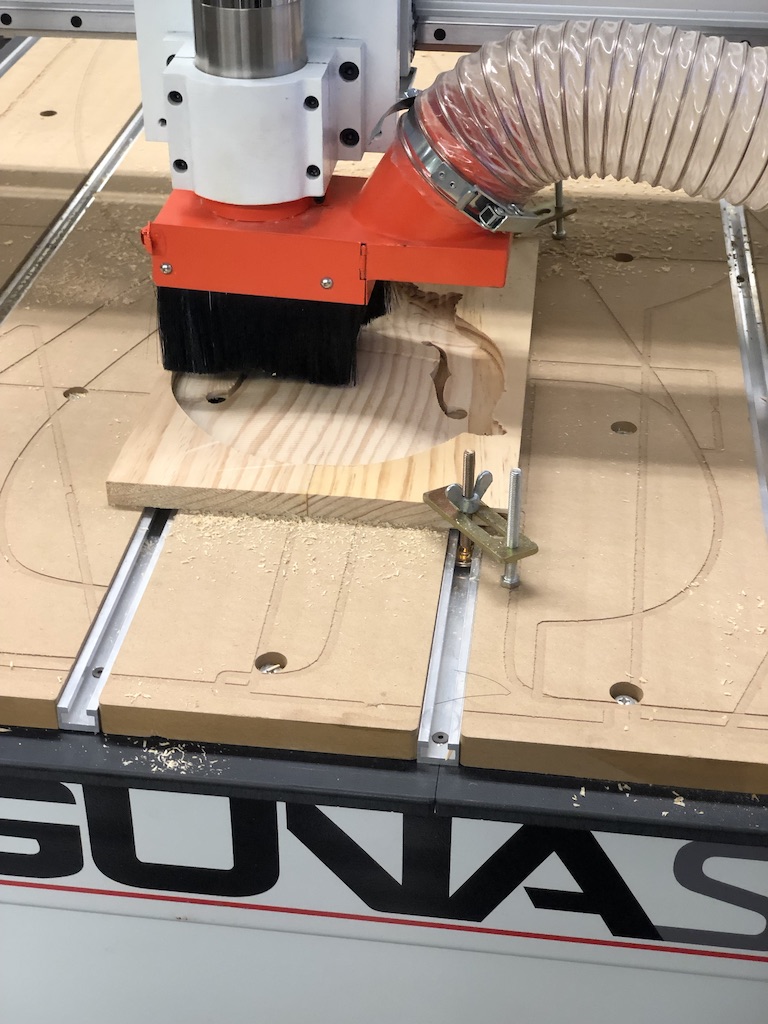
At about the same time, I finally got a chance to use the CNC at school to try to carve the top. I modeled the file myself off of the book's drawing. Here it is on a piece of scrap pine.
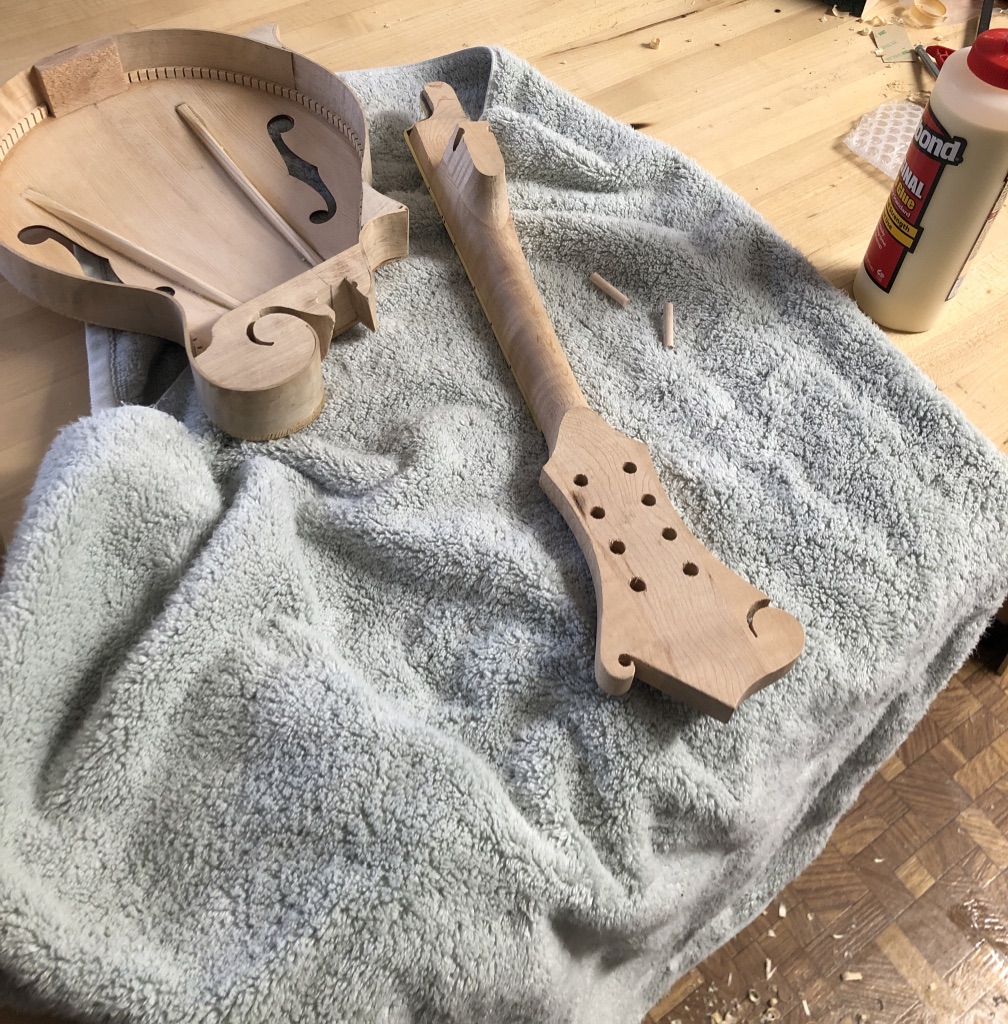
I then glued on the peghead veneer
Then I cut out the outline on the bandsaw. So, this was the first tricky thing. I had to 3D print a carrier block that held the neck at the right angle.
And this is where things went south. I tried to cut the V-joint in the neck to finish the neck, but I sliced right through it. I wasn't paying attention and I cut way too far. I was livid. The neck became unusable. So I had to come up with a solution.
I ended up buying the F5 mandolin kit from International Violin. It consisted of the front and sides already pre-glued, a back, the neck with the fretboard, frets, and binding already installed, and all the hardware. They did NOT include point bones, decent tuning hardware, or binding for the back.
It was super unclear to me how to build this kit, and Ken from IV didn't seem to know either.
I tried my best to use the book as a reference, but this kit has been nothing but a pain in the ass. So many things are backwards.
First off, when I opened the package, the back was cut poorly. Not only that, but it didn't line up with the scroll block in the body.
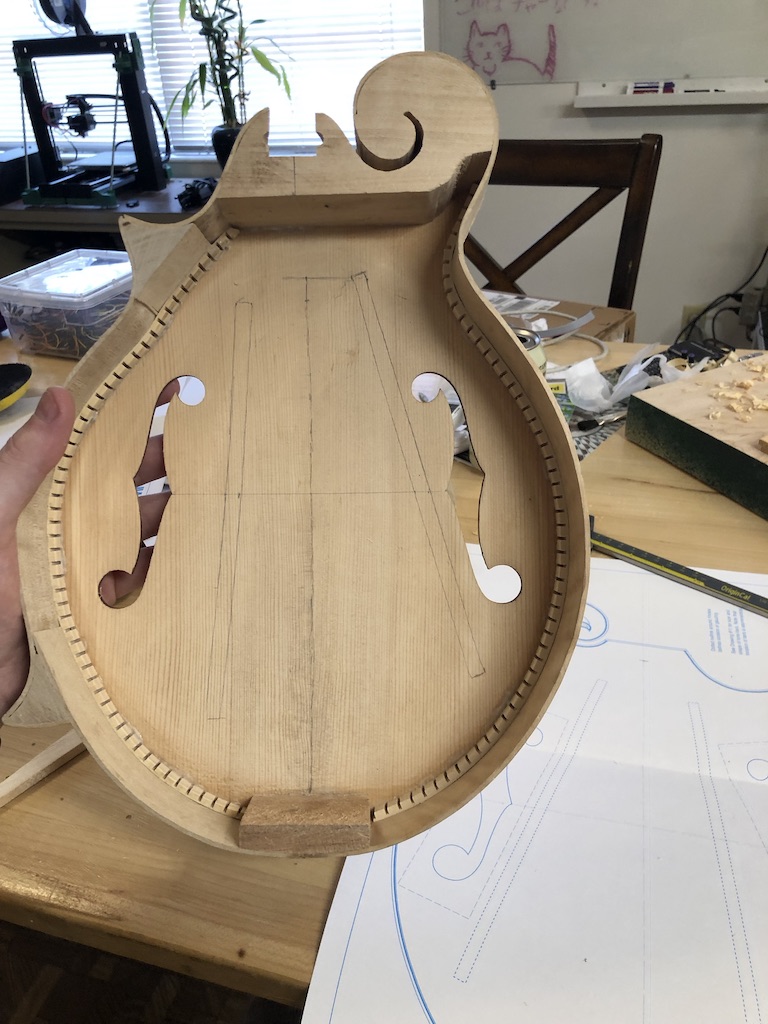
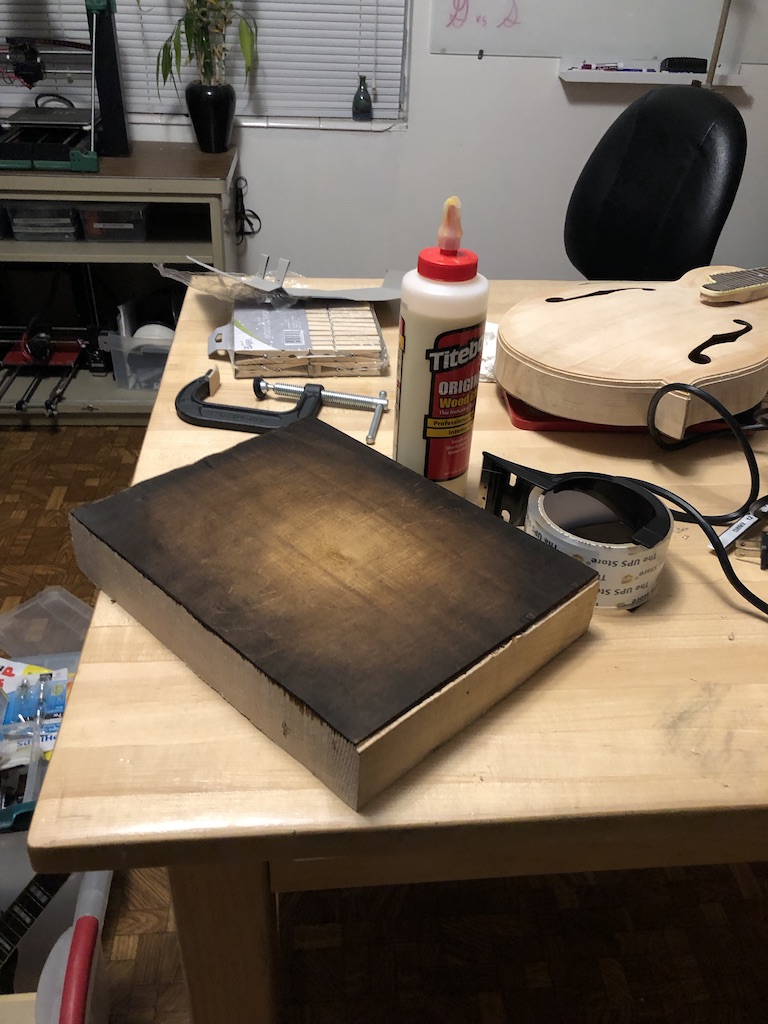
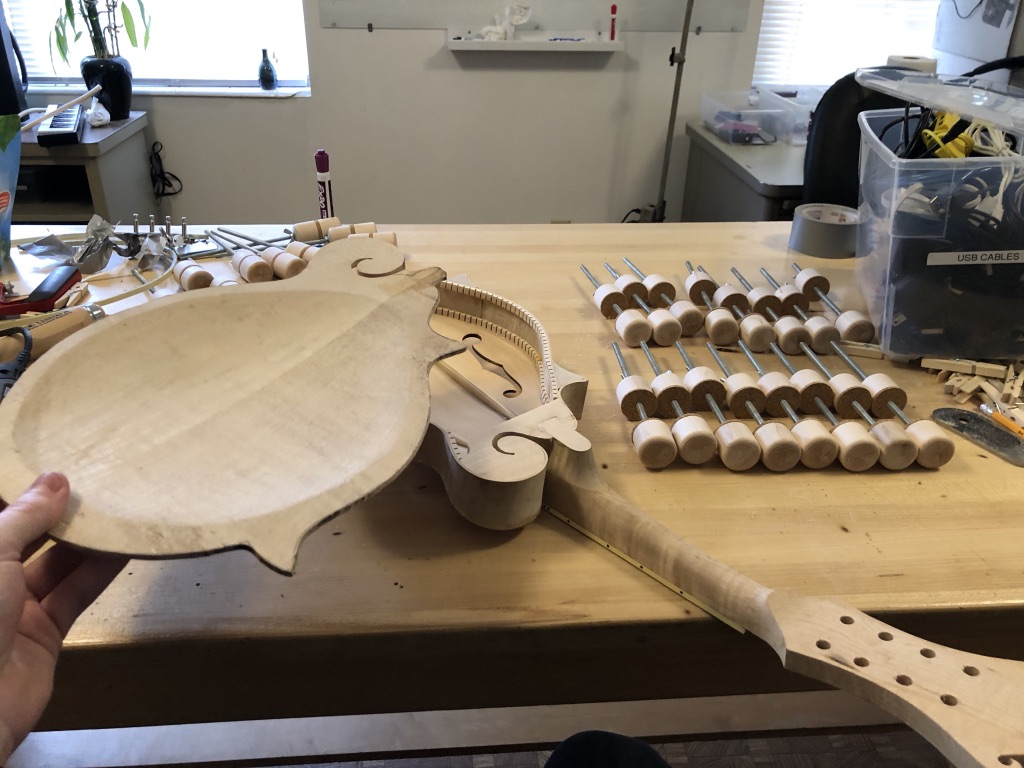
Here is the top you get:

So now, I guess one has to get the top to the right thickness, as mine was about twice as thick as the manual said it should be. The only problem is, thickness calipers couldn't fit over the sides that were glued on.
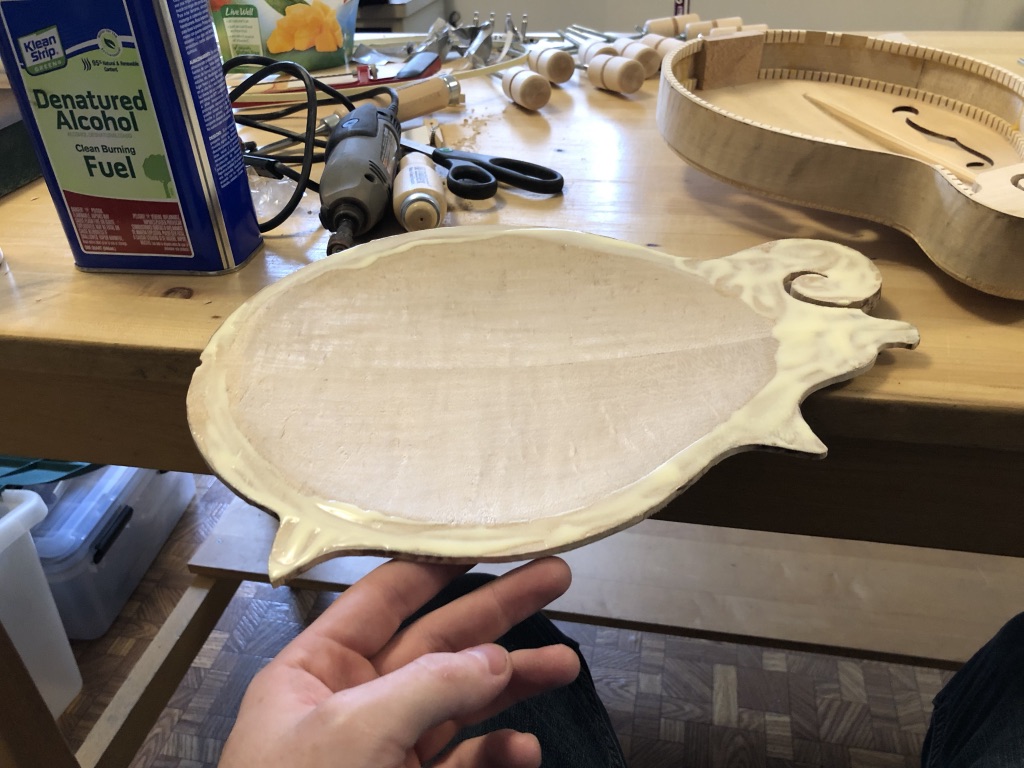
It took me HOURS to scrape and sand to get close to the final dimensions. Because of the difficulty in measurement, I left it on the thick side. But because I took off so much material, the original binding doesn't fit. So I have to:
- Buy new binding
- Route a whole new binding channel which involves buying a binding routing tool from stewmac
All things that were not in the kit description.
I then went to fit the tone bars, copying the geometry off of the book's plans.
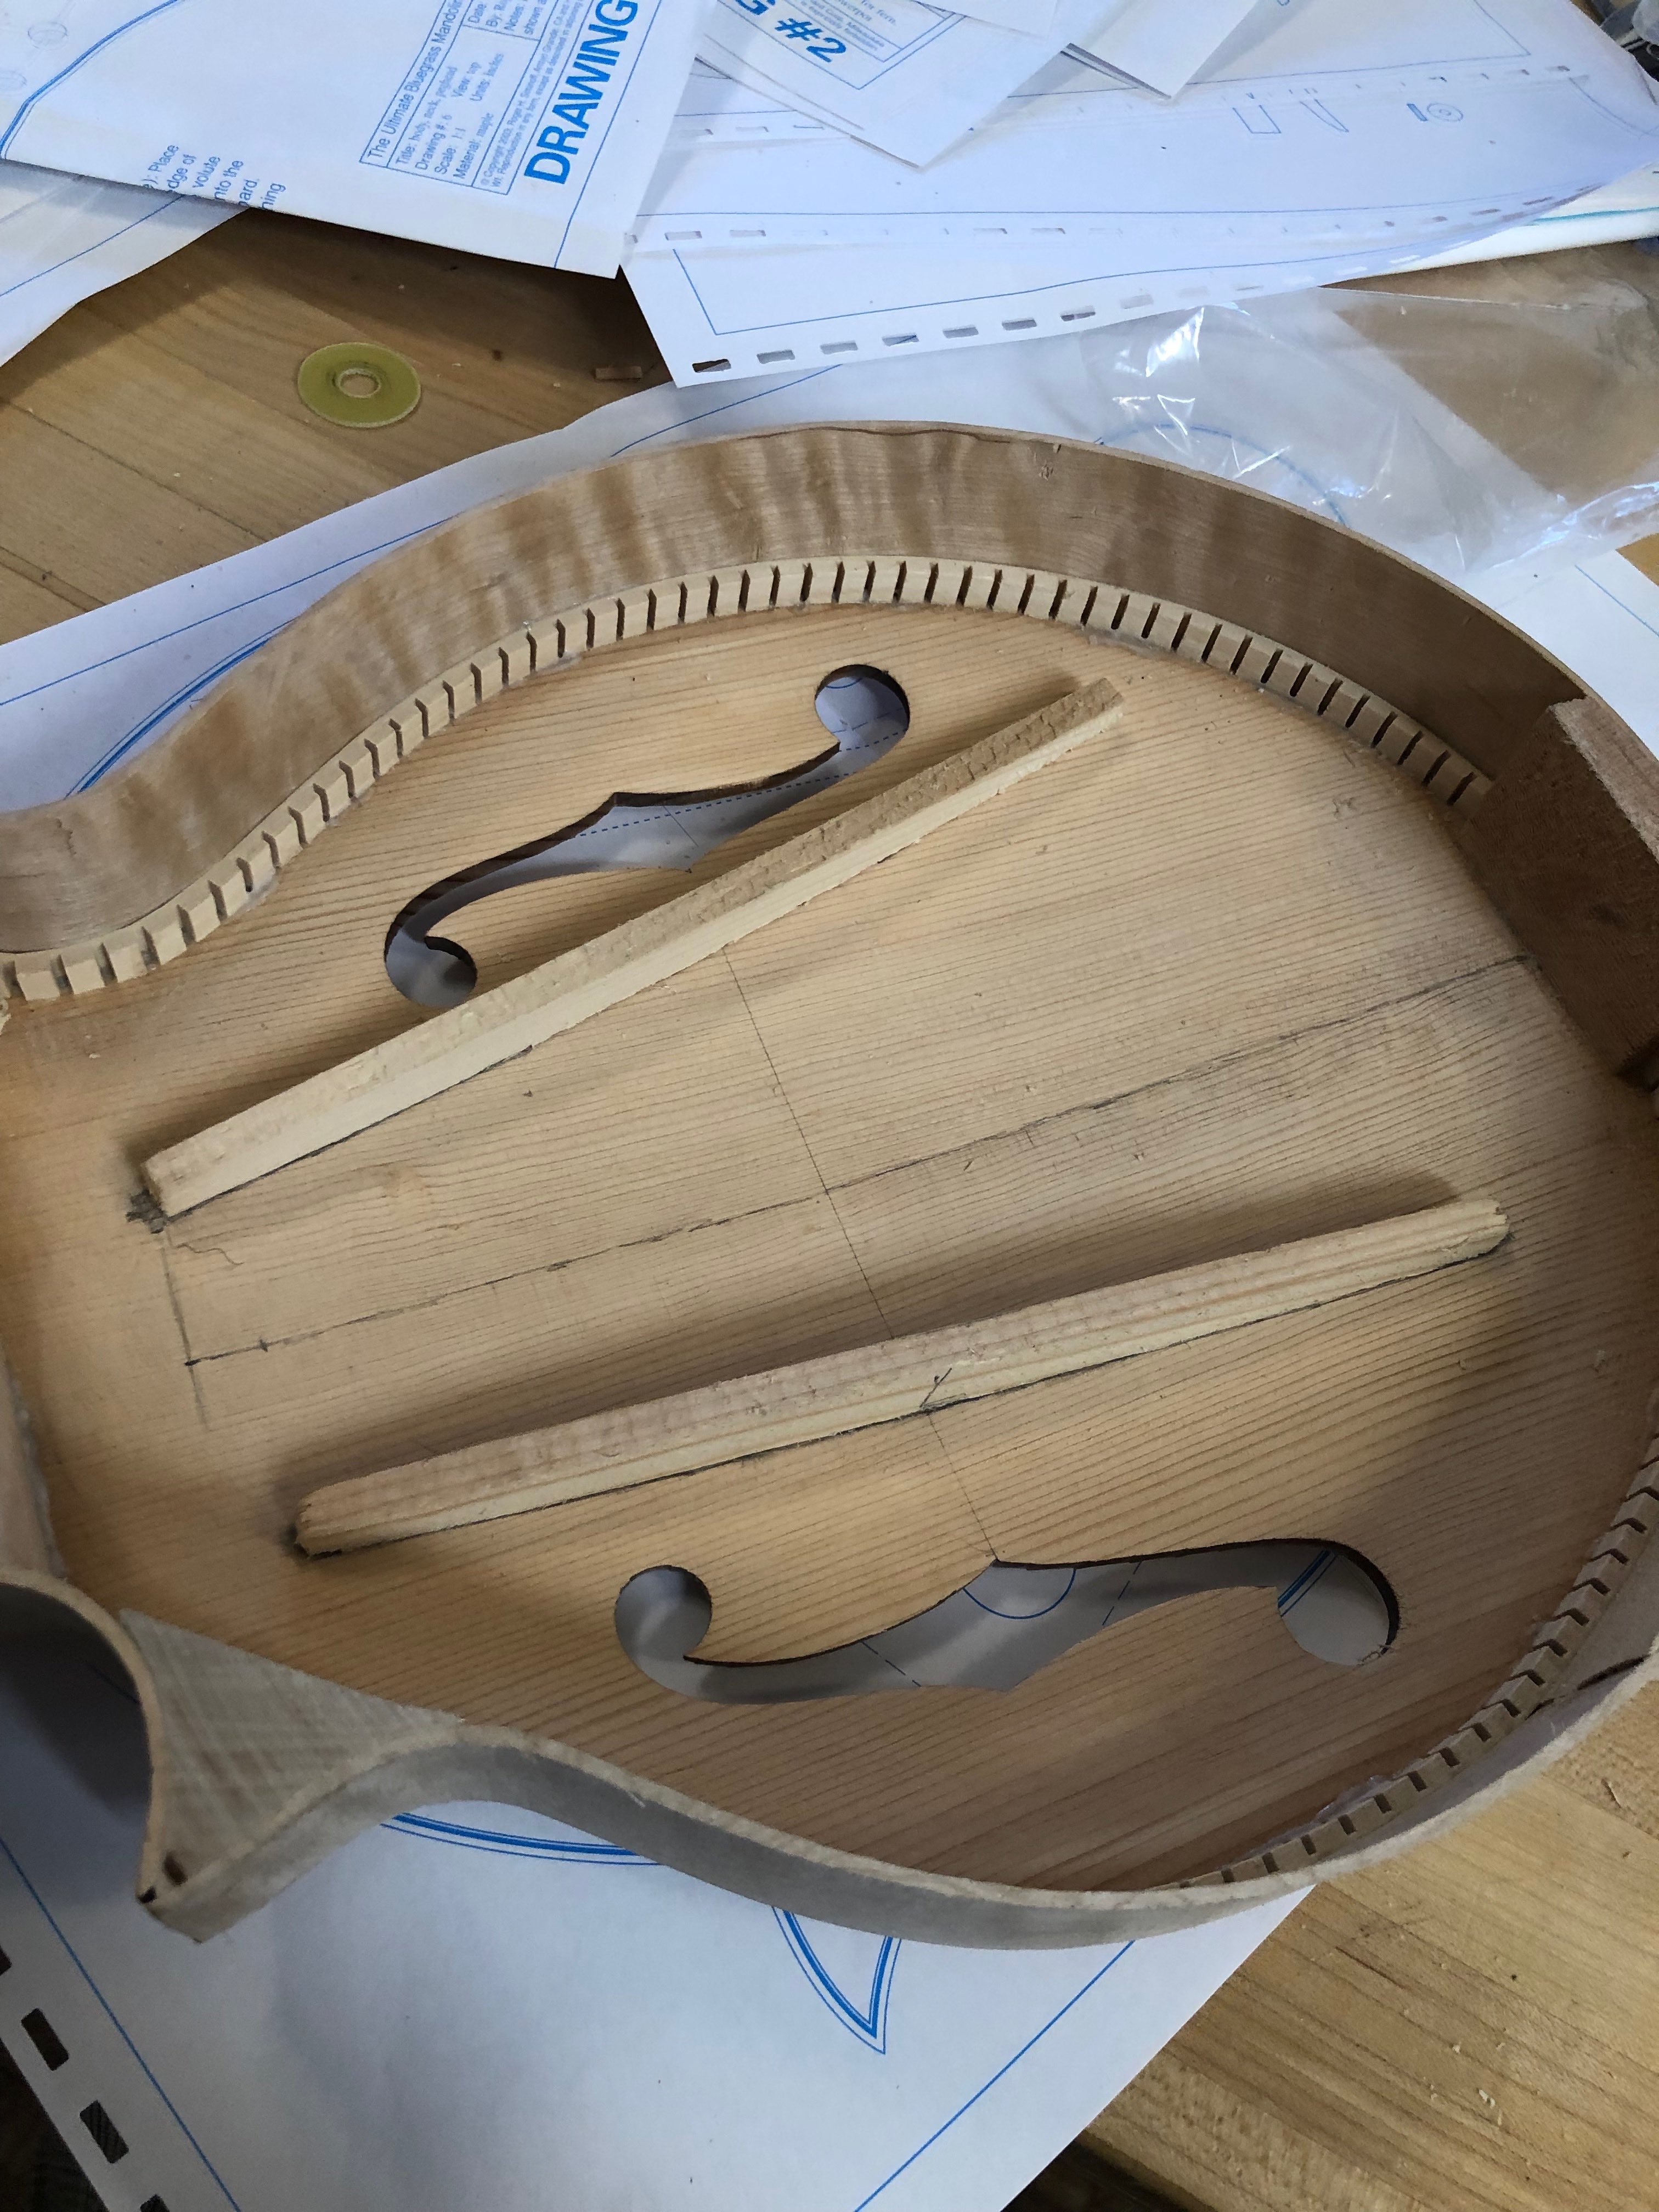
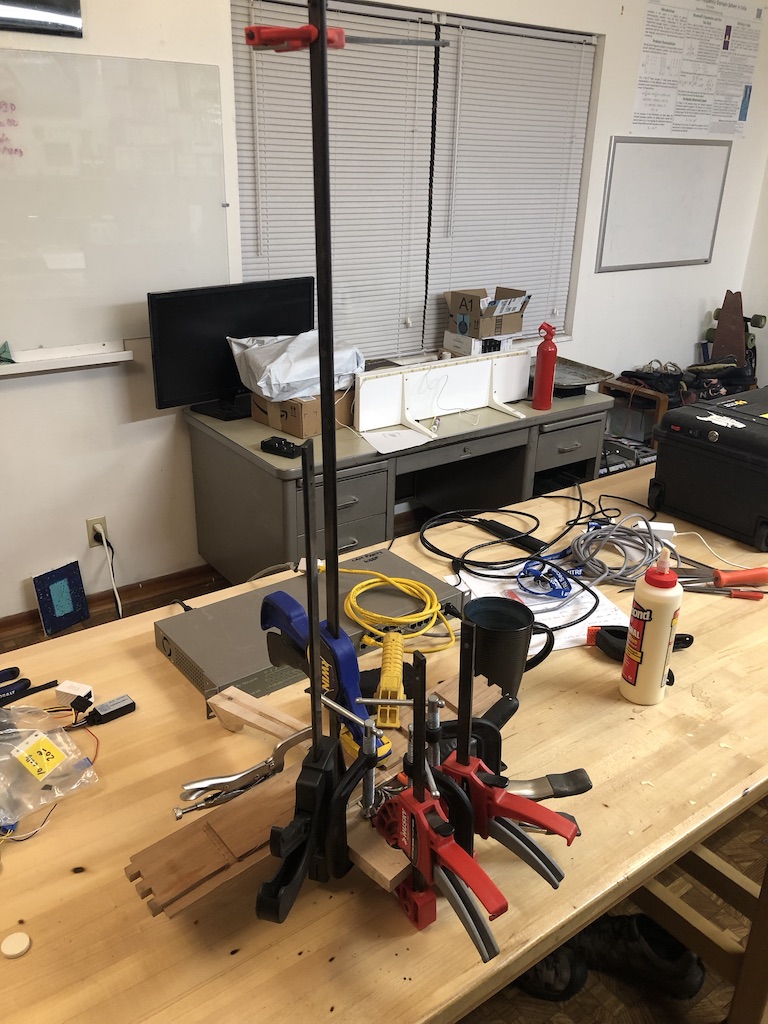
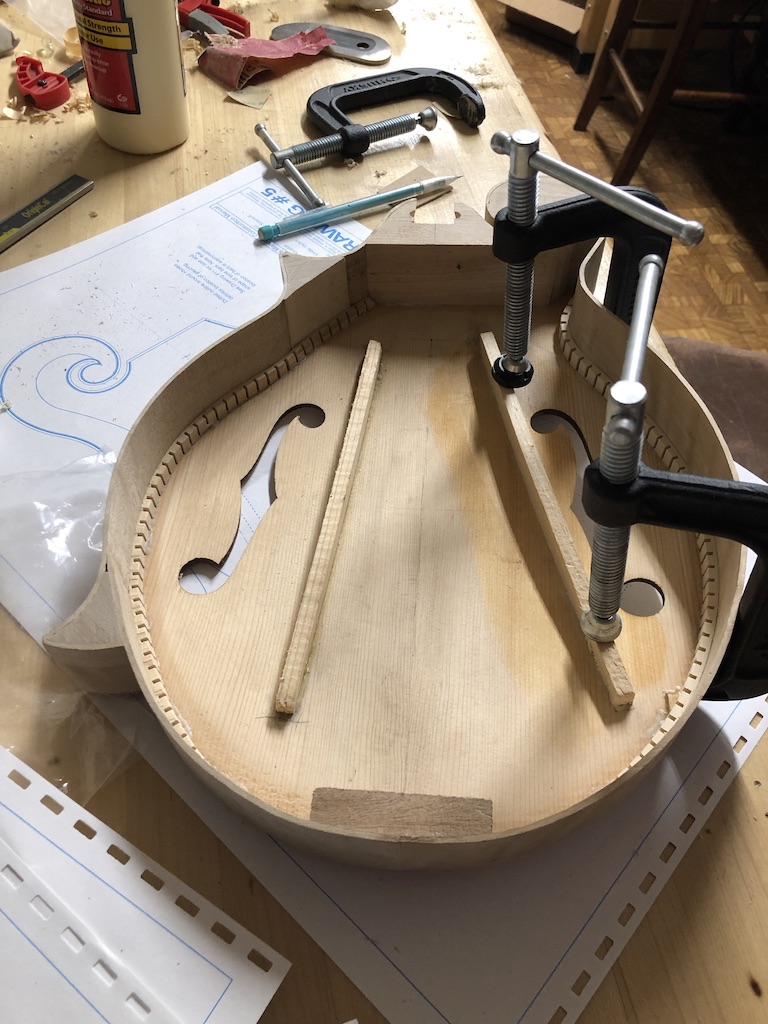
I used some graphite to find the high and low spots to chisel the bottoms of the tone bars to fit. Then, I used c clamps and cauls to glue them in place.
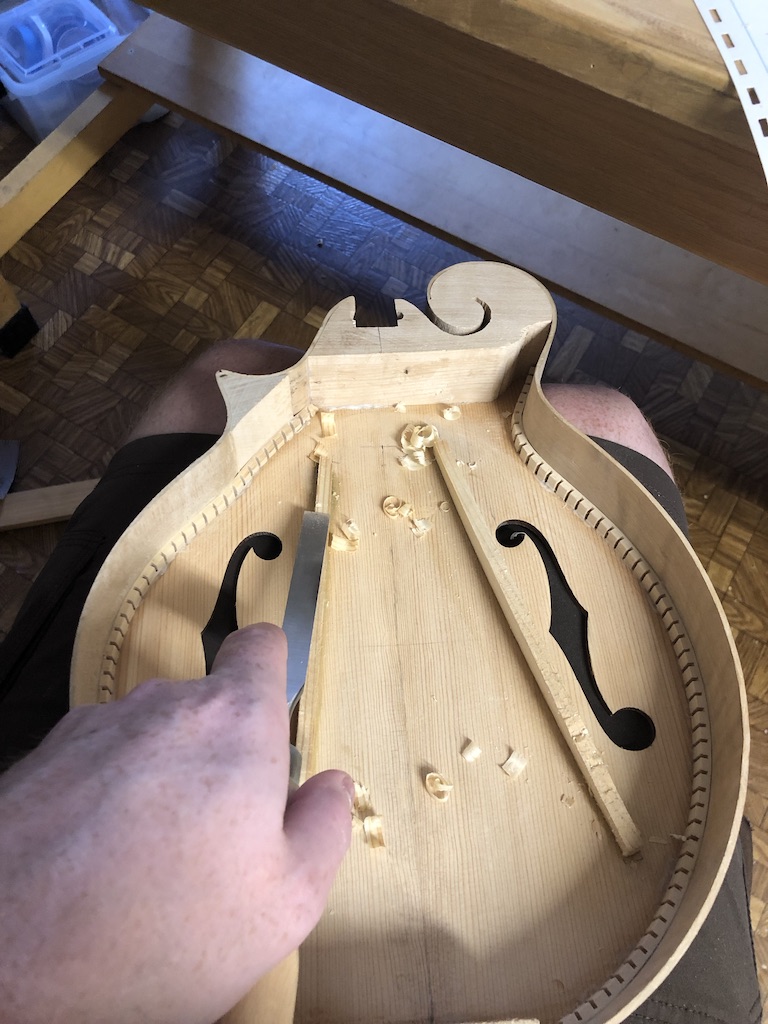
I chiseled the tops of the tone bars down; I tried to tap tune, but honestly carving these seemed to make no difference in pitch. I'm certain this is because the top is too thick.
Because tap tuning didn't seem to make any difference, I was already believing less and less in this project.

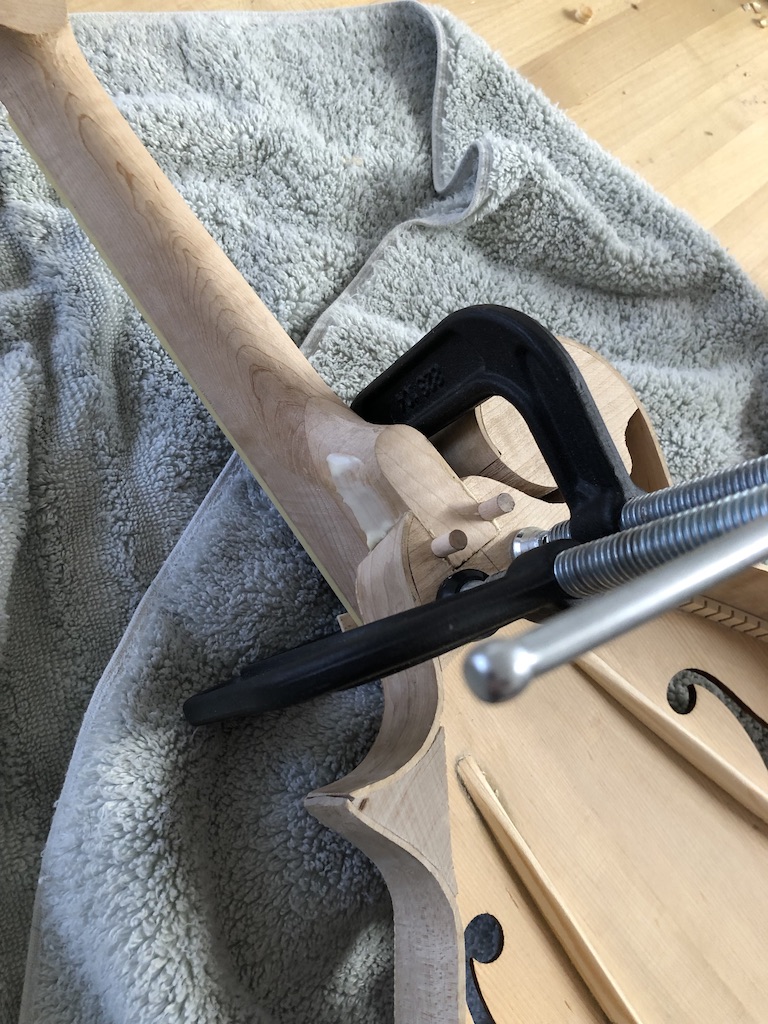
Now it was time to glue on the neck. This was a simple joint, just glue and some dowels.
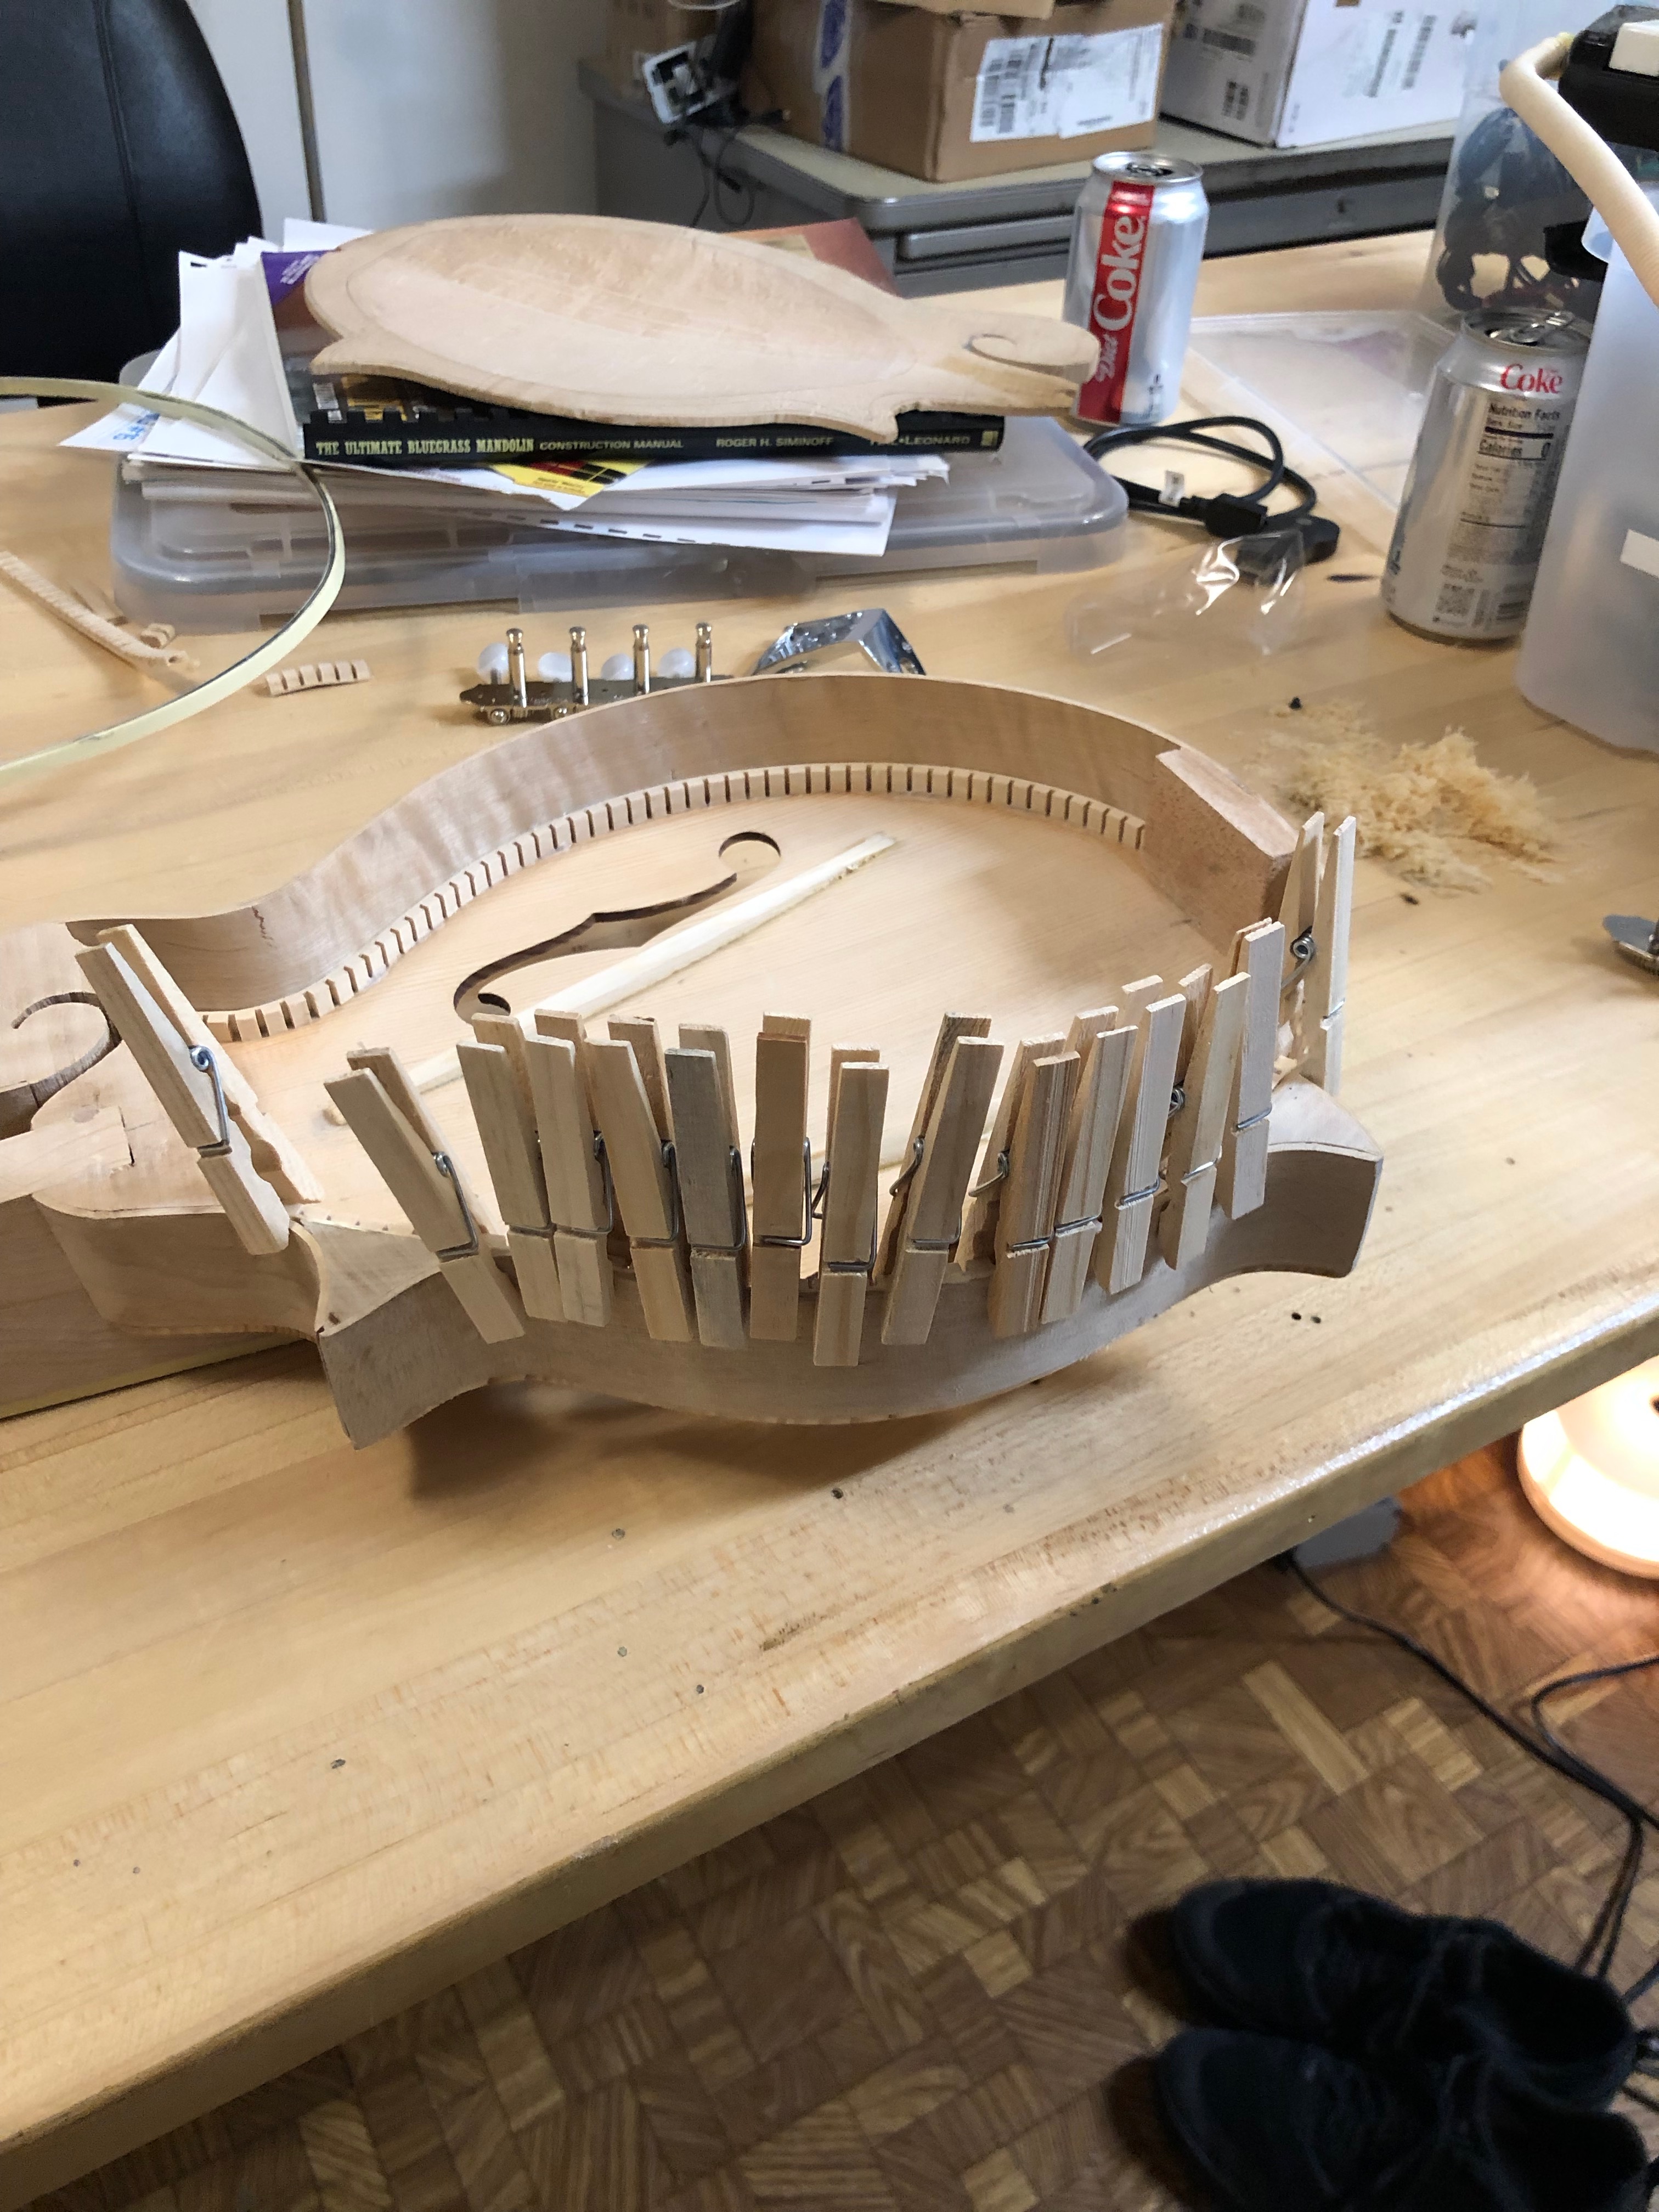
Now I had to try and get the back on, which means I needed to add the kerfed lining.
I used clothespins to hold the lining in place, easy enough.
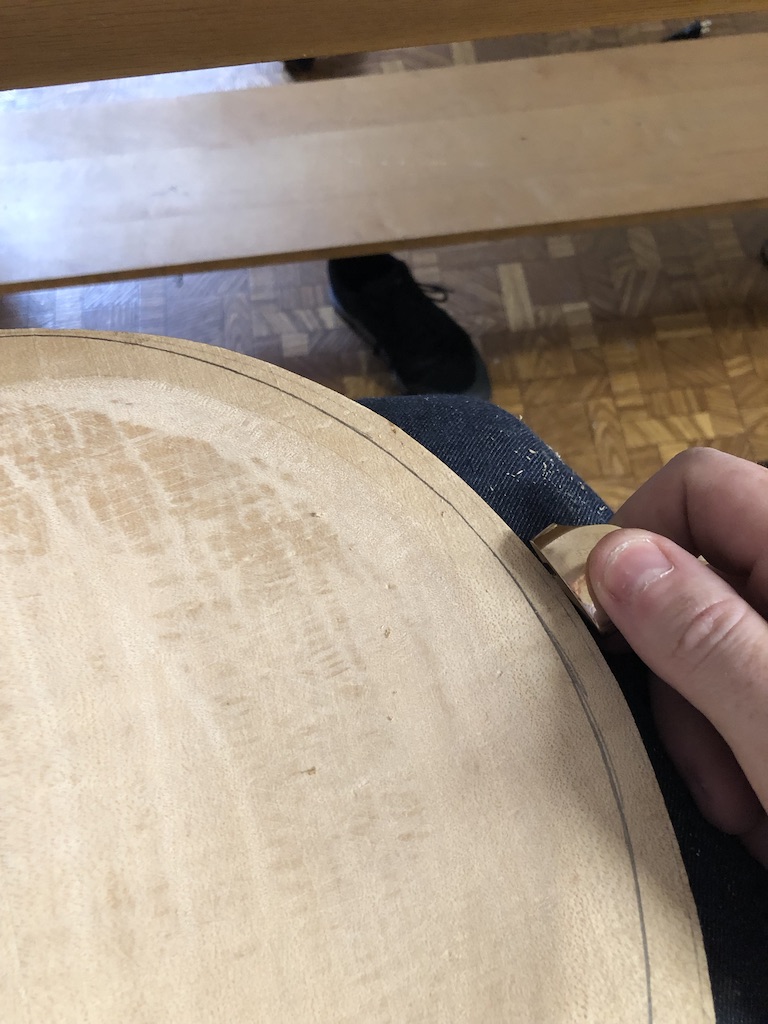
To get this poorly cut back on, I first clamped it on the instrument as lined up as I could, then I traced the part I needed to remove.


I then used chisels, sandpaper, and the Dremel to bring the back to the pencil line.
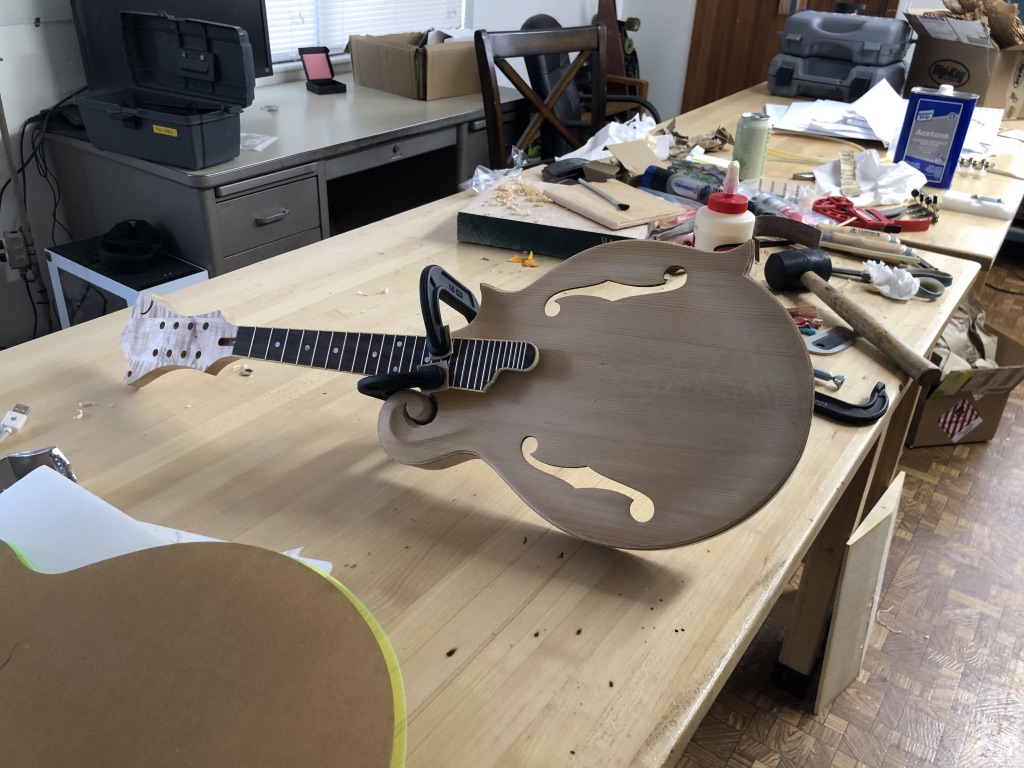
While doing that, I started practicing my sunbursting. I like the color I got out of this.
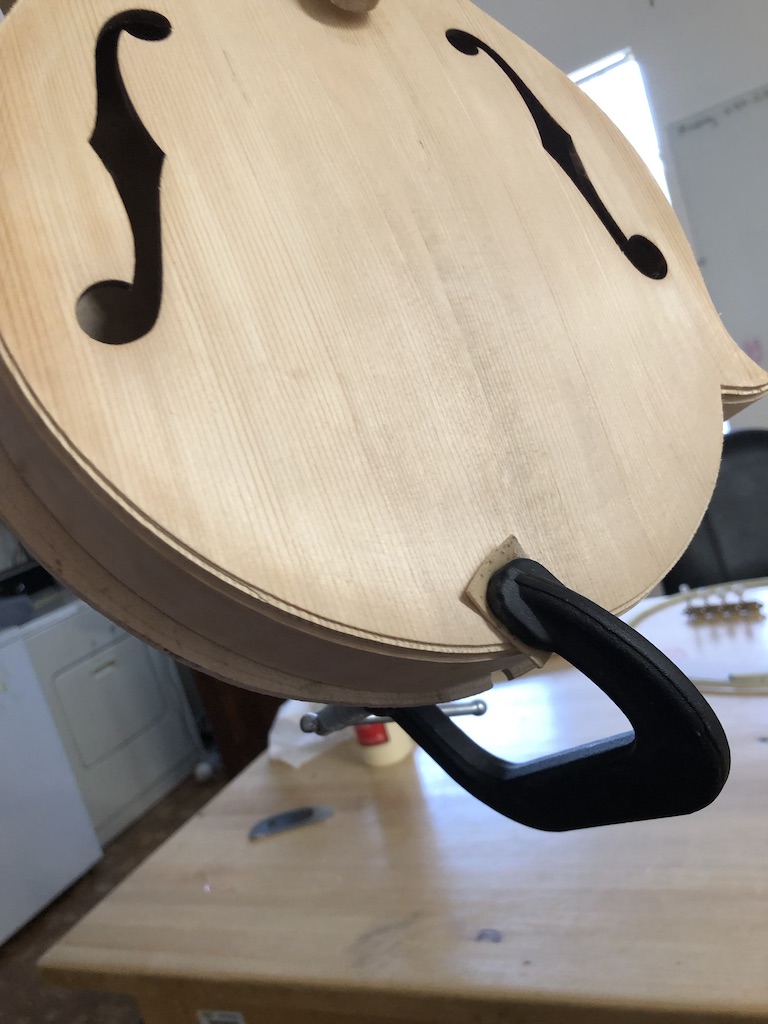
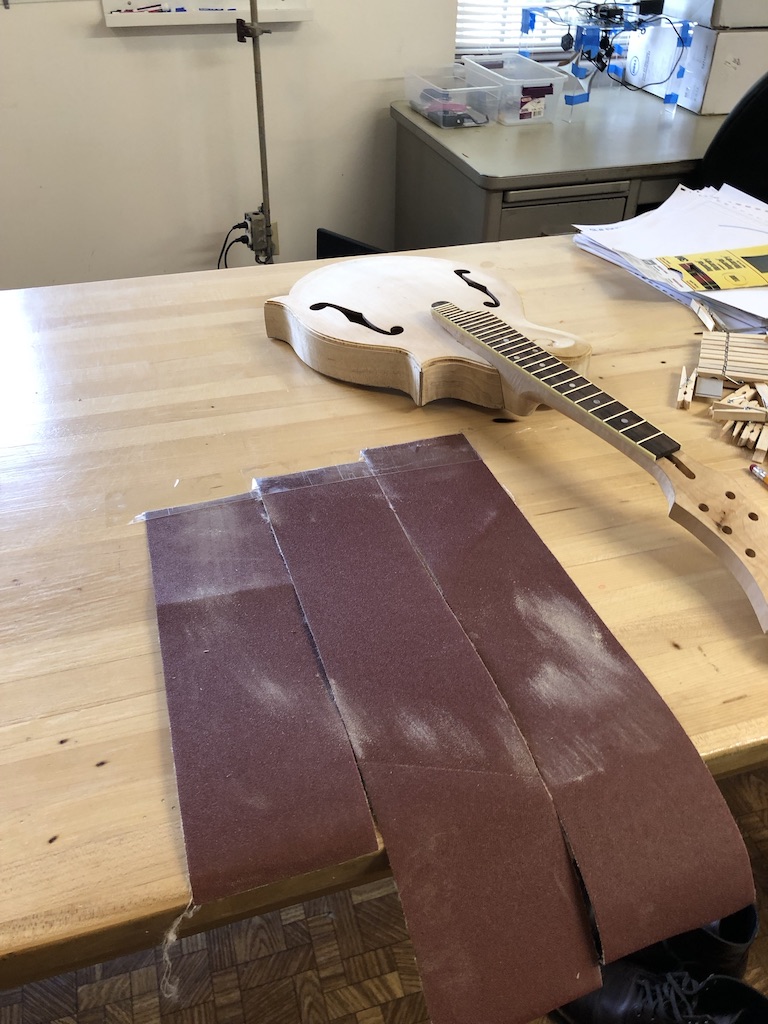
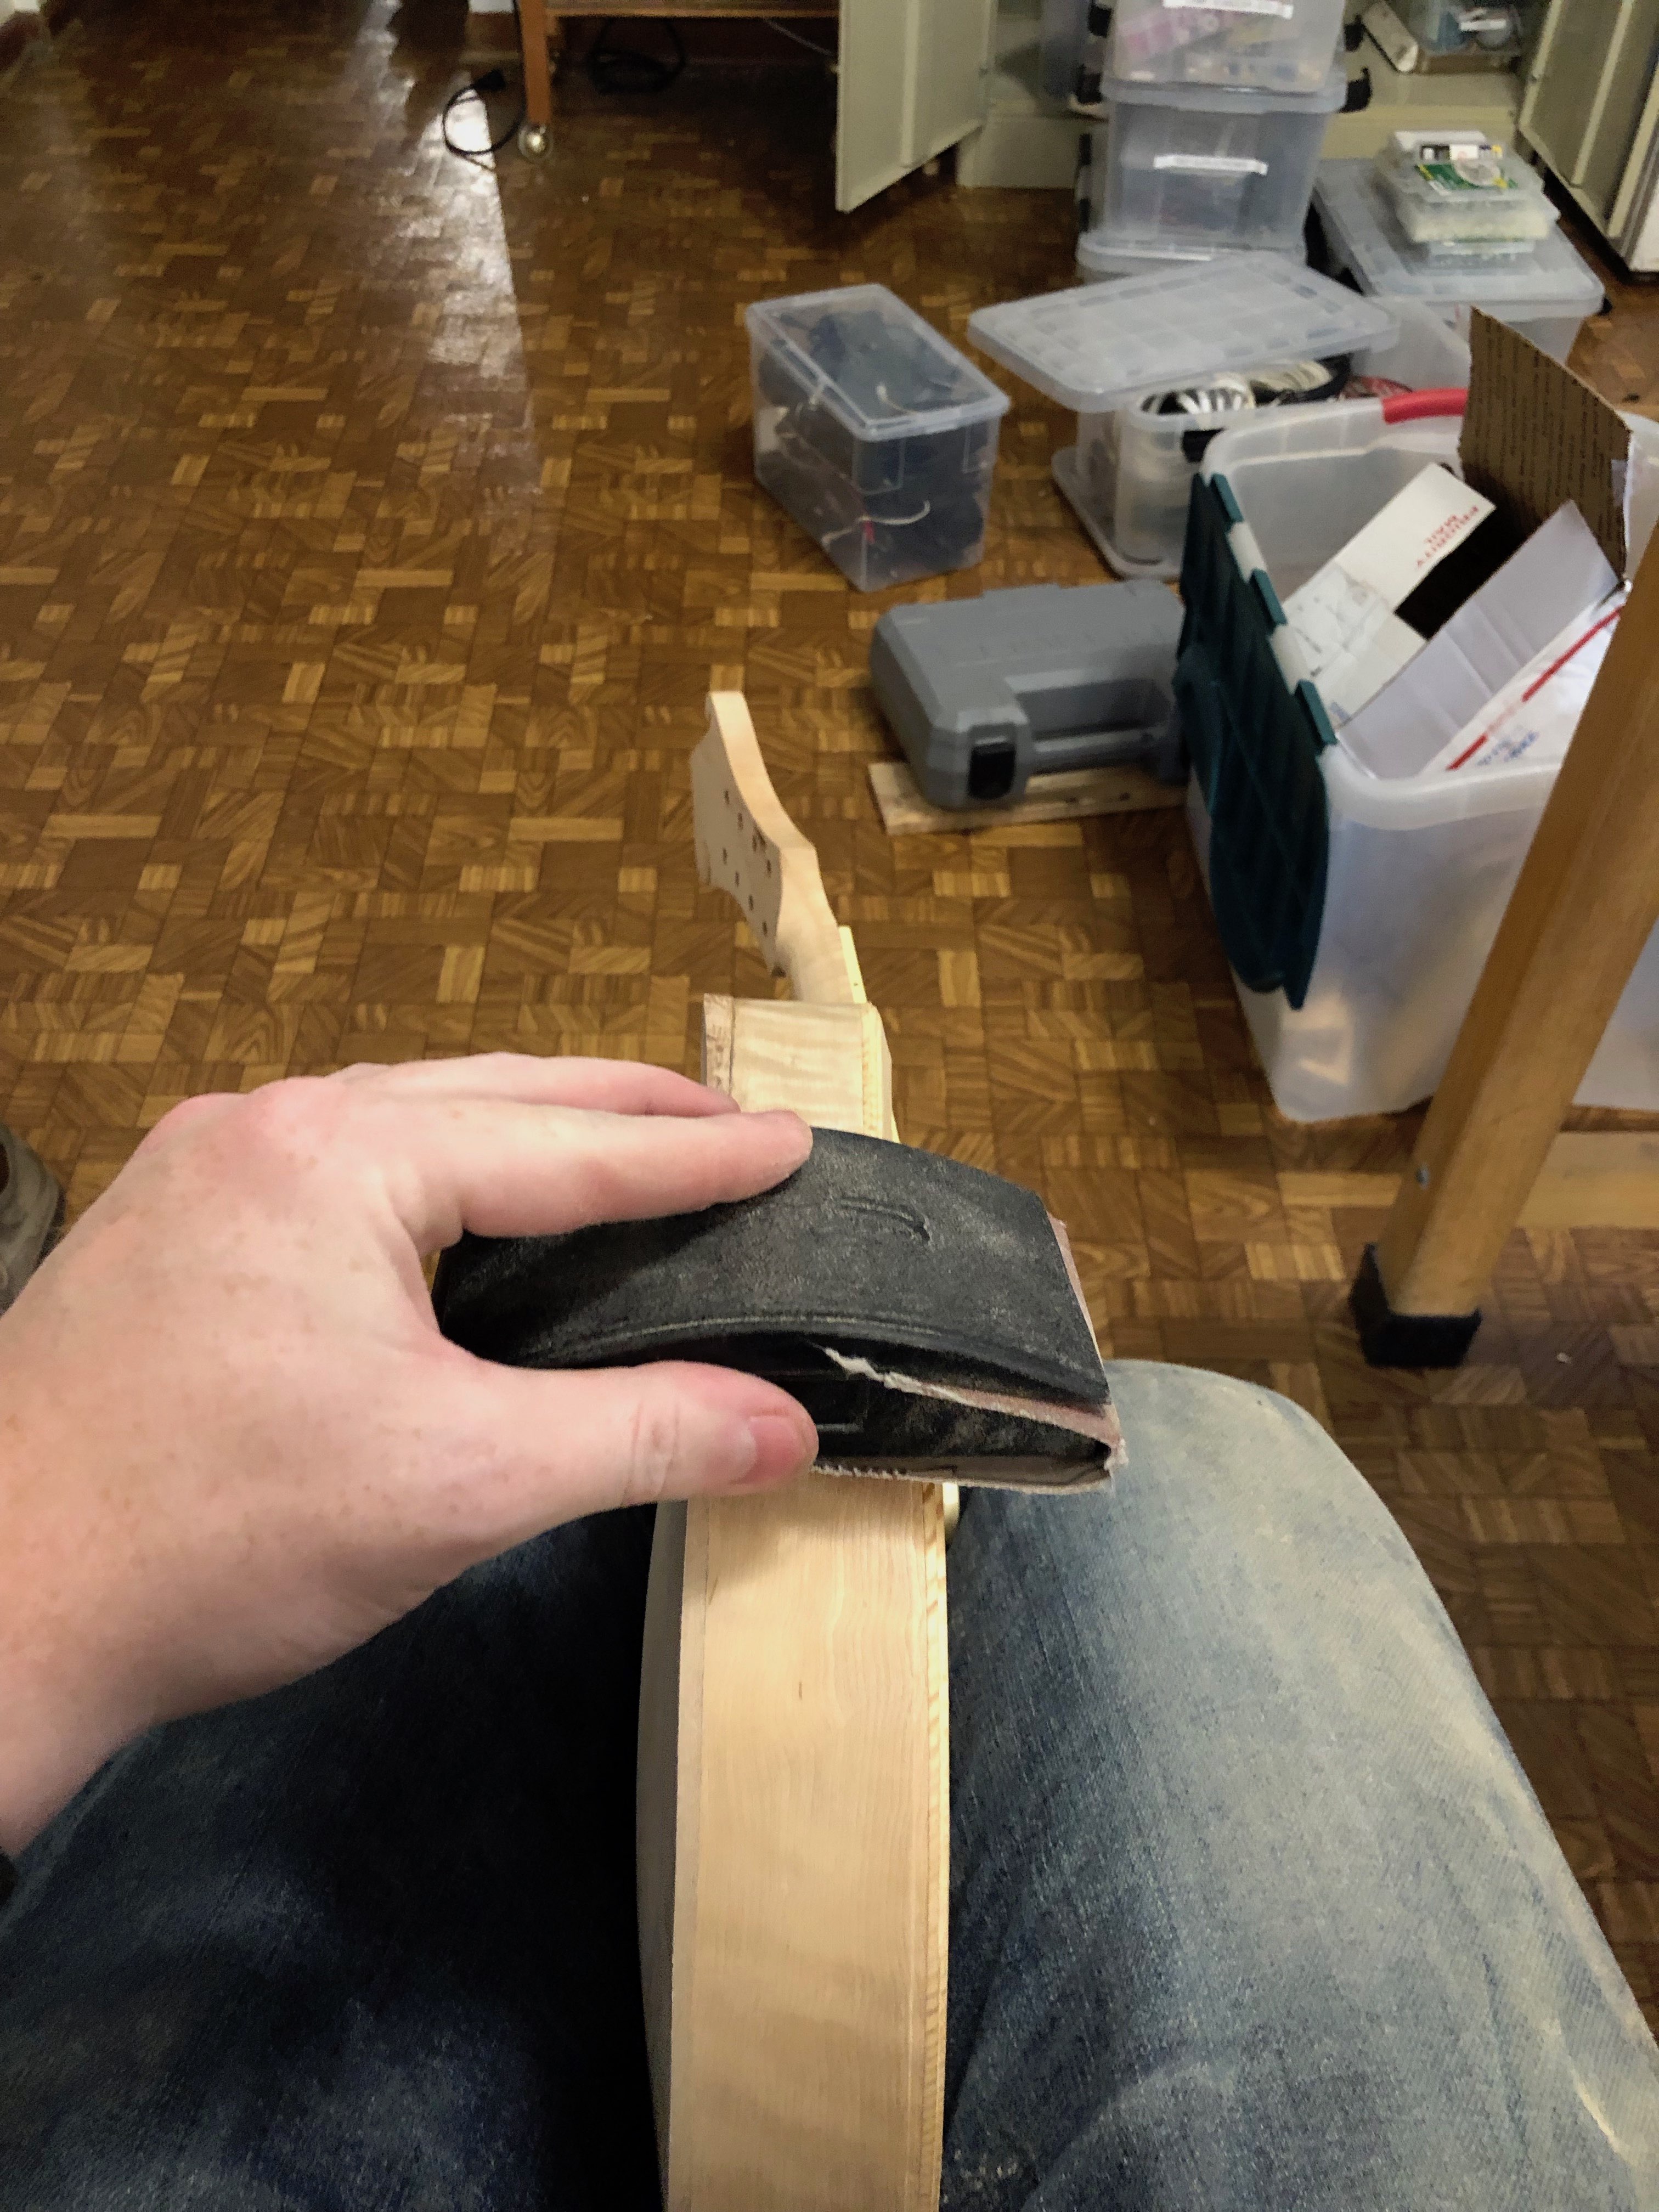
Finally, to attach the back, I taped some sandpaper to the table to true up the sides of the instrument.
Then I used spool clamps to attach the back.

To get the sides true, I just used sandpaper until the edges were straight.
I then did the horrible job of routing the binding channel. This is the beginning of even more problems with this kit.
So, I had to use a stewmac tool that everyone hates apparently to do this, but the total binding thickness I thought to use was way too thick. The original kit has a stacked binding setup, so I tried to go for the full thickness without stacking. This resulted in a chunky binding that when routed, went all the way to the kerfed lining.
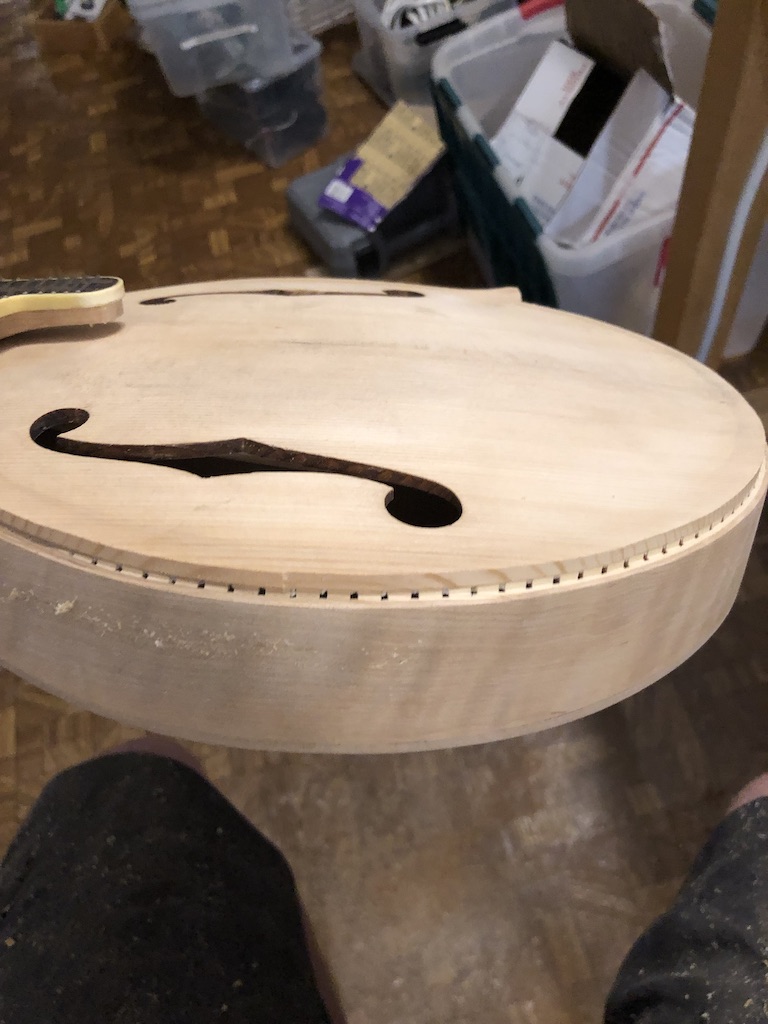
Apparently, this isn't the end of the world, but it sure doesn't look good.
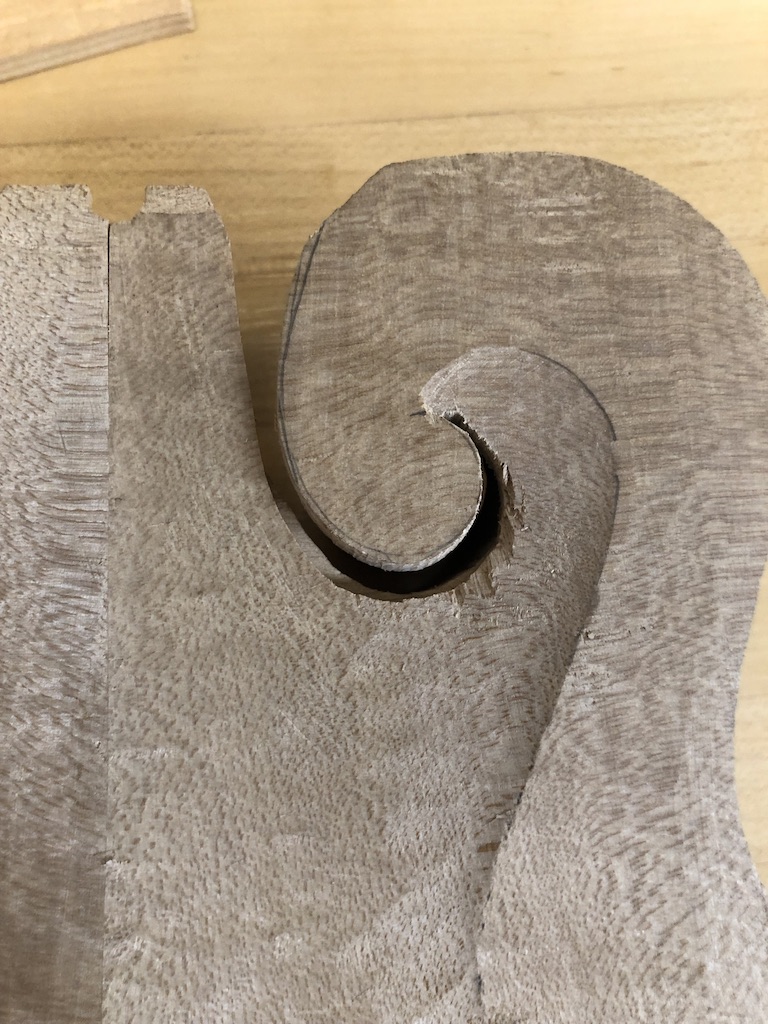
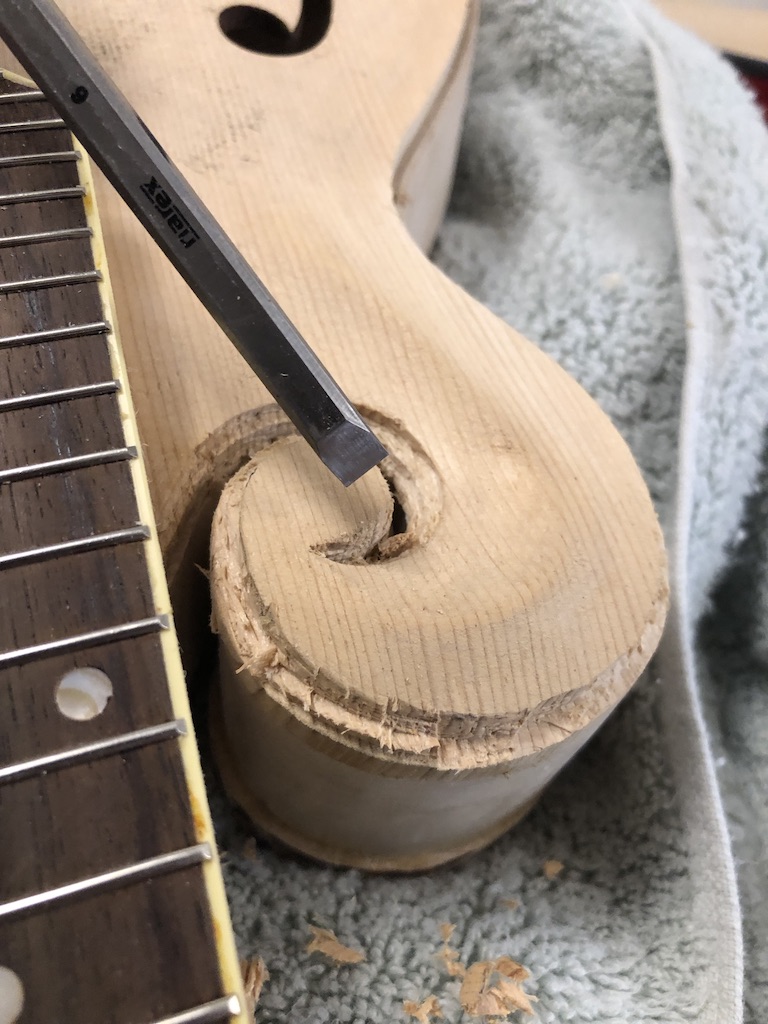
I then tried to chisel out the scroll area, but because I don't have curved gouges, this turned out to be a disaster.
I ruined the first binding I had, so I had to make two separate orders to stewmac.
Using a heat gun, I tried my best to bend the binding into place
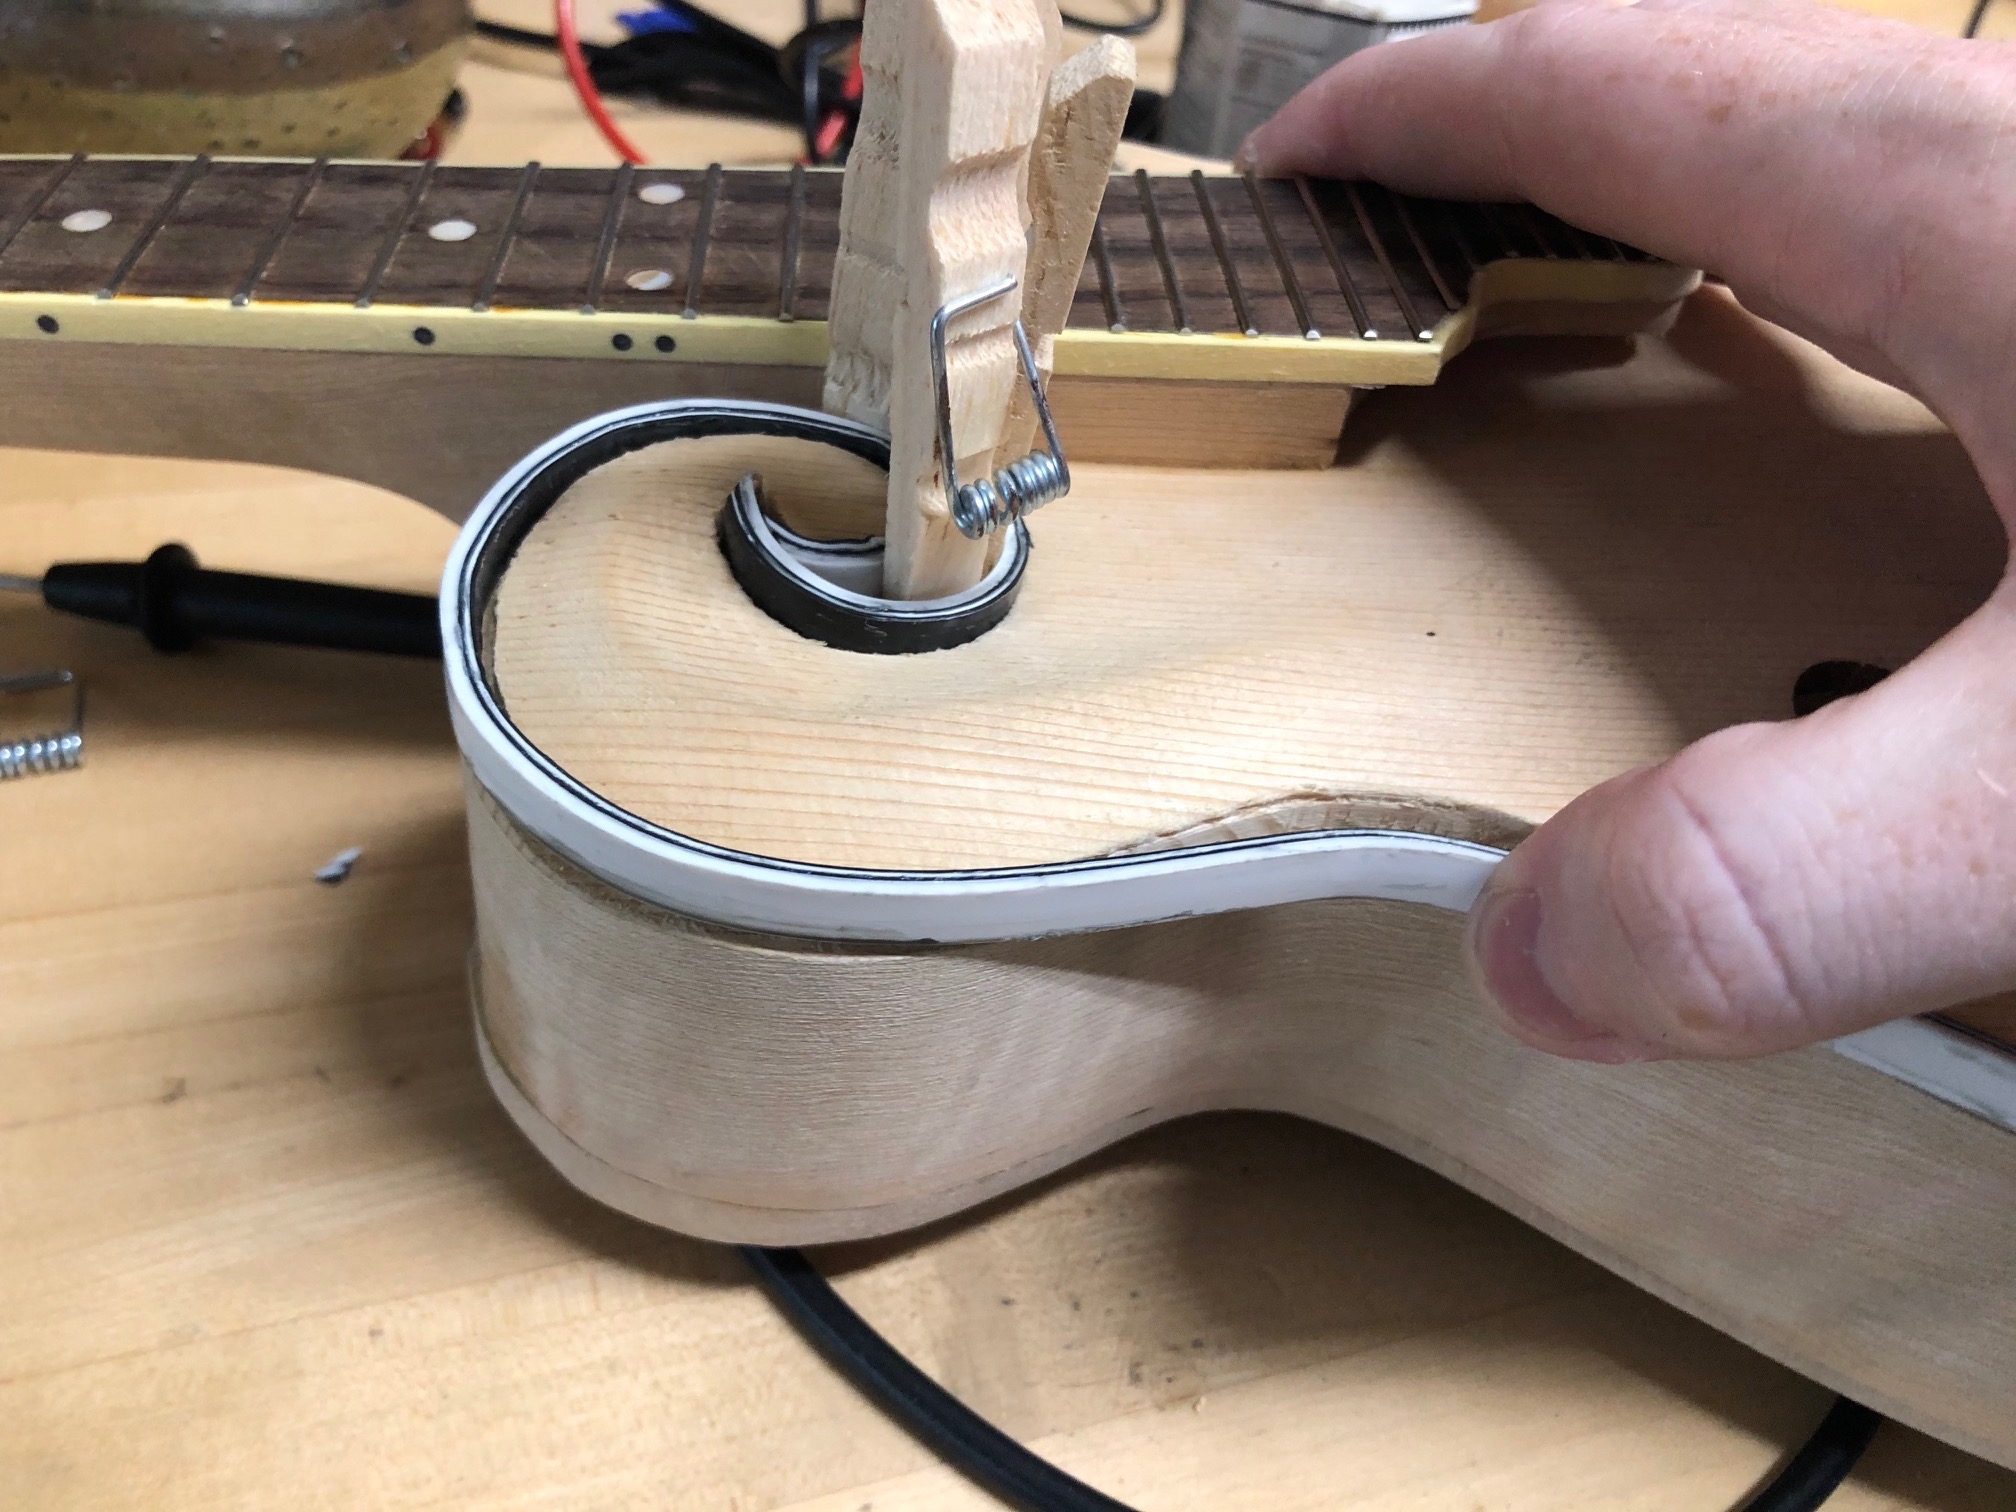
I already accepted that this was going to look like ass, so I just kept going.
So I used bindall from stewmac to glue up the first bit of binding, which was stupid difficult.
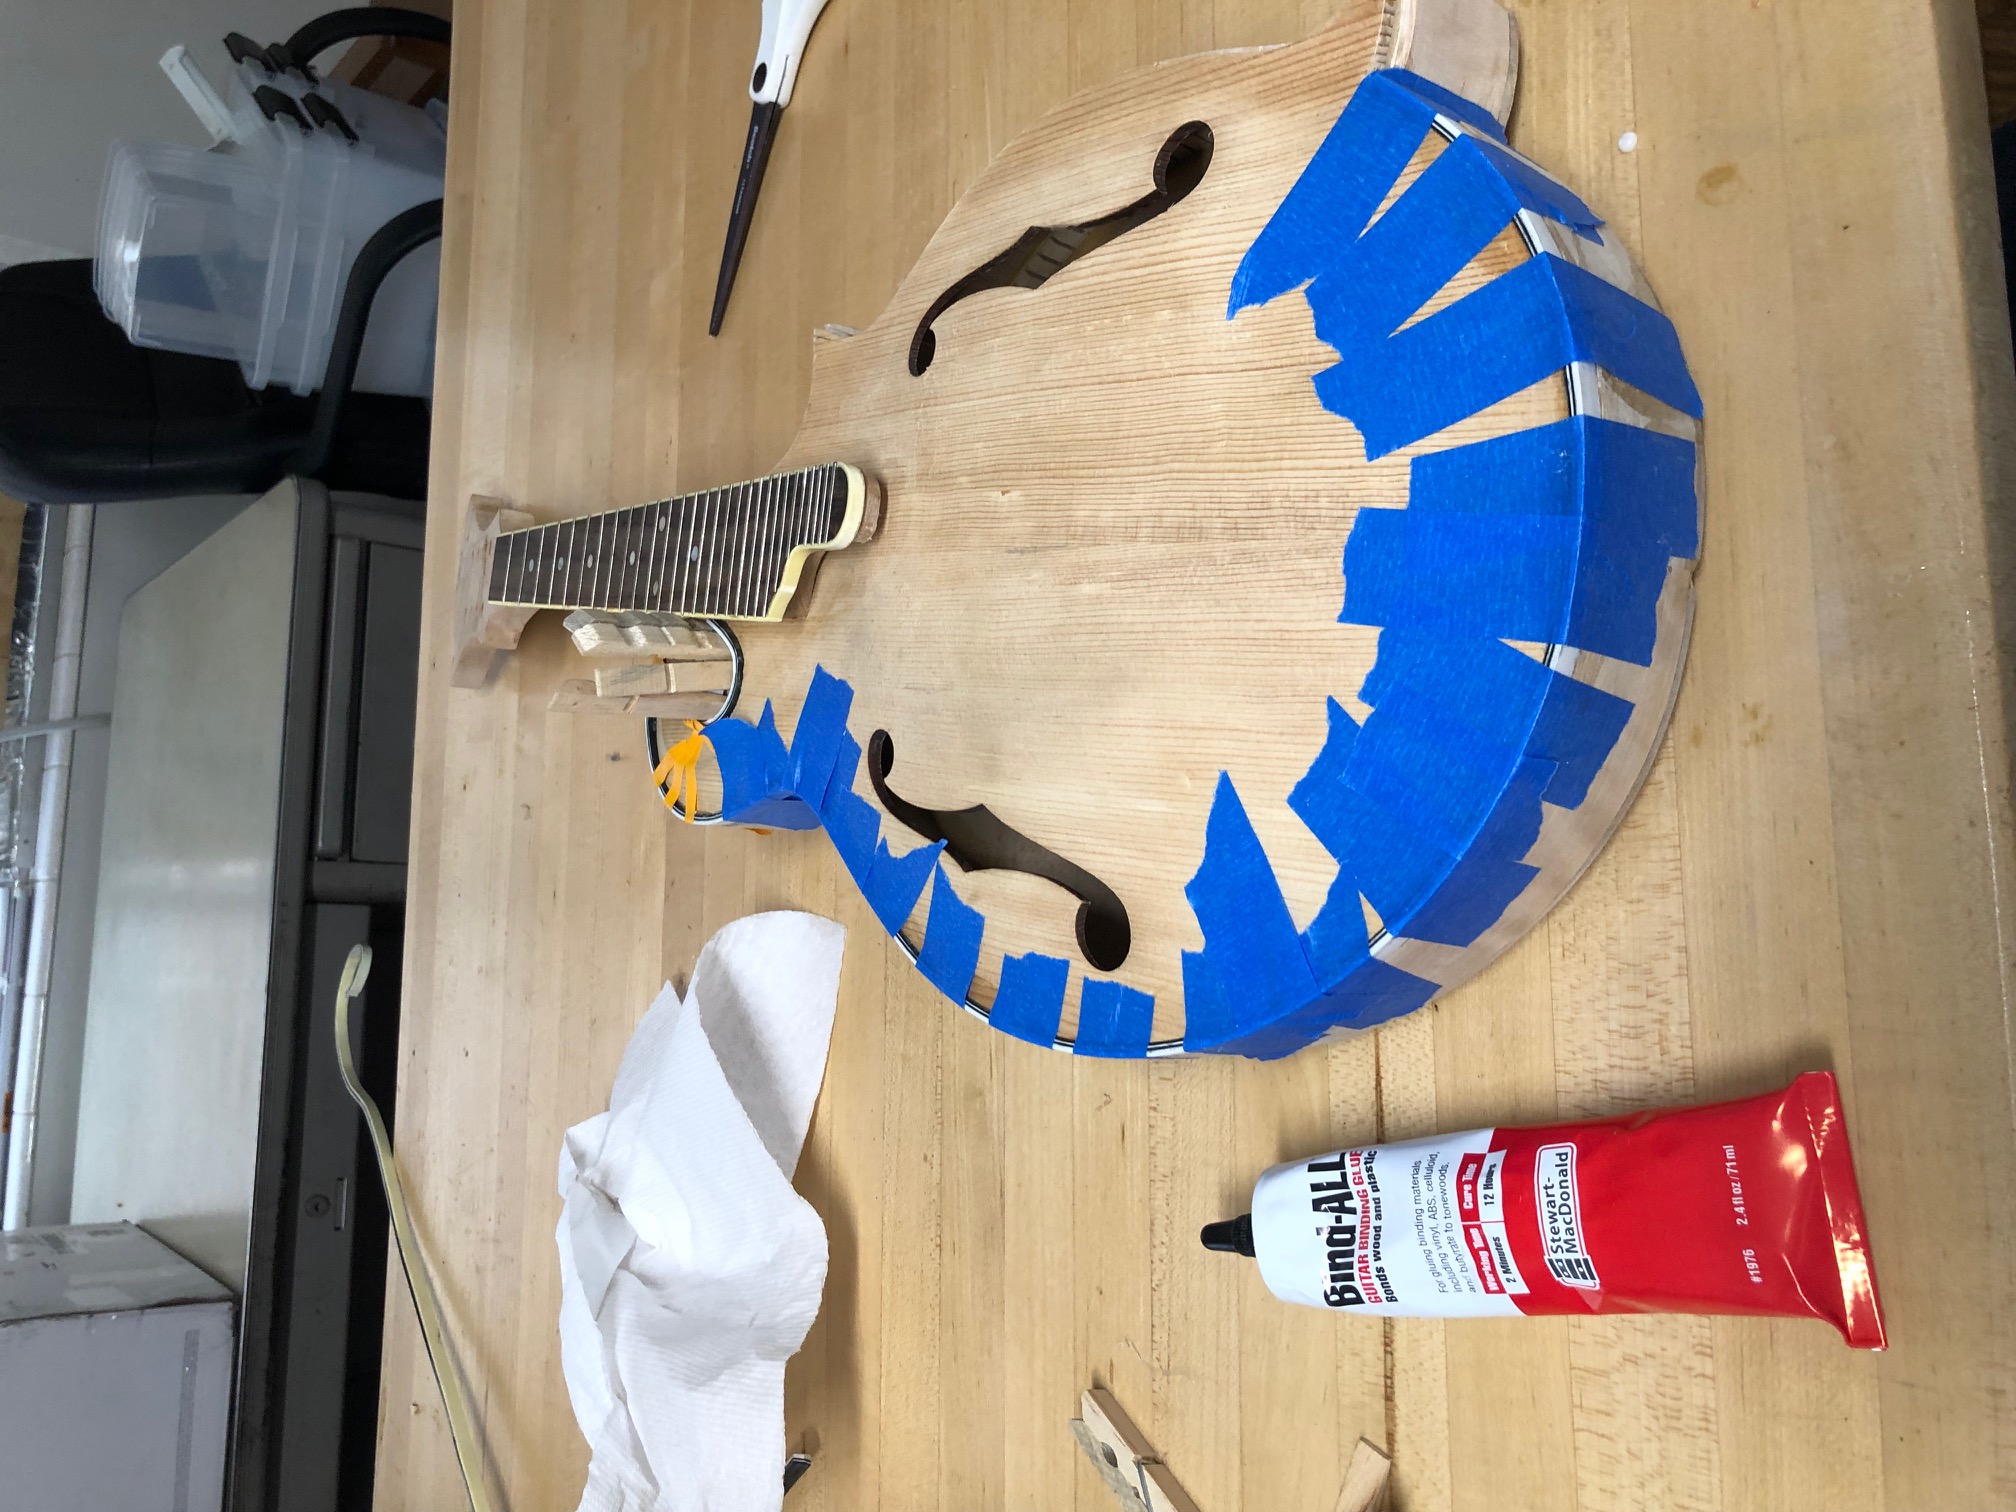
So this is where I am. I have some horrible binding on, but the end is in sight. All that's left after this is to drill the holes for the machines and endpiece and start finishing.
I just hope it sounds half decent.