Building an F5 Mandolin – Part 1
So I have wanted to build a mandolin for a while now. I have a cheap Ibanez that I got from Guitar Center, but the action is weird, the truss rod is wonky, and the sound is pretty dead. I love building things, so I thought I could give luthiery a try.
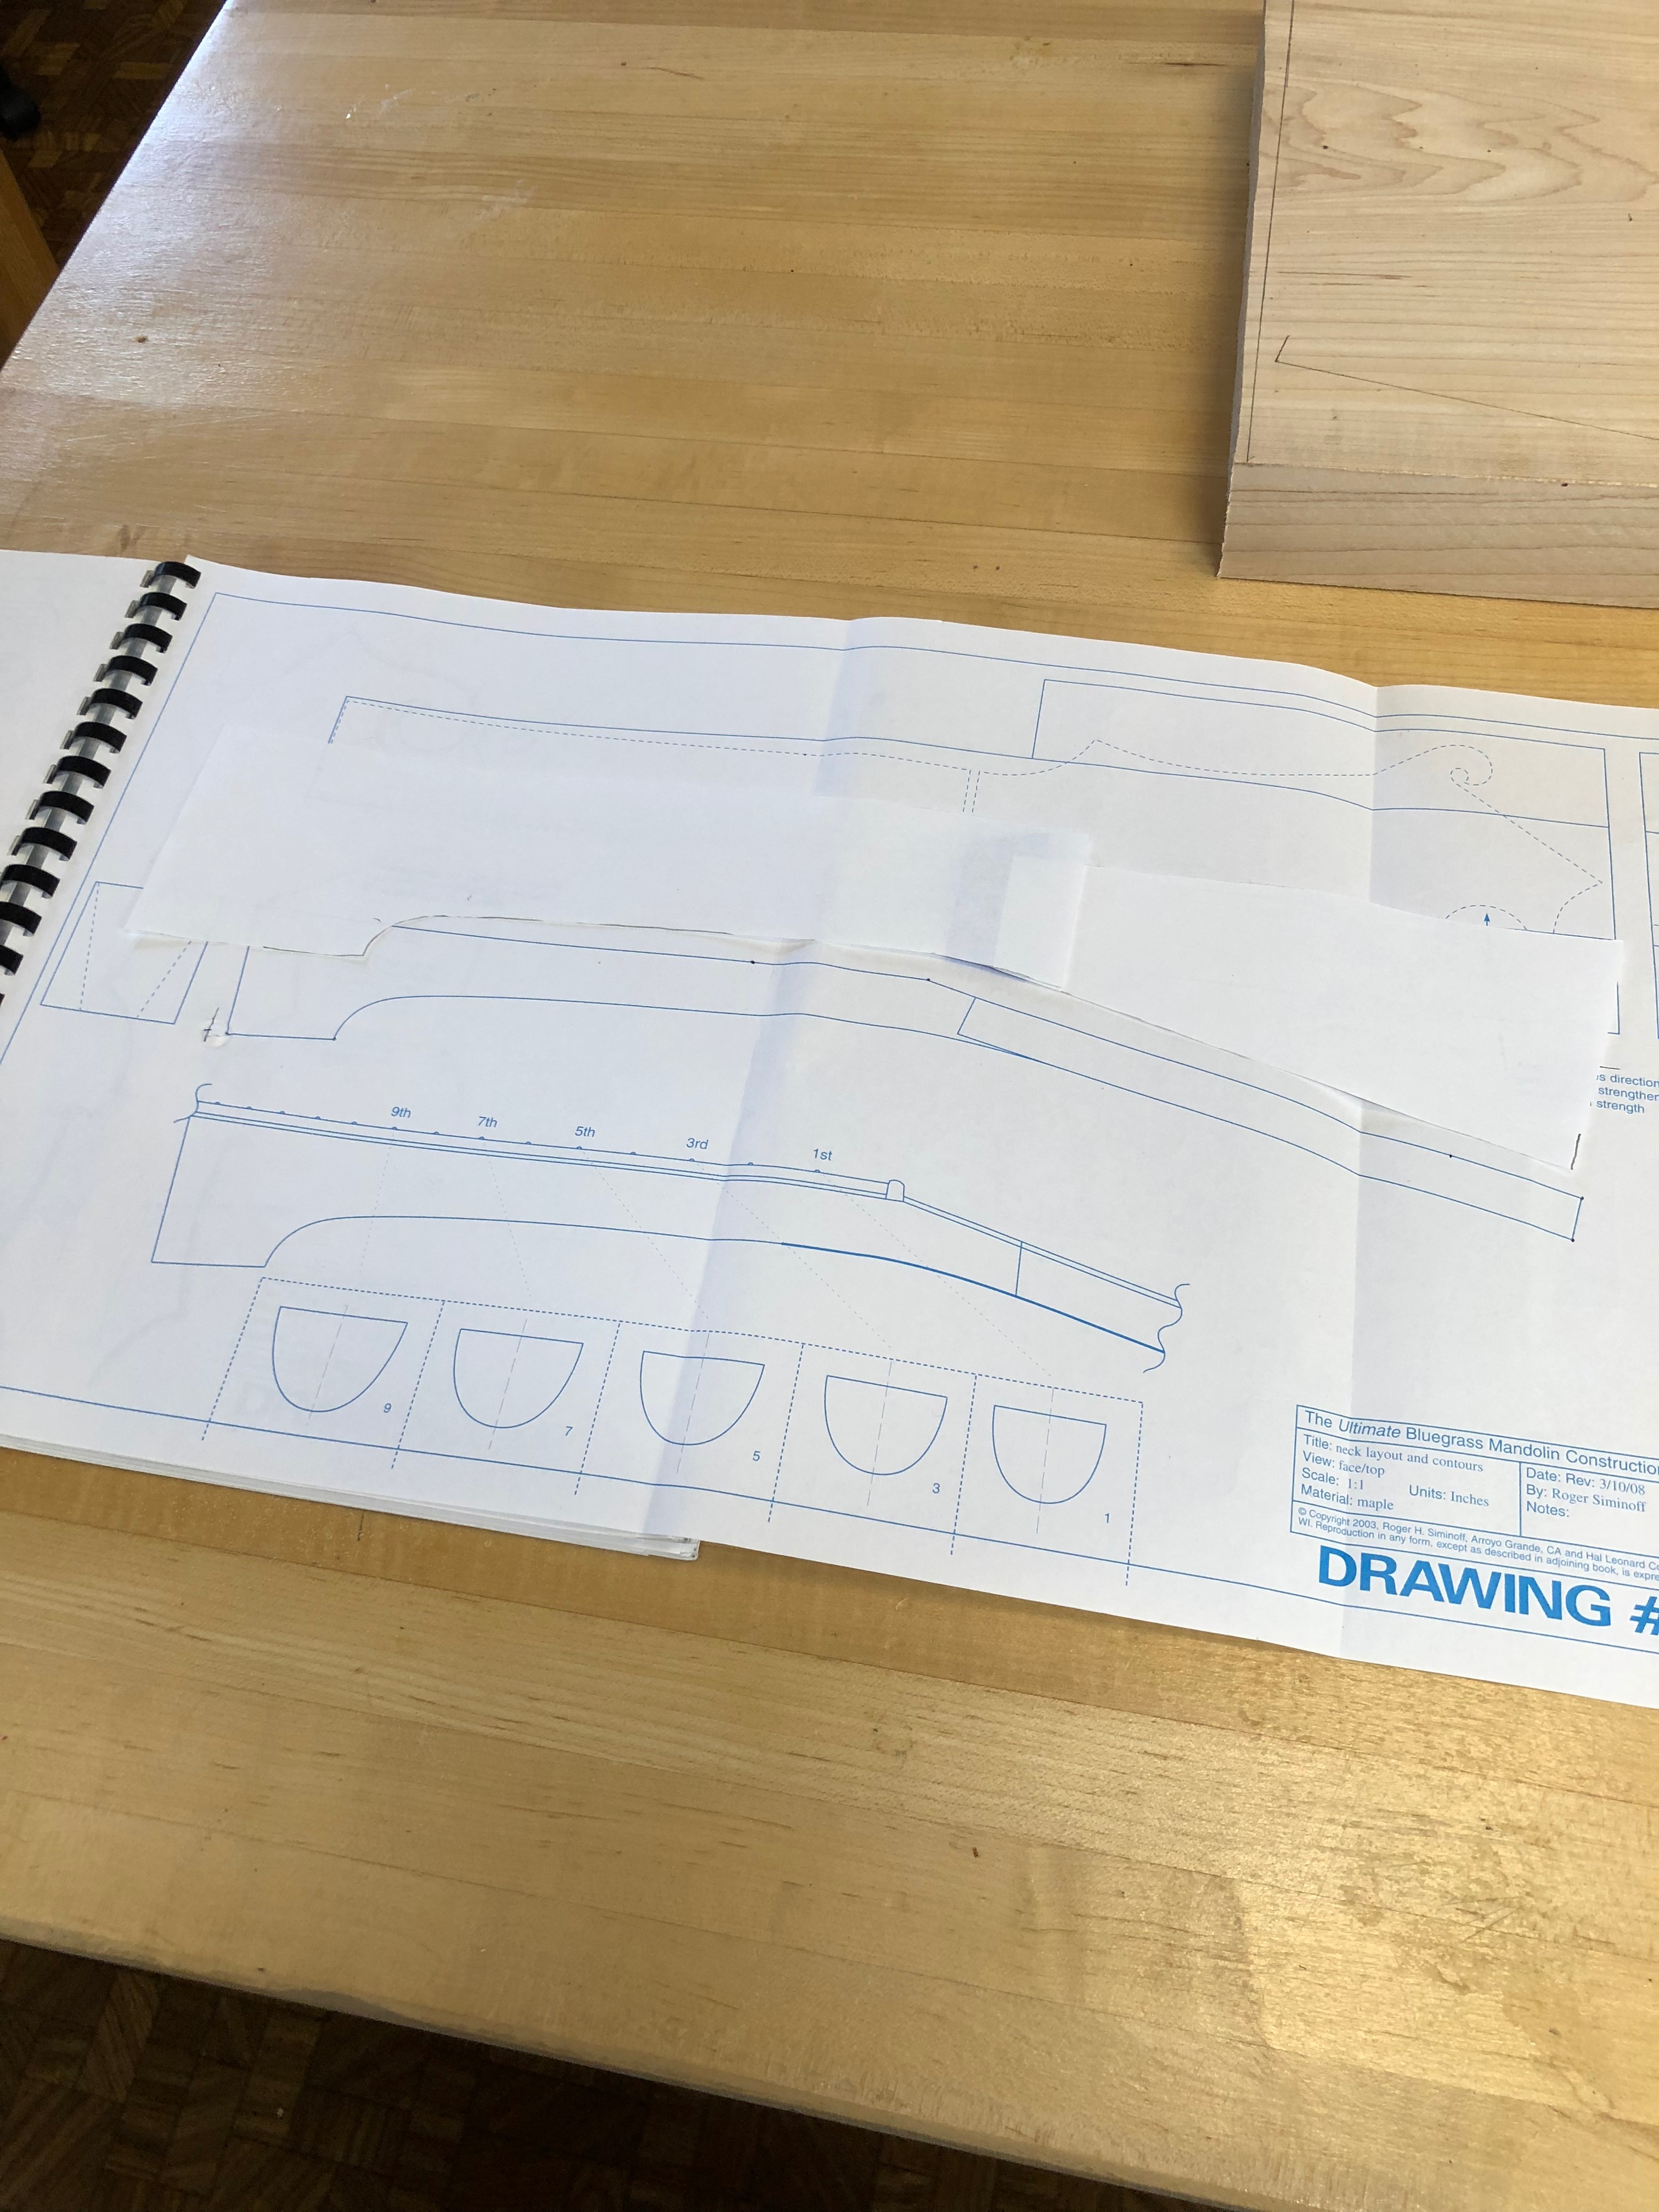
I bought The Ultimate Bluegrass Mandolin Construction Manual by Roger Siminoff to follow along and to have actual plans. I have tried to design and build some instruments in the past, but they all were kind of a train wreck.
This mandolin is based on the design of the famous Lloyd Loar F5 Mandolin made by Gibson in the early 20th century. This design is still used everywhere and has the reputation of being the "classic" mandolin design. Once I understand the mechanics of the building process, I hope to design more custom instruments.
Part 1a The Neck
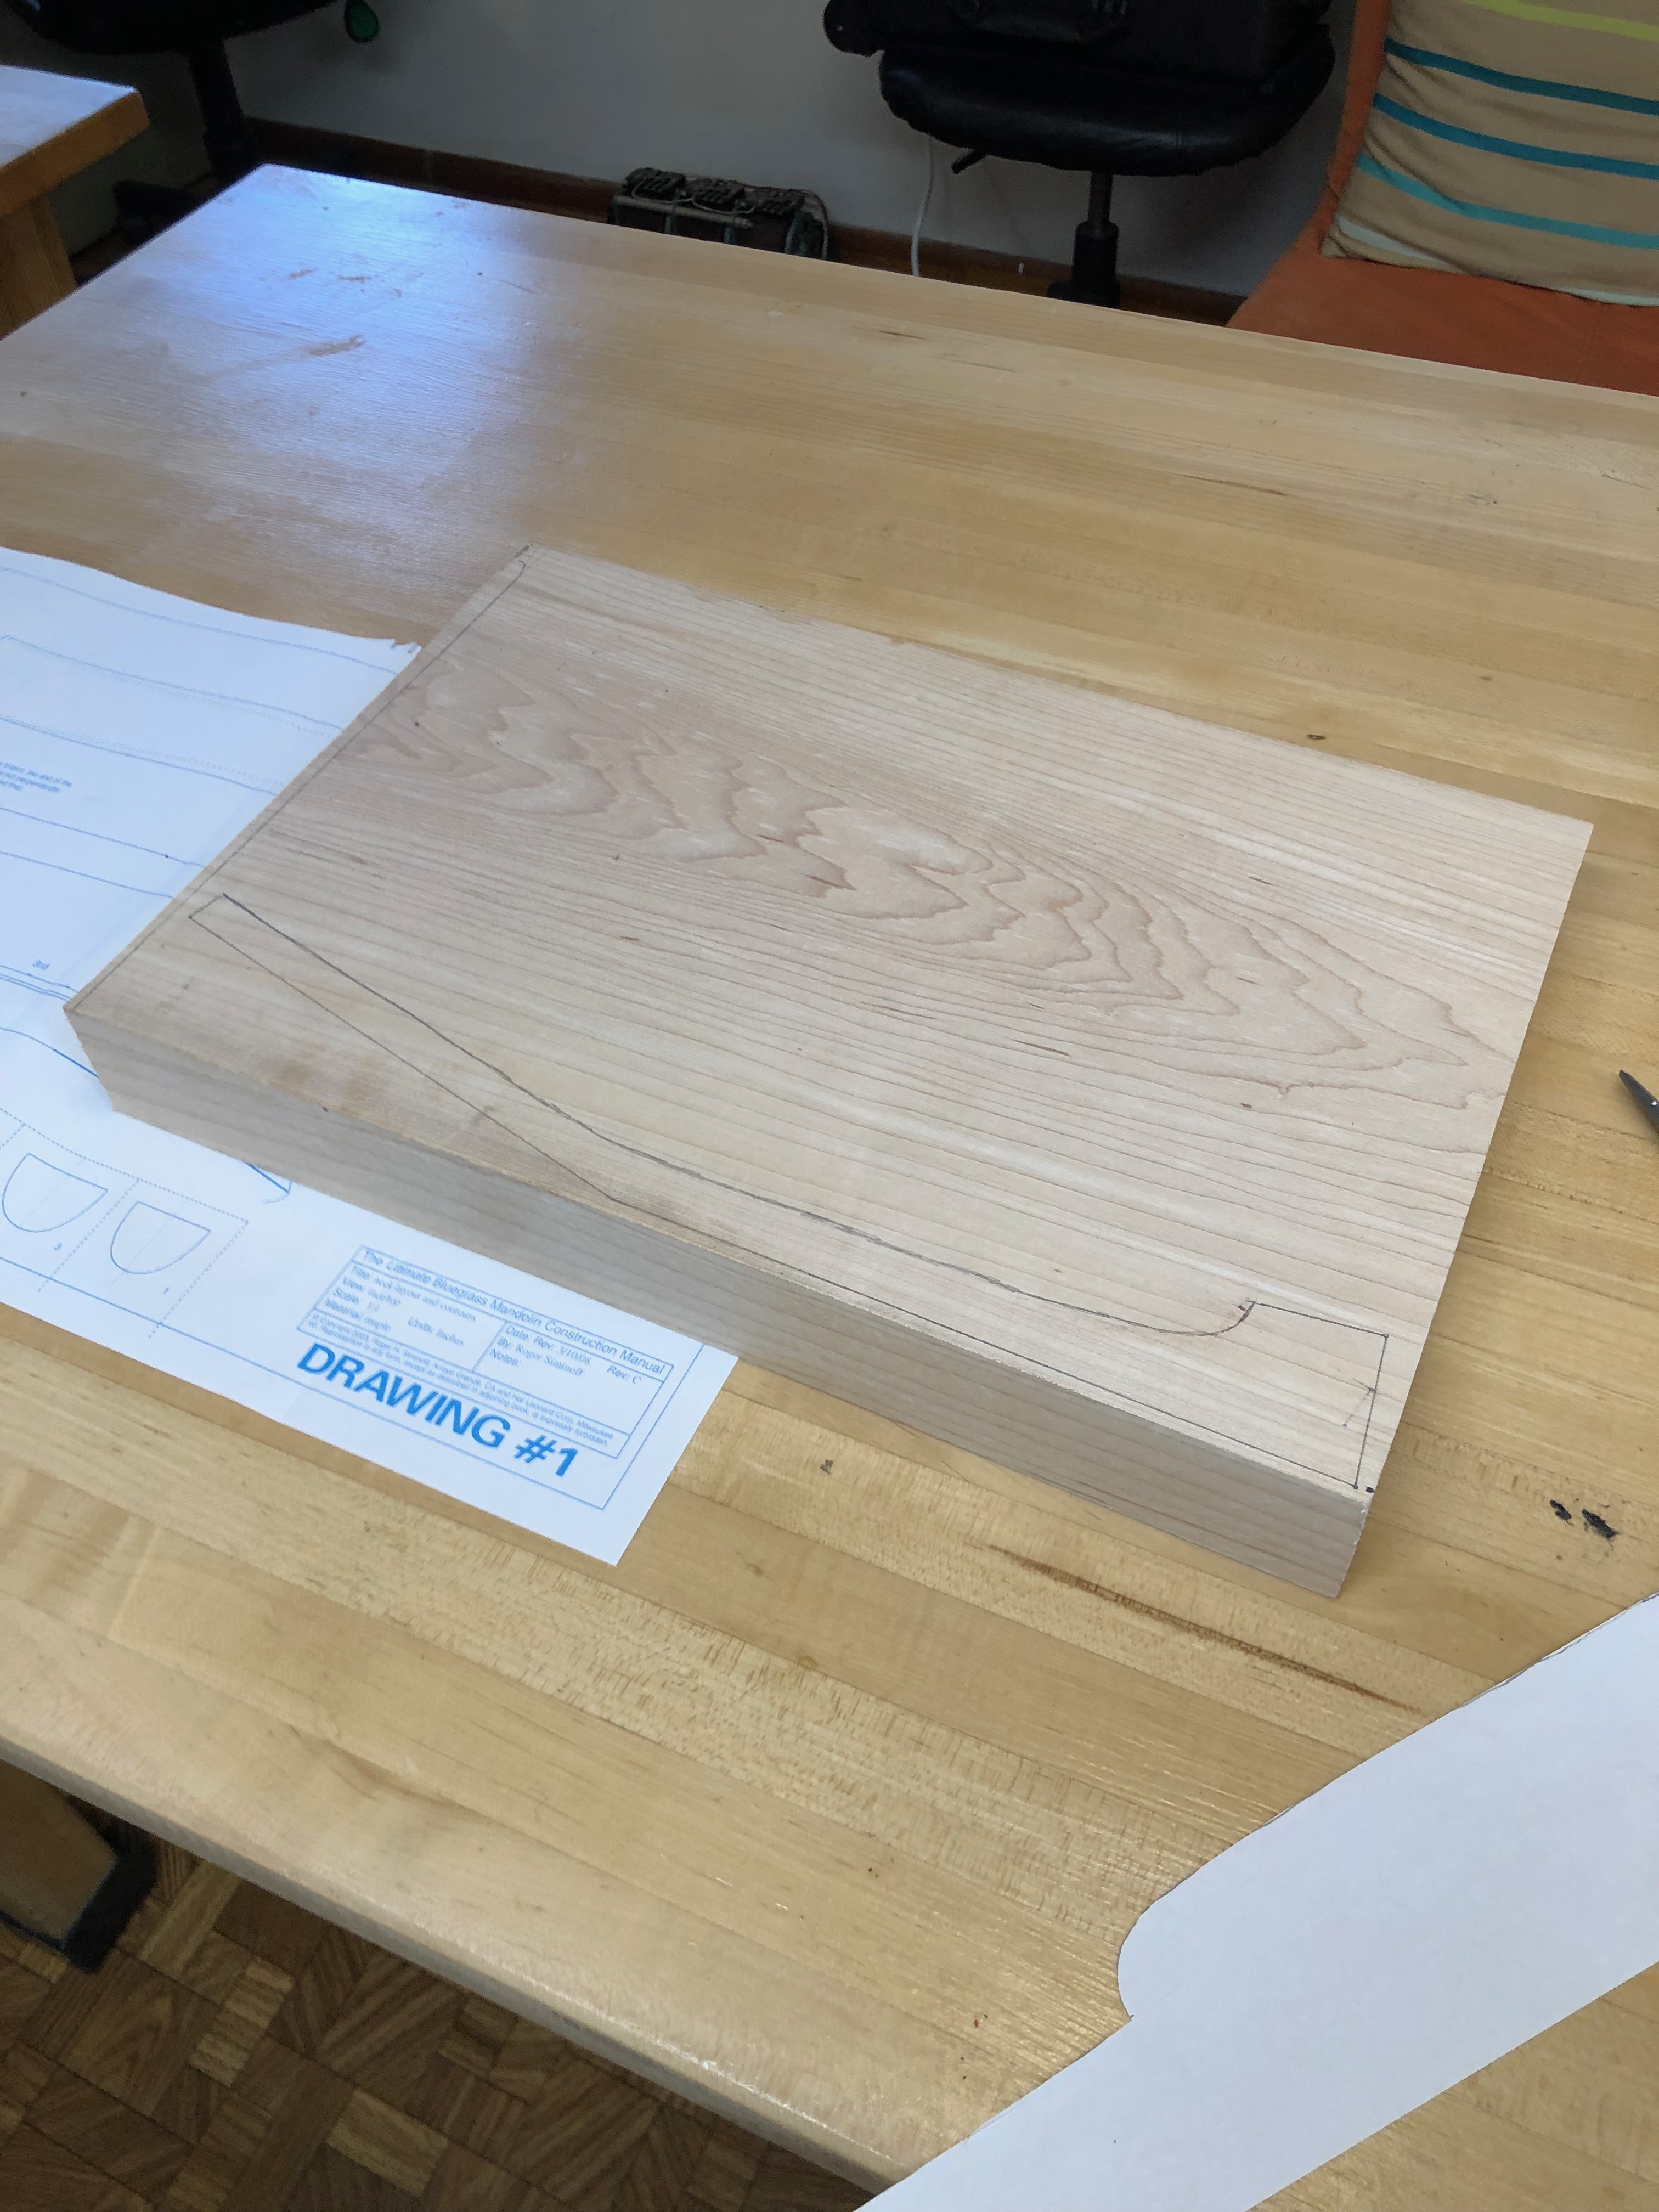
So the first thing the manual has you do is to build the neck for the instrument. I bought some 2' hard sugar maple from my local specialty wood store and got to work. I intend to use these plans again, so I really should make solid plastic or aluminum templates from the full size plans, but for this I just used a piece of paper.
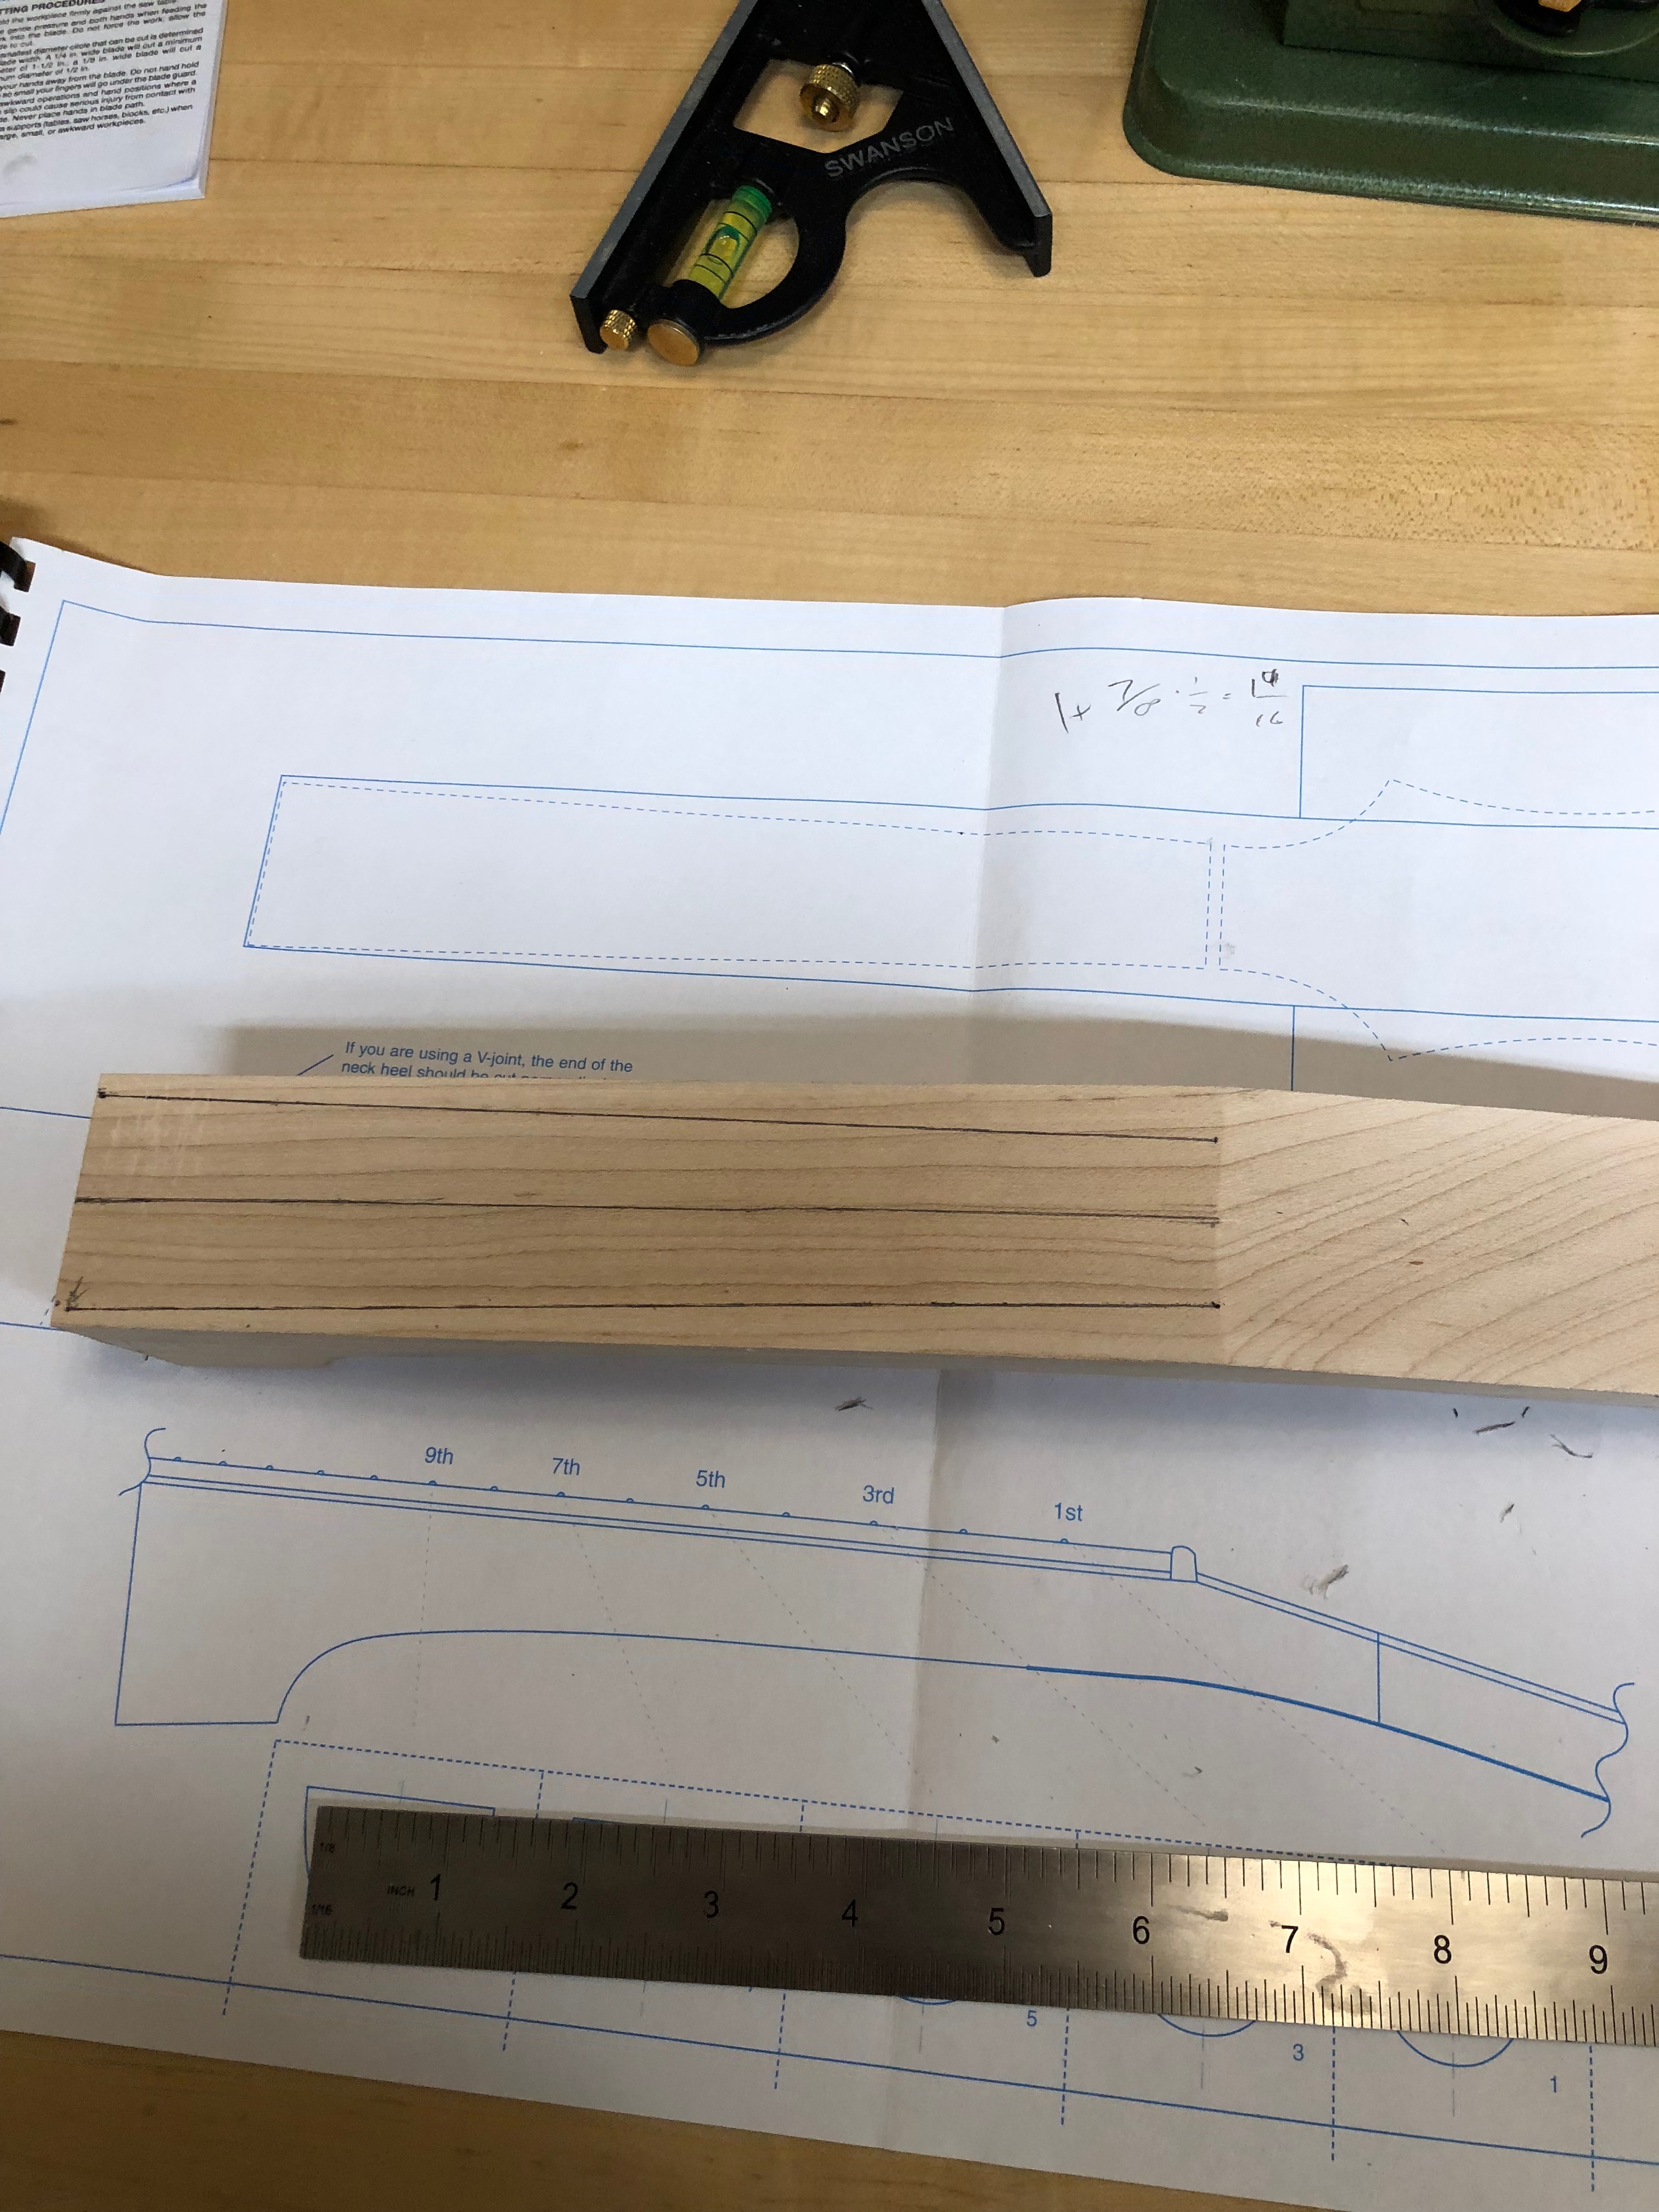
Here is the design fully traced out on the maple.
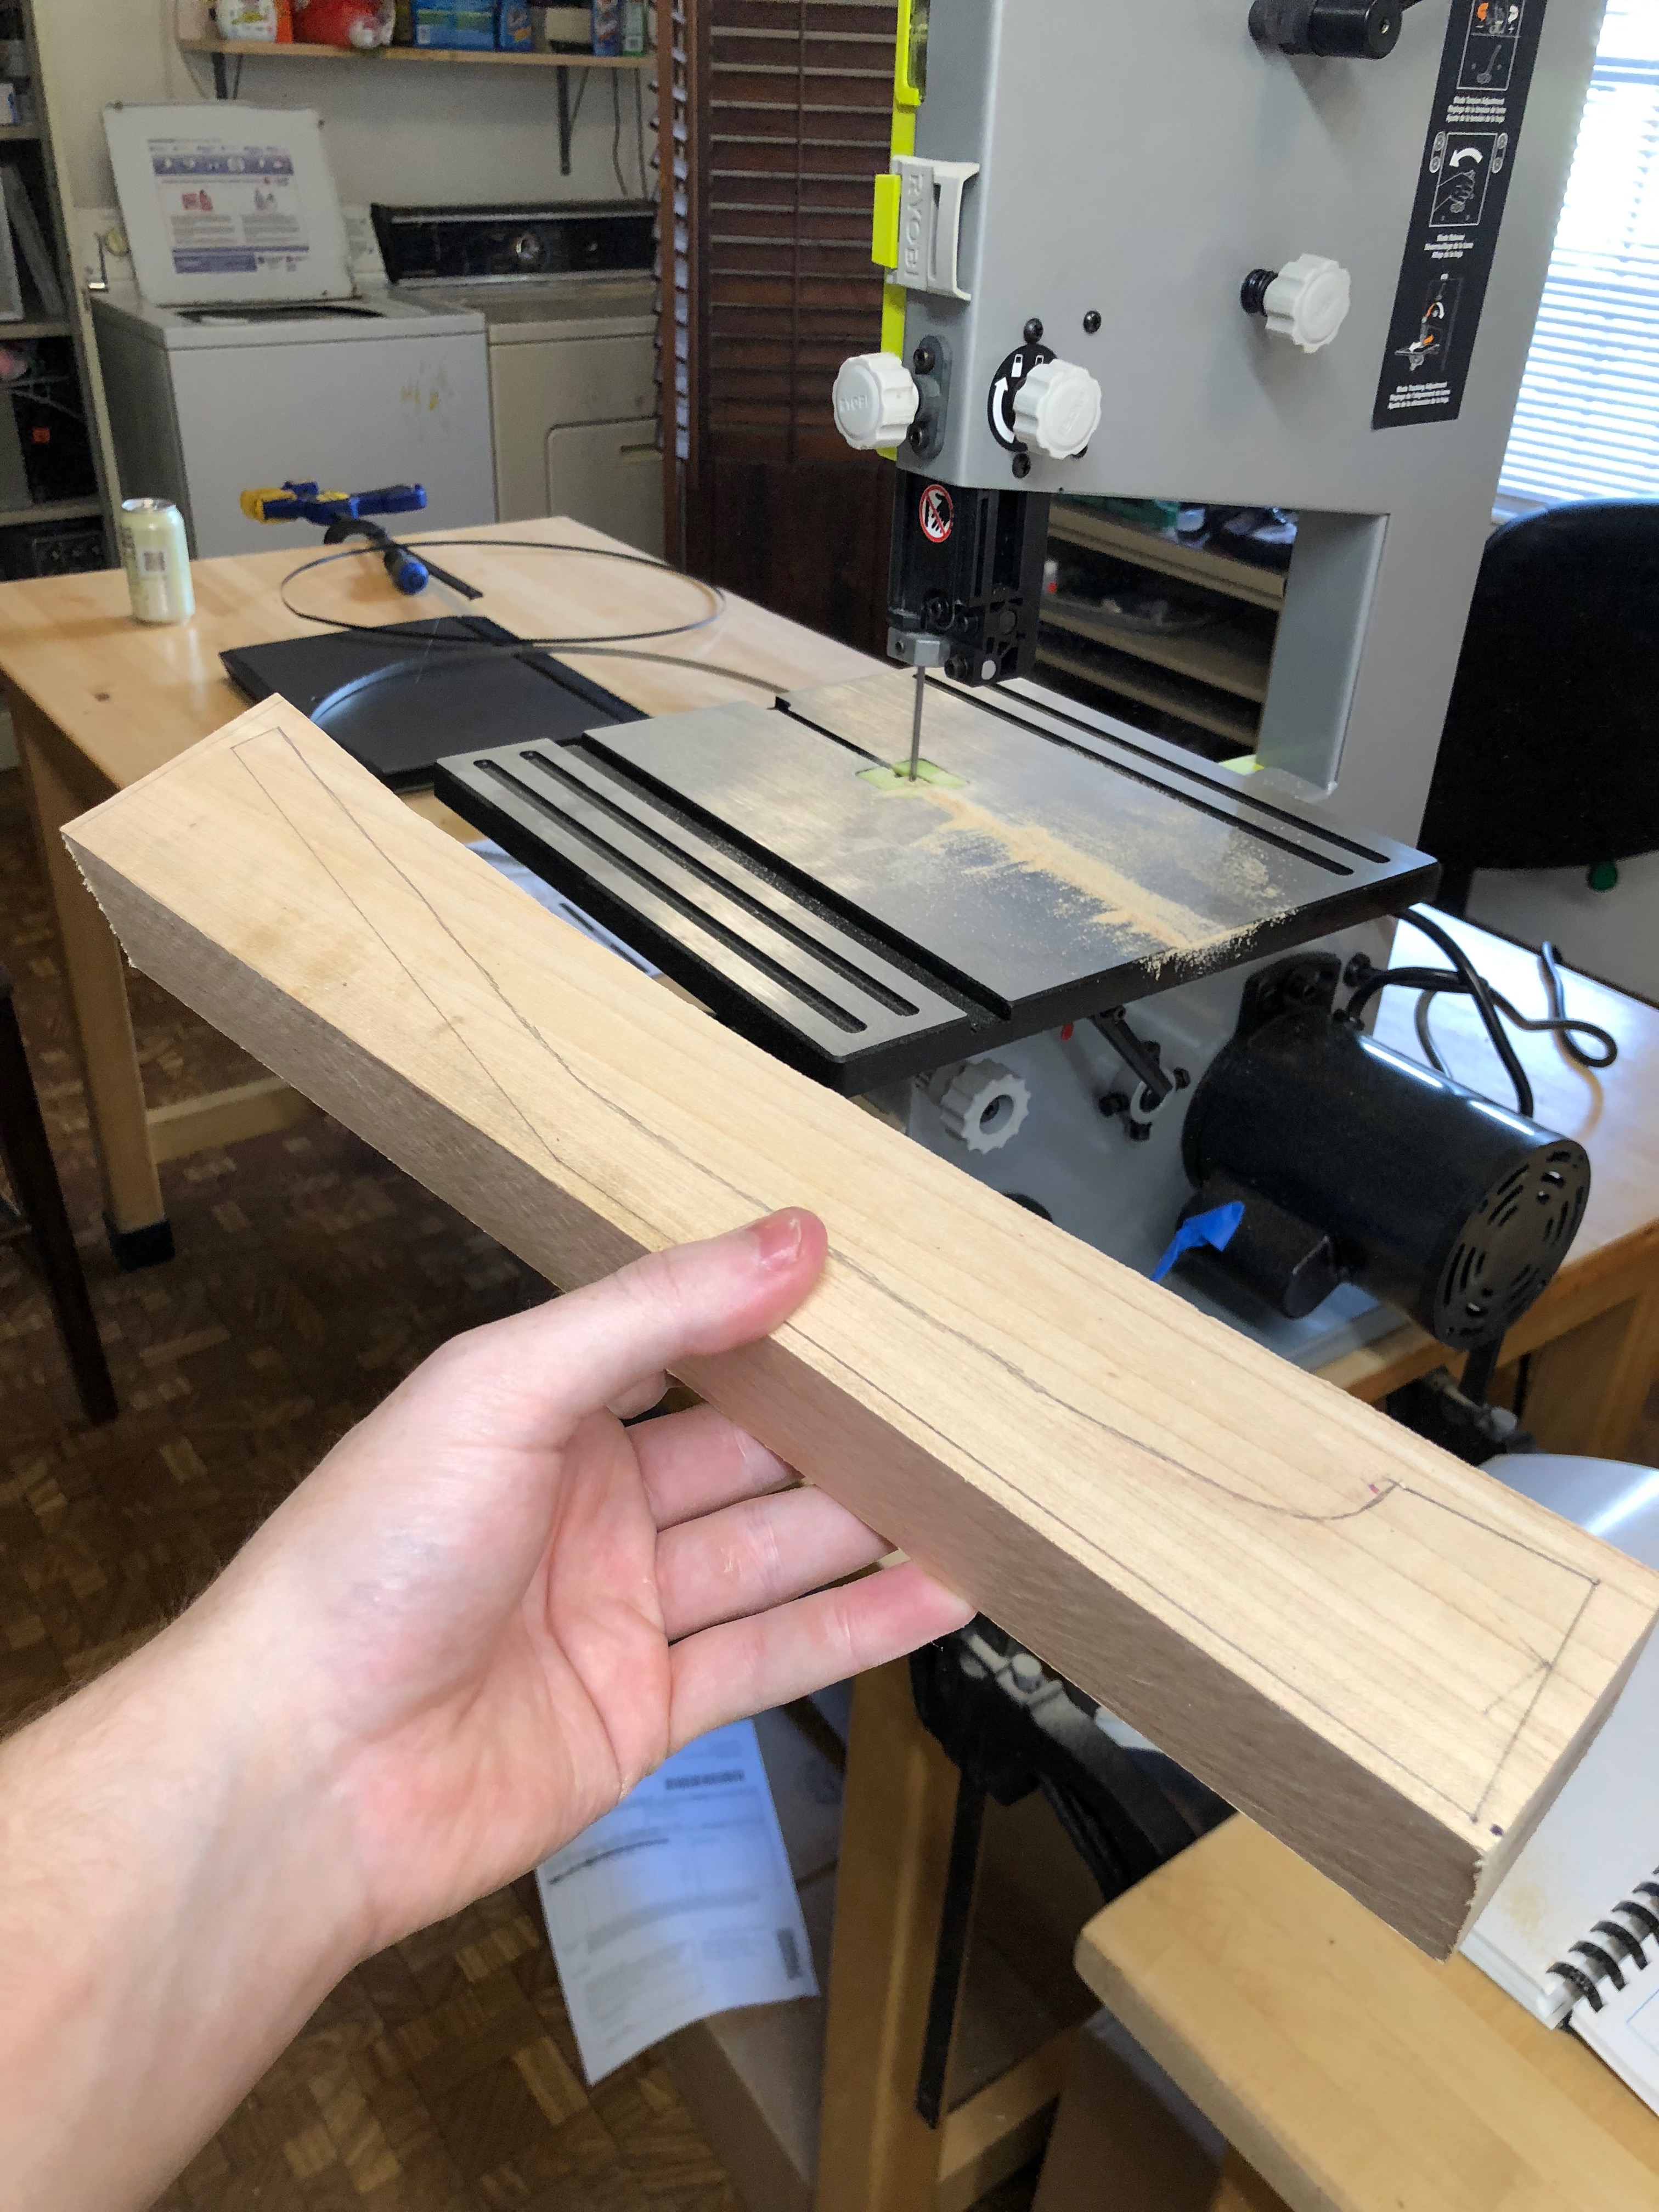
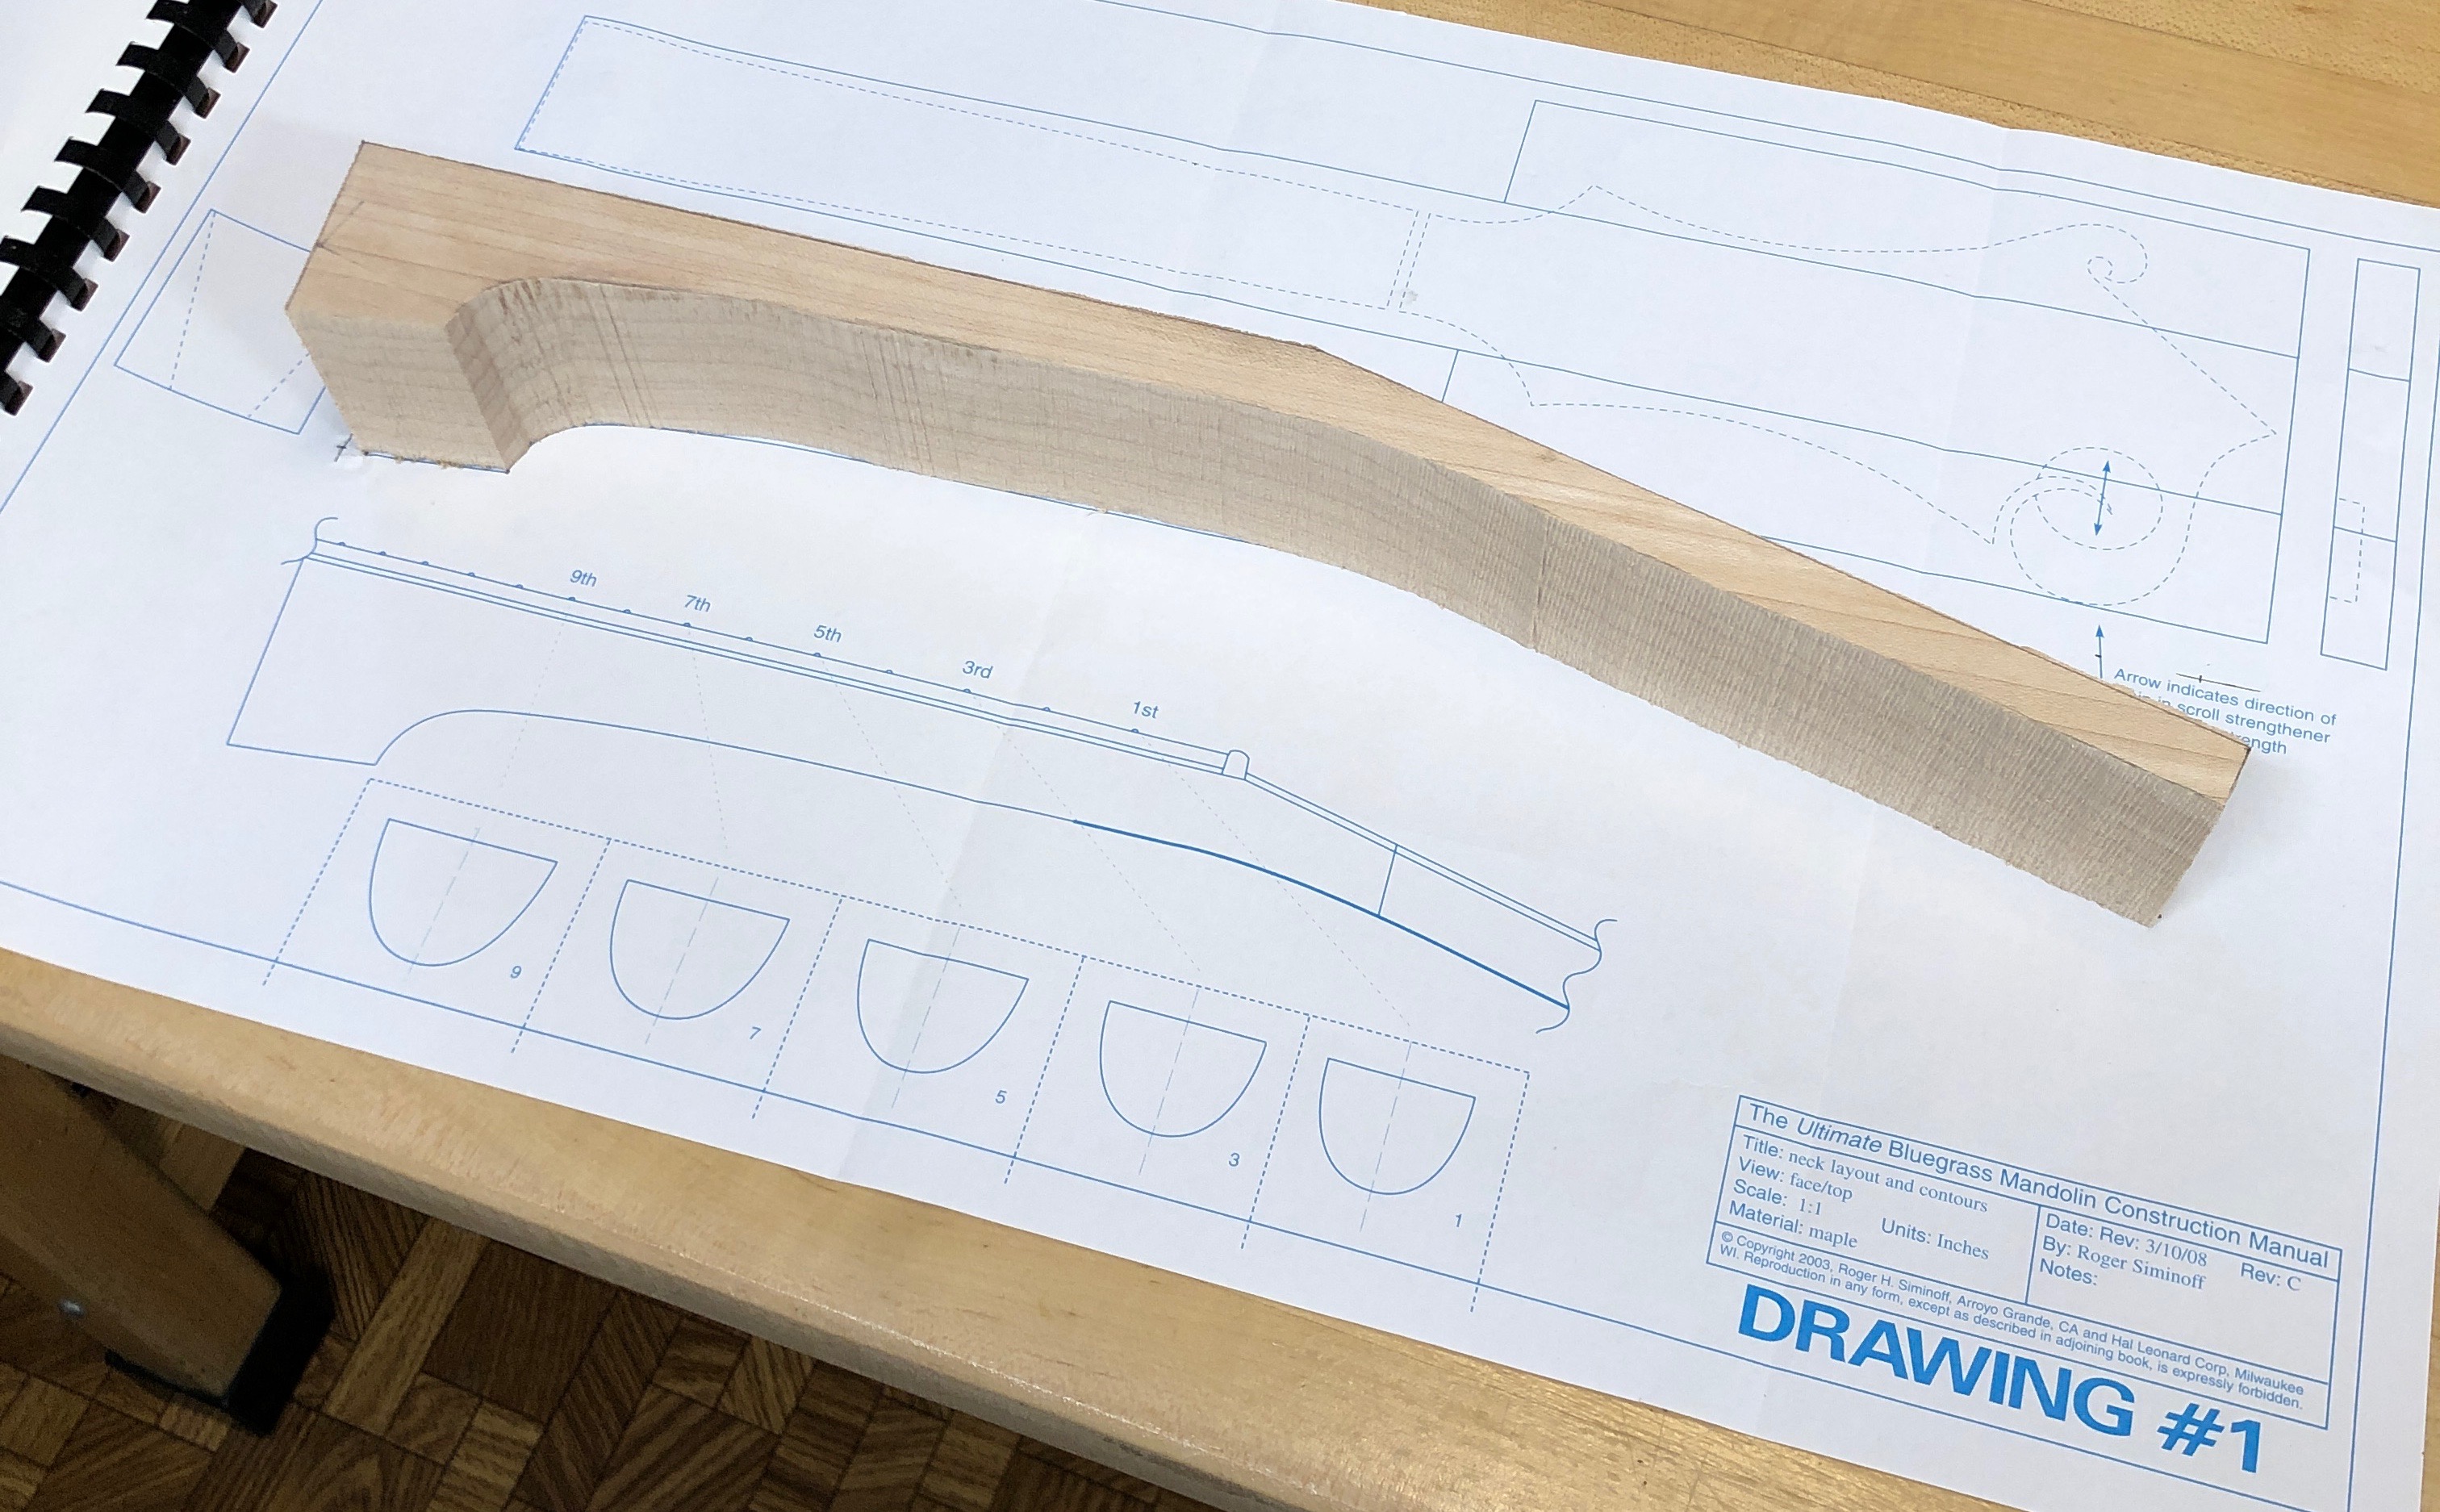
I have a cheap Home Depot bandsaw so I had to go slow and in chunks to get through this hard stuff, but eventually I got it down to size.
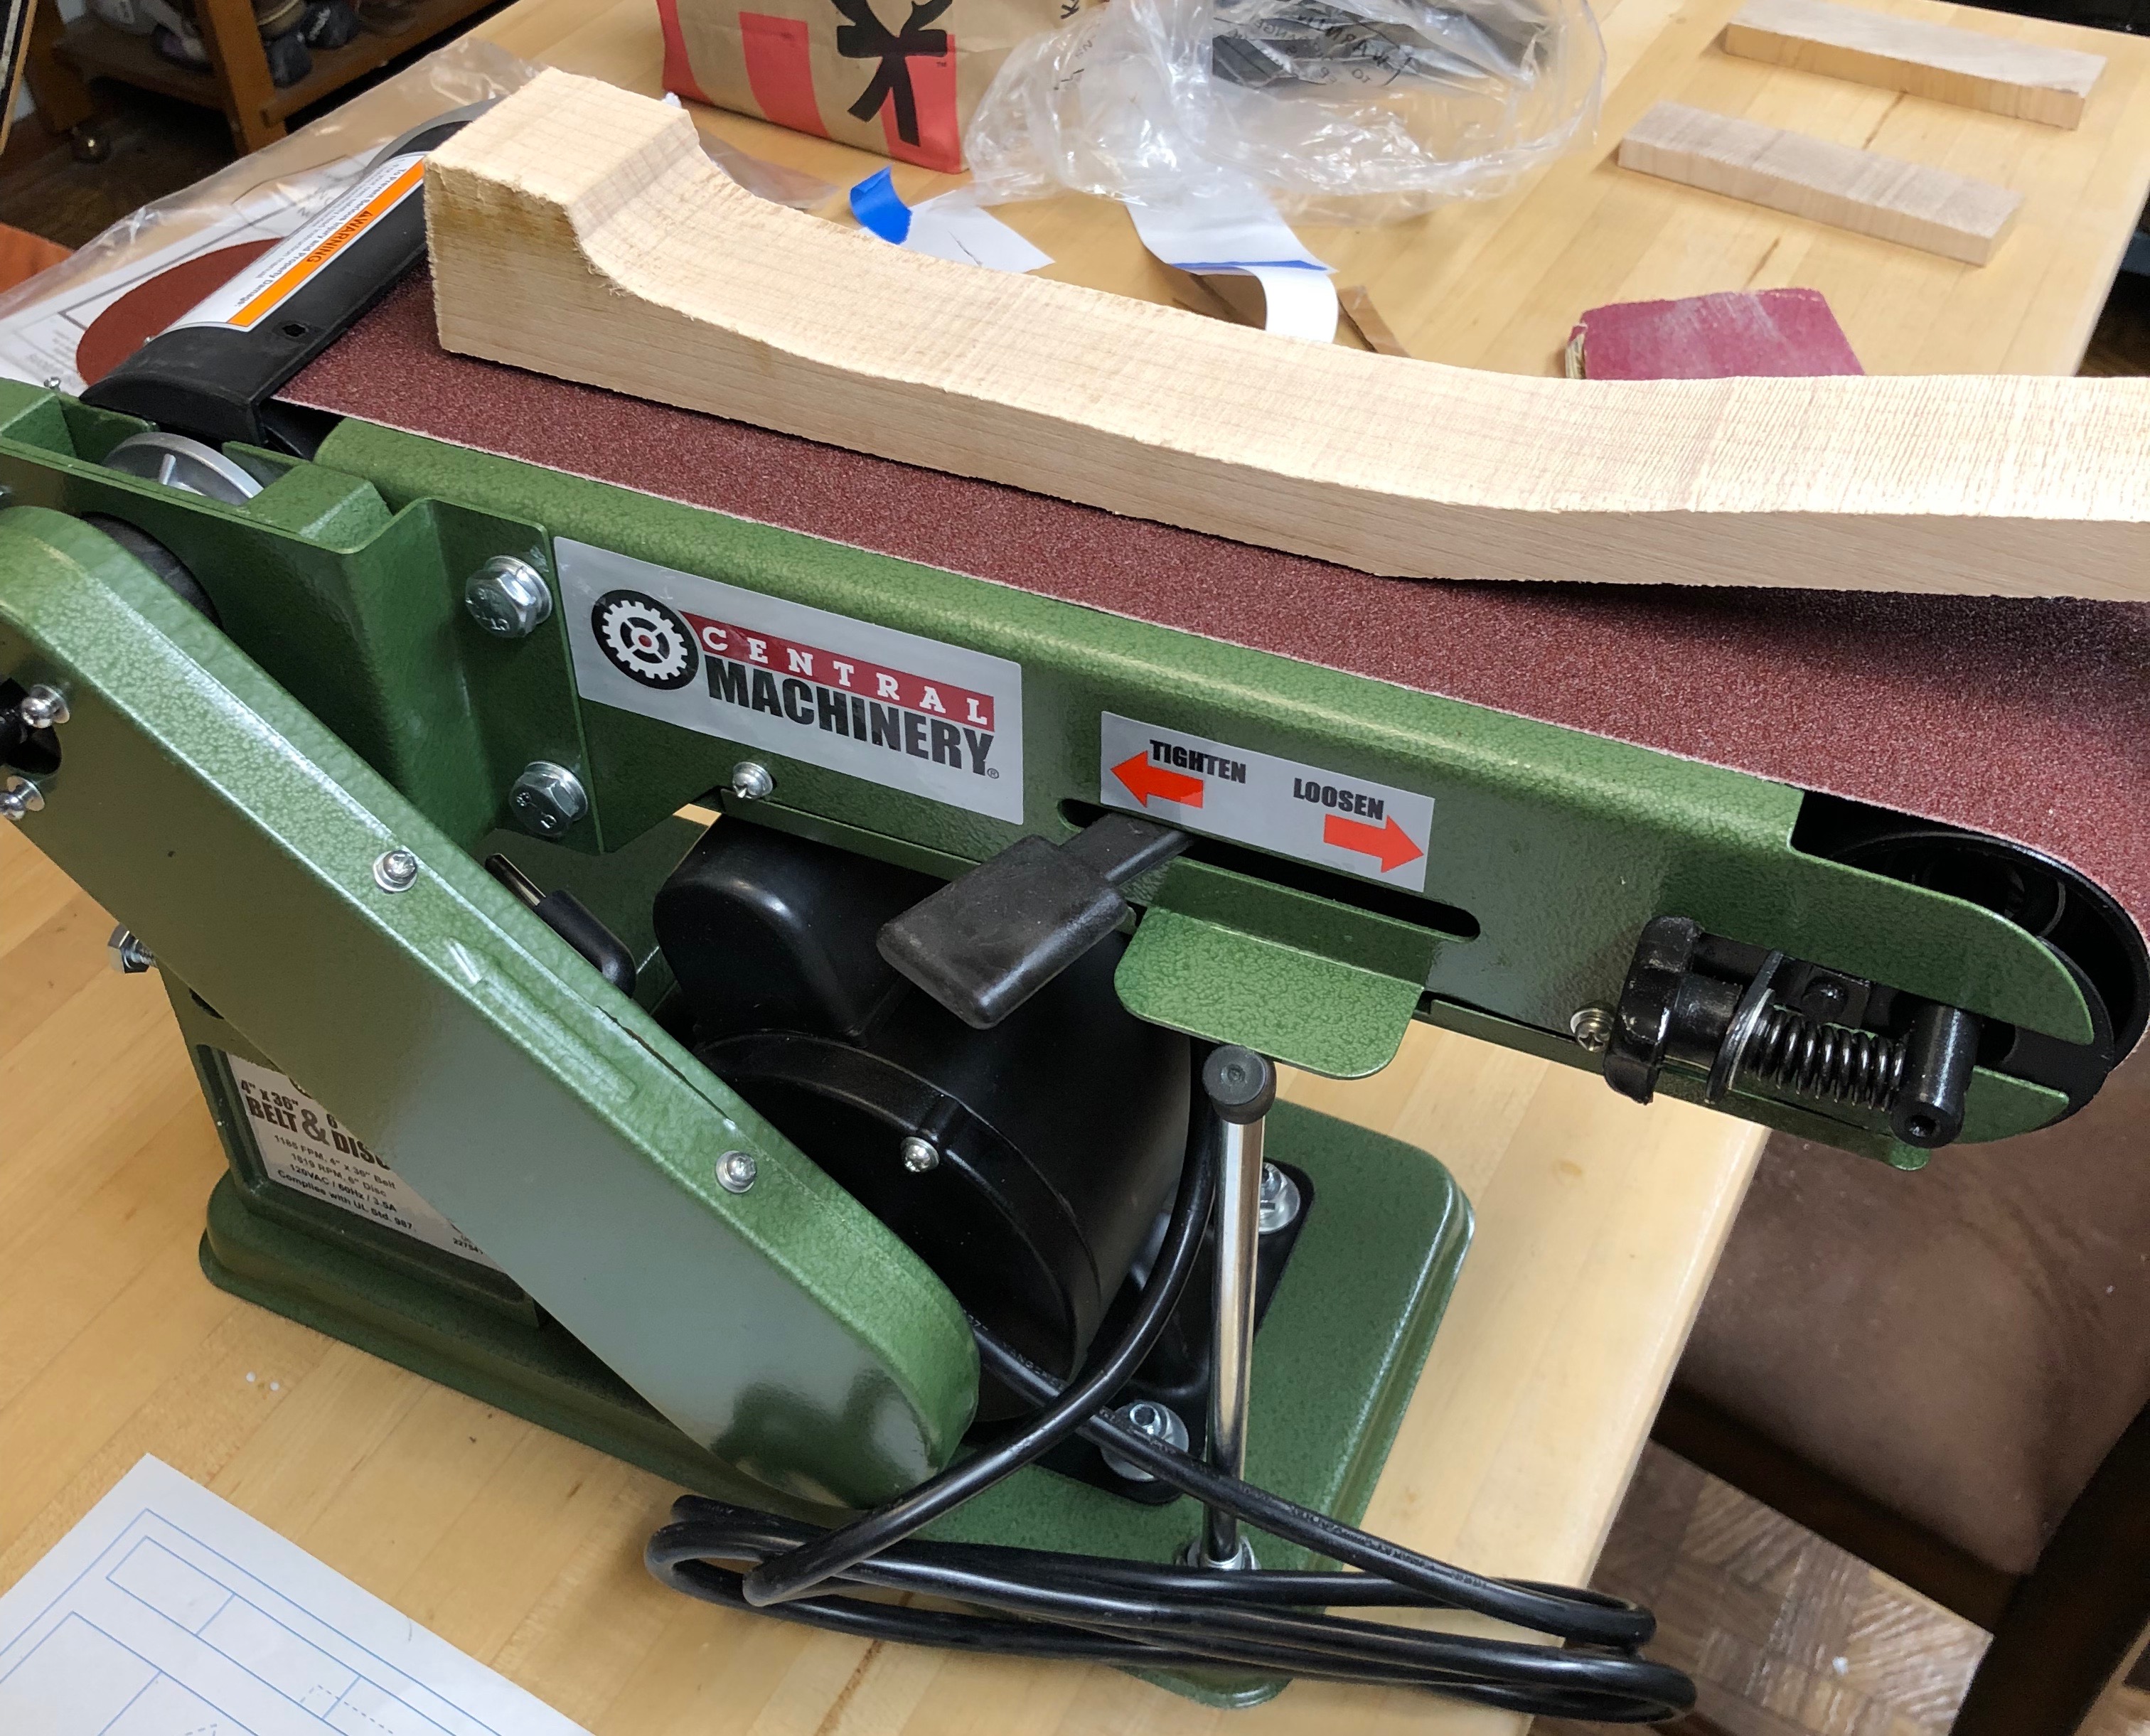
Next, I had to surface the fretboard plane and the peghead plane. I used a harbor freight table sander to get them nice and even.
I then sketched the fretboard pattern onto this neck blank aligning to the center of the blank itself.
Using the table sander once again, I brought down the edge to line up with the fretboard angle.
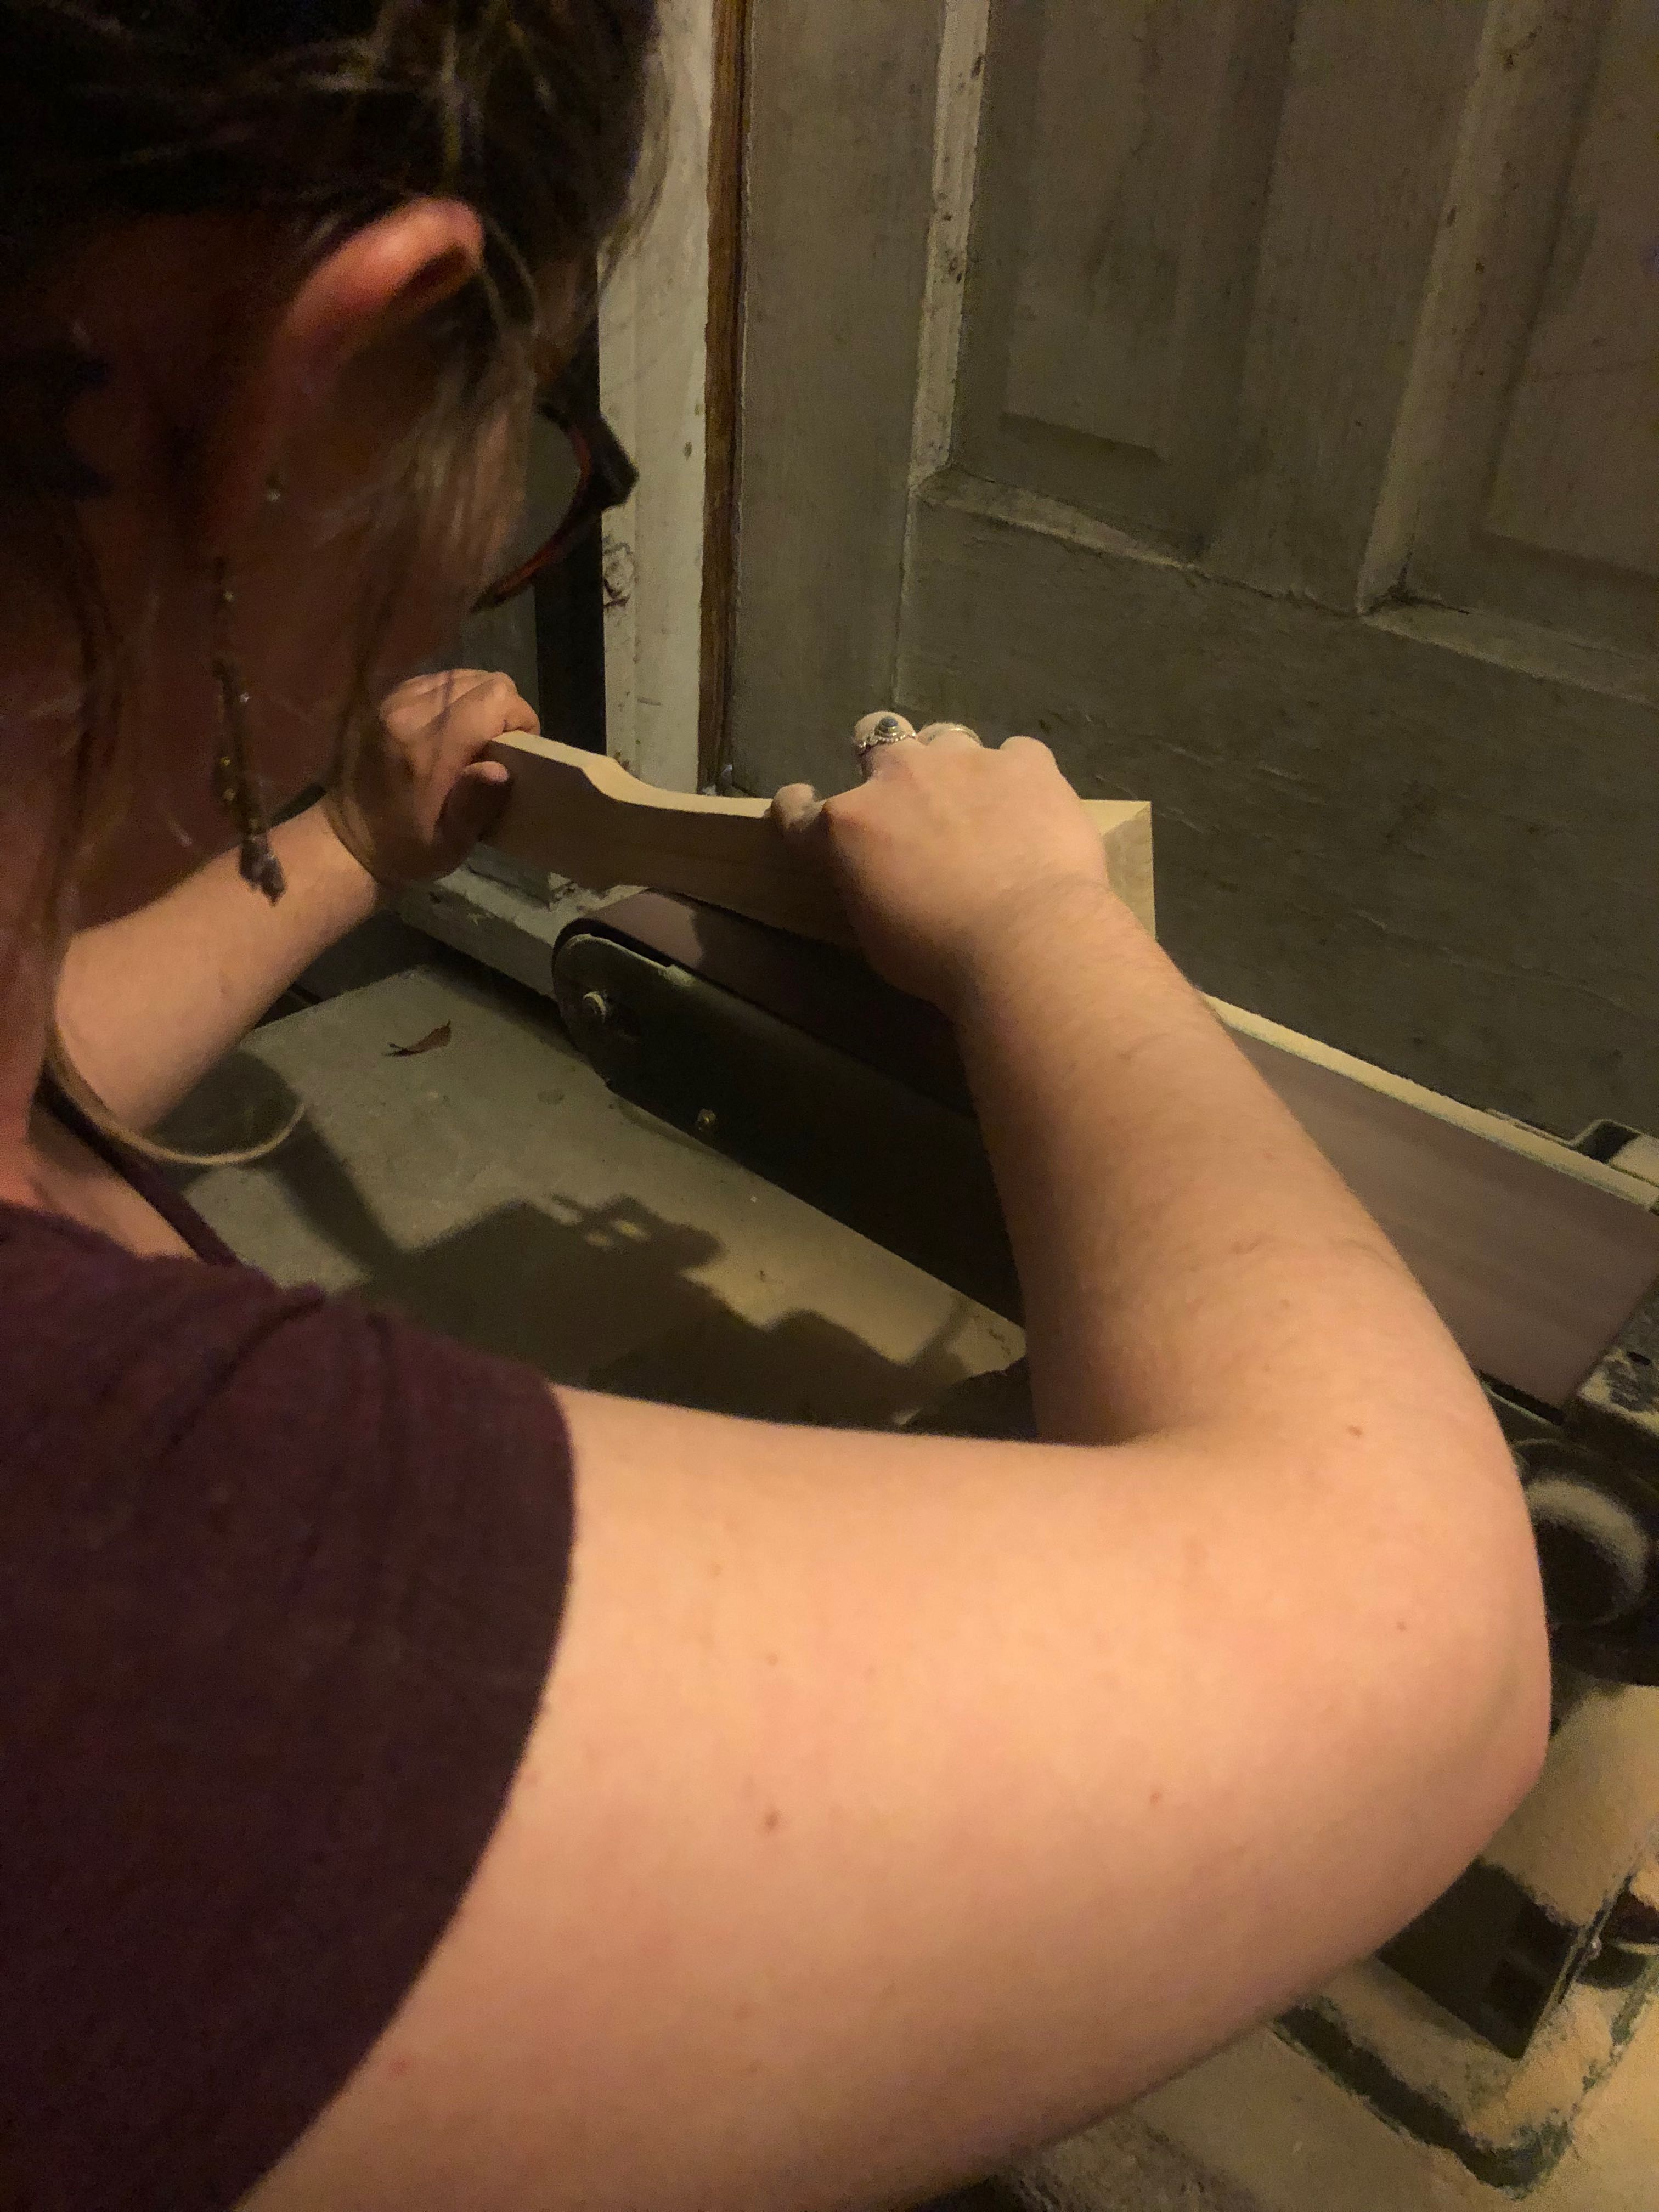
Here is beautiful Ivy helping me out!
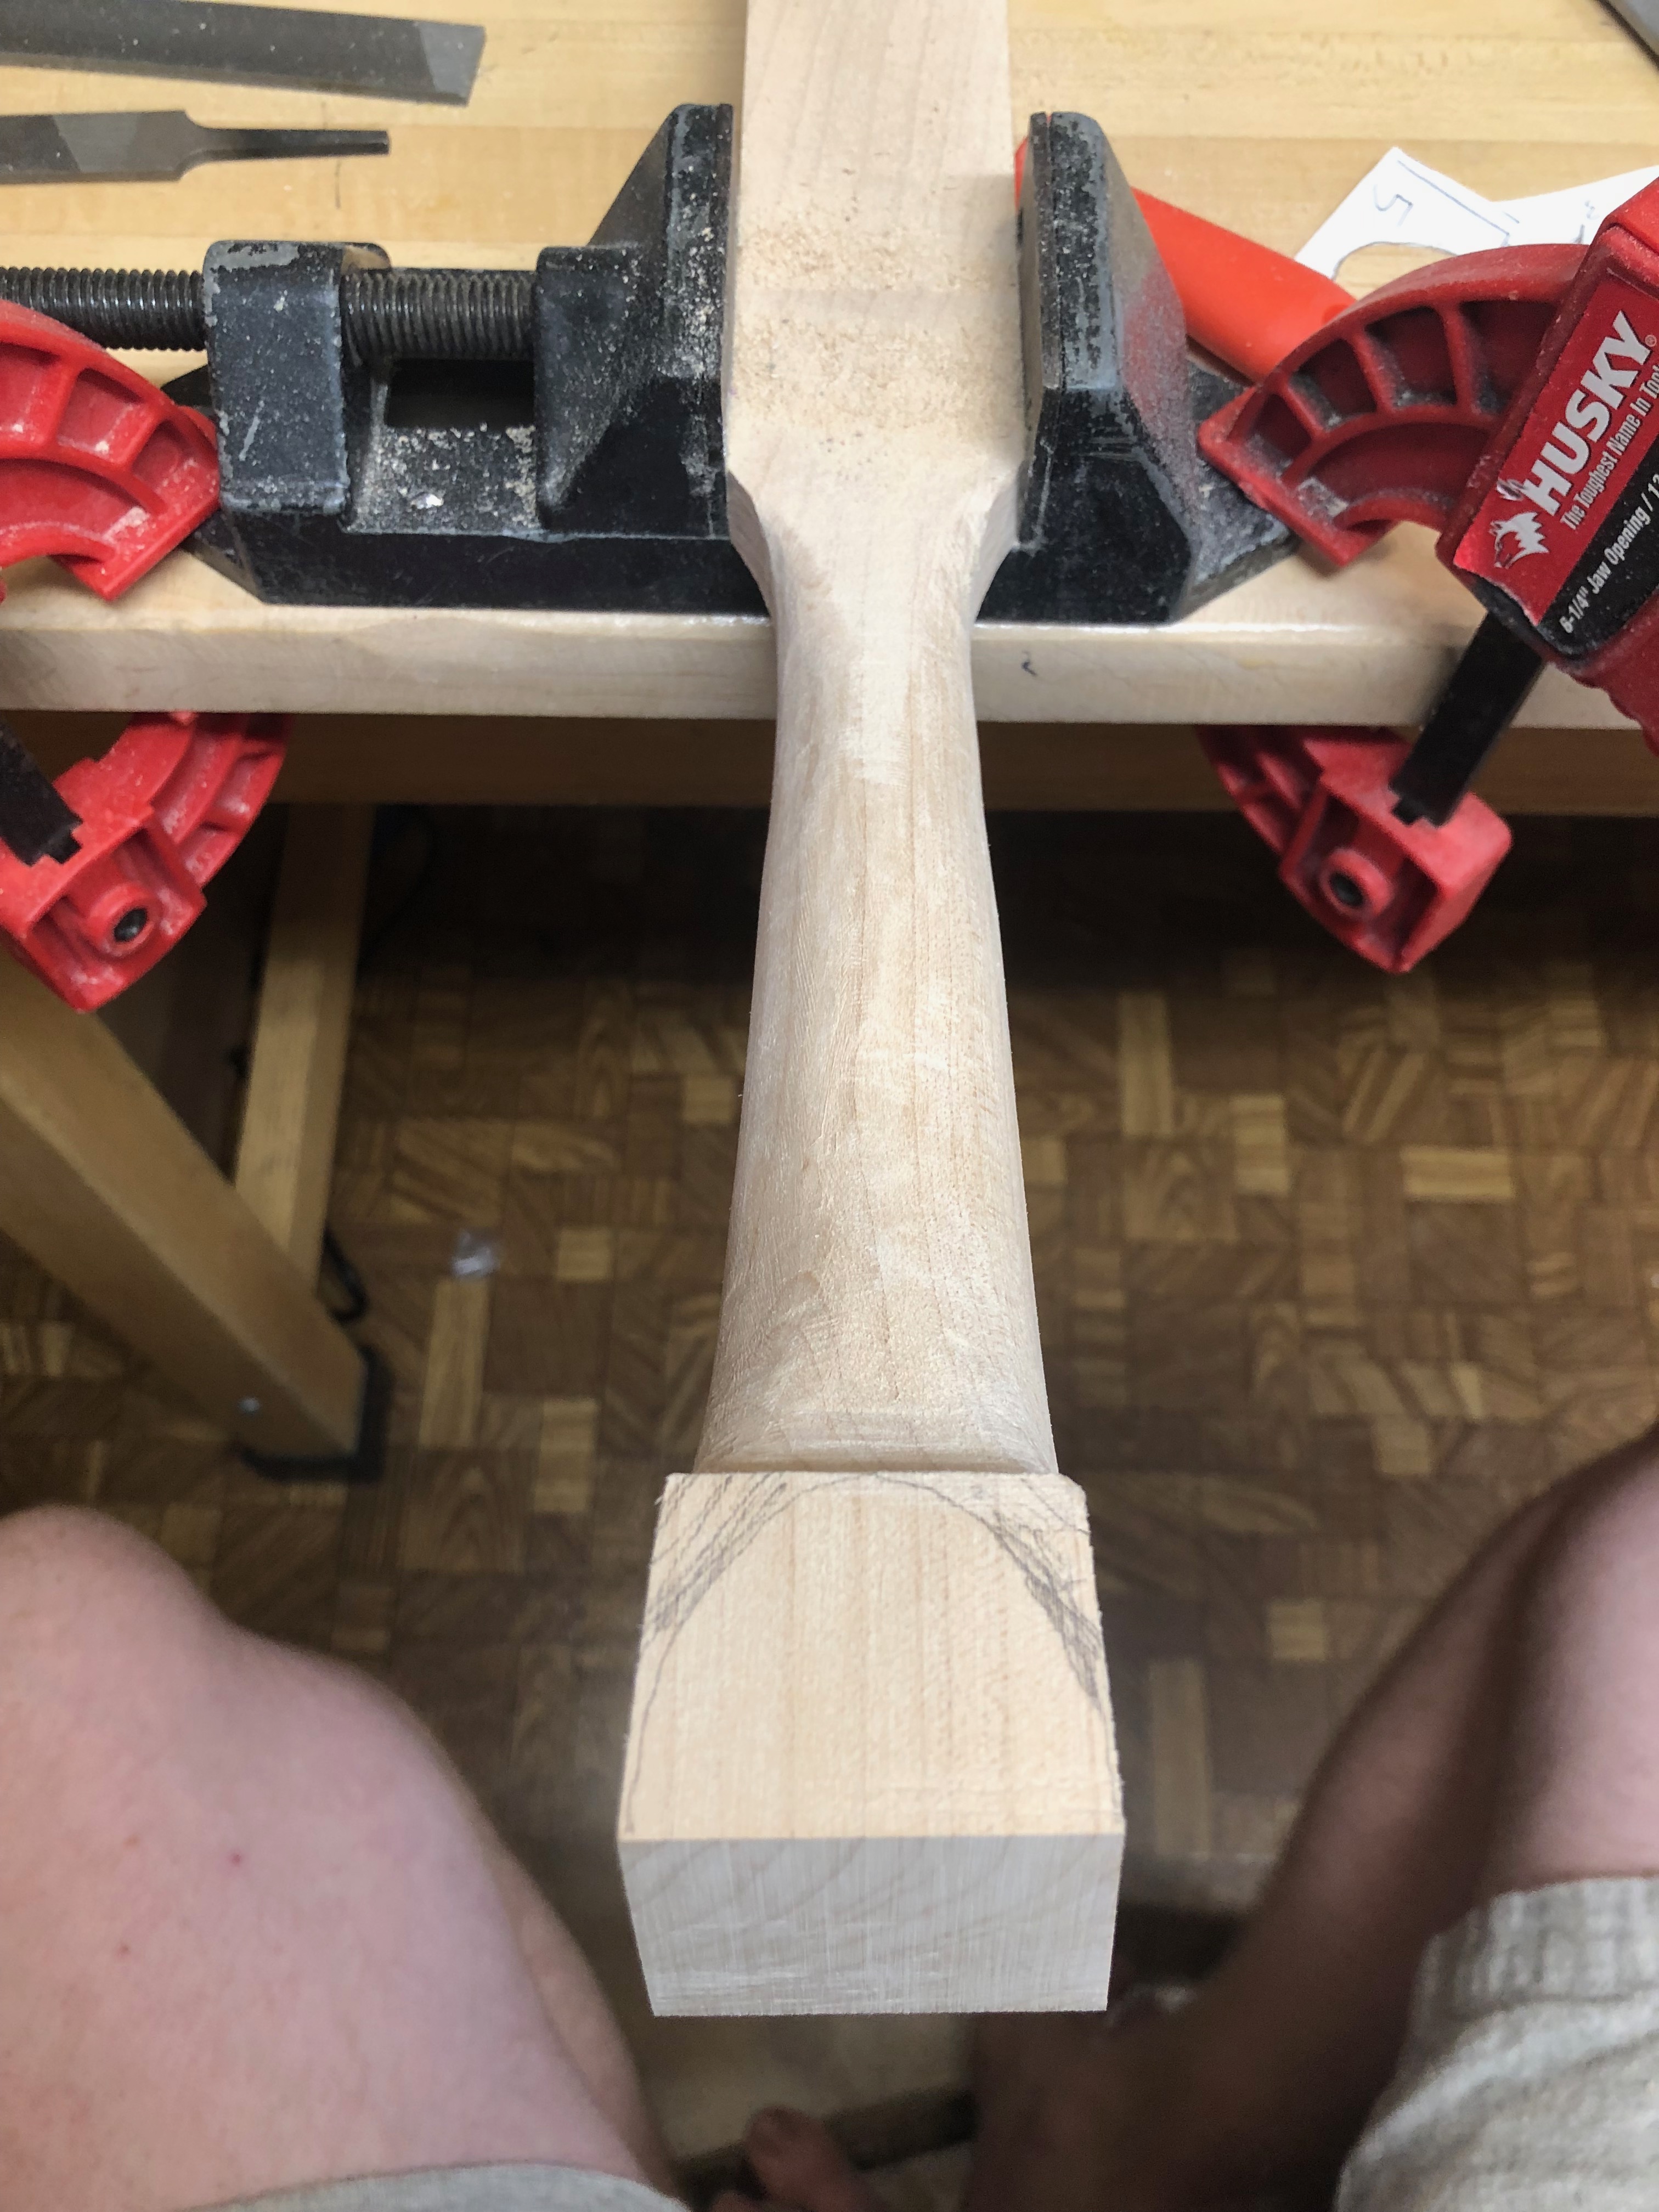
Next, we clamp down the neck and start filing the neck to profile.
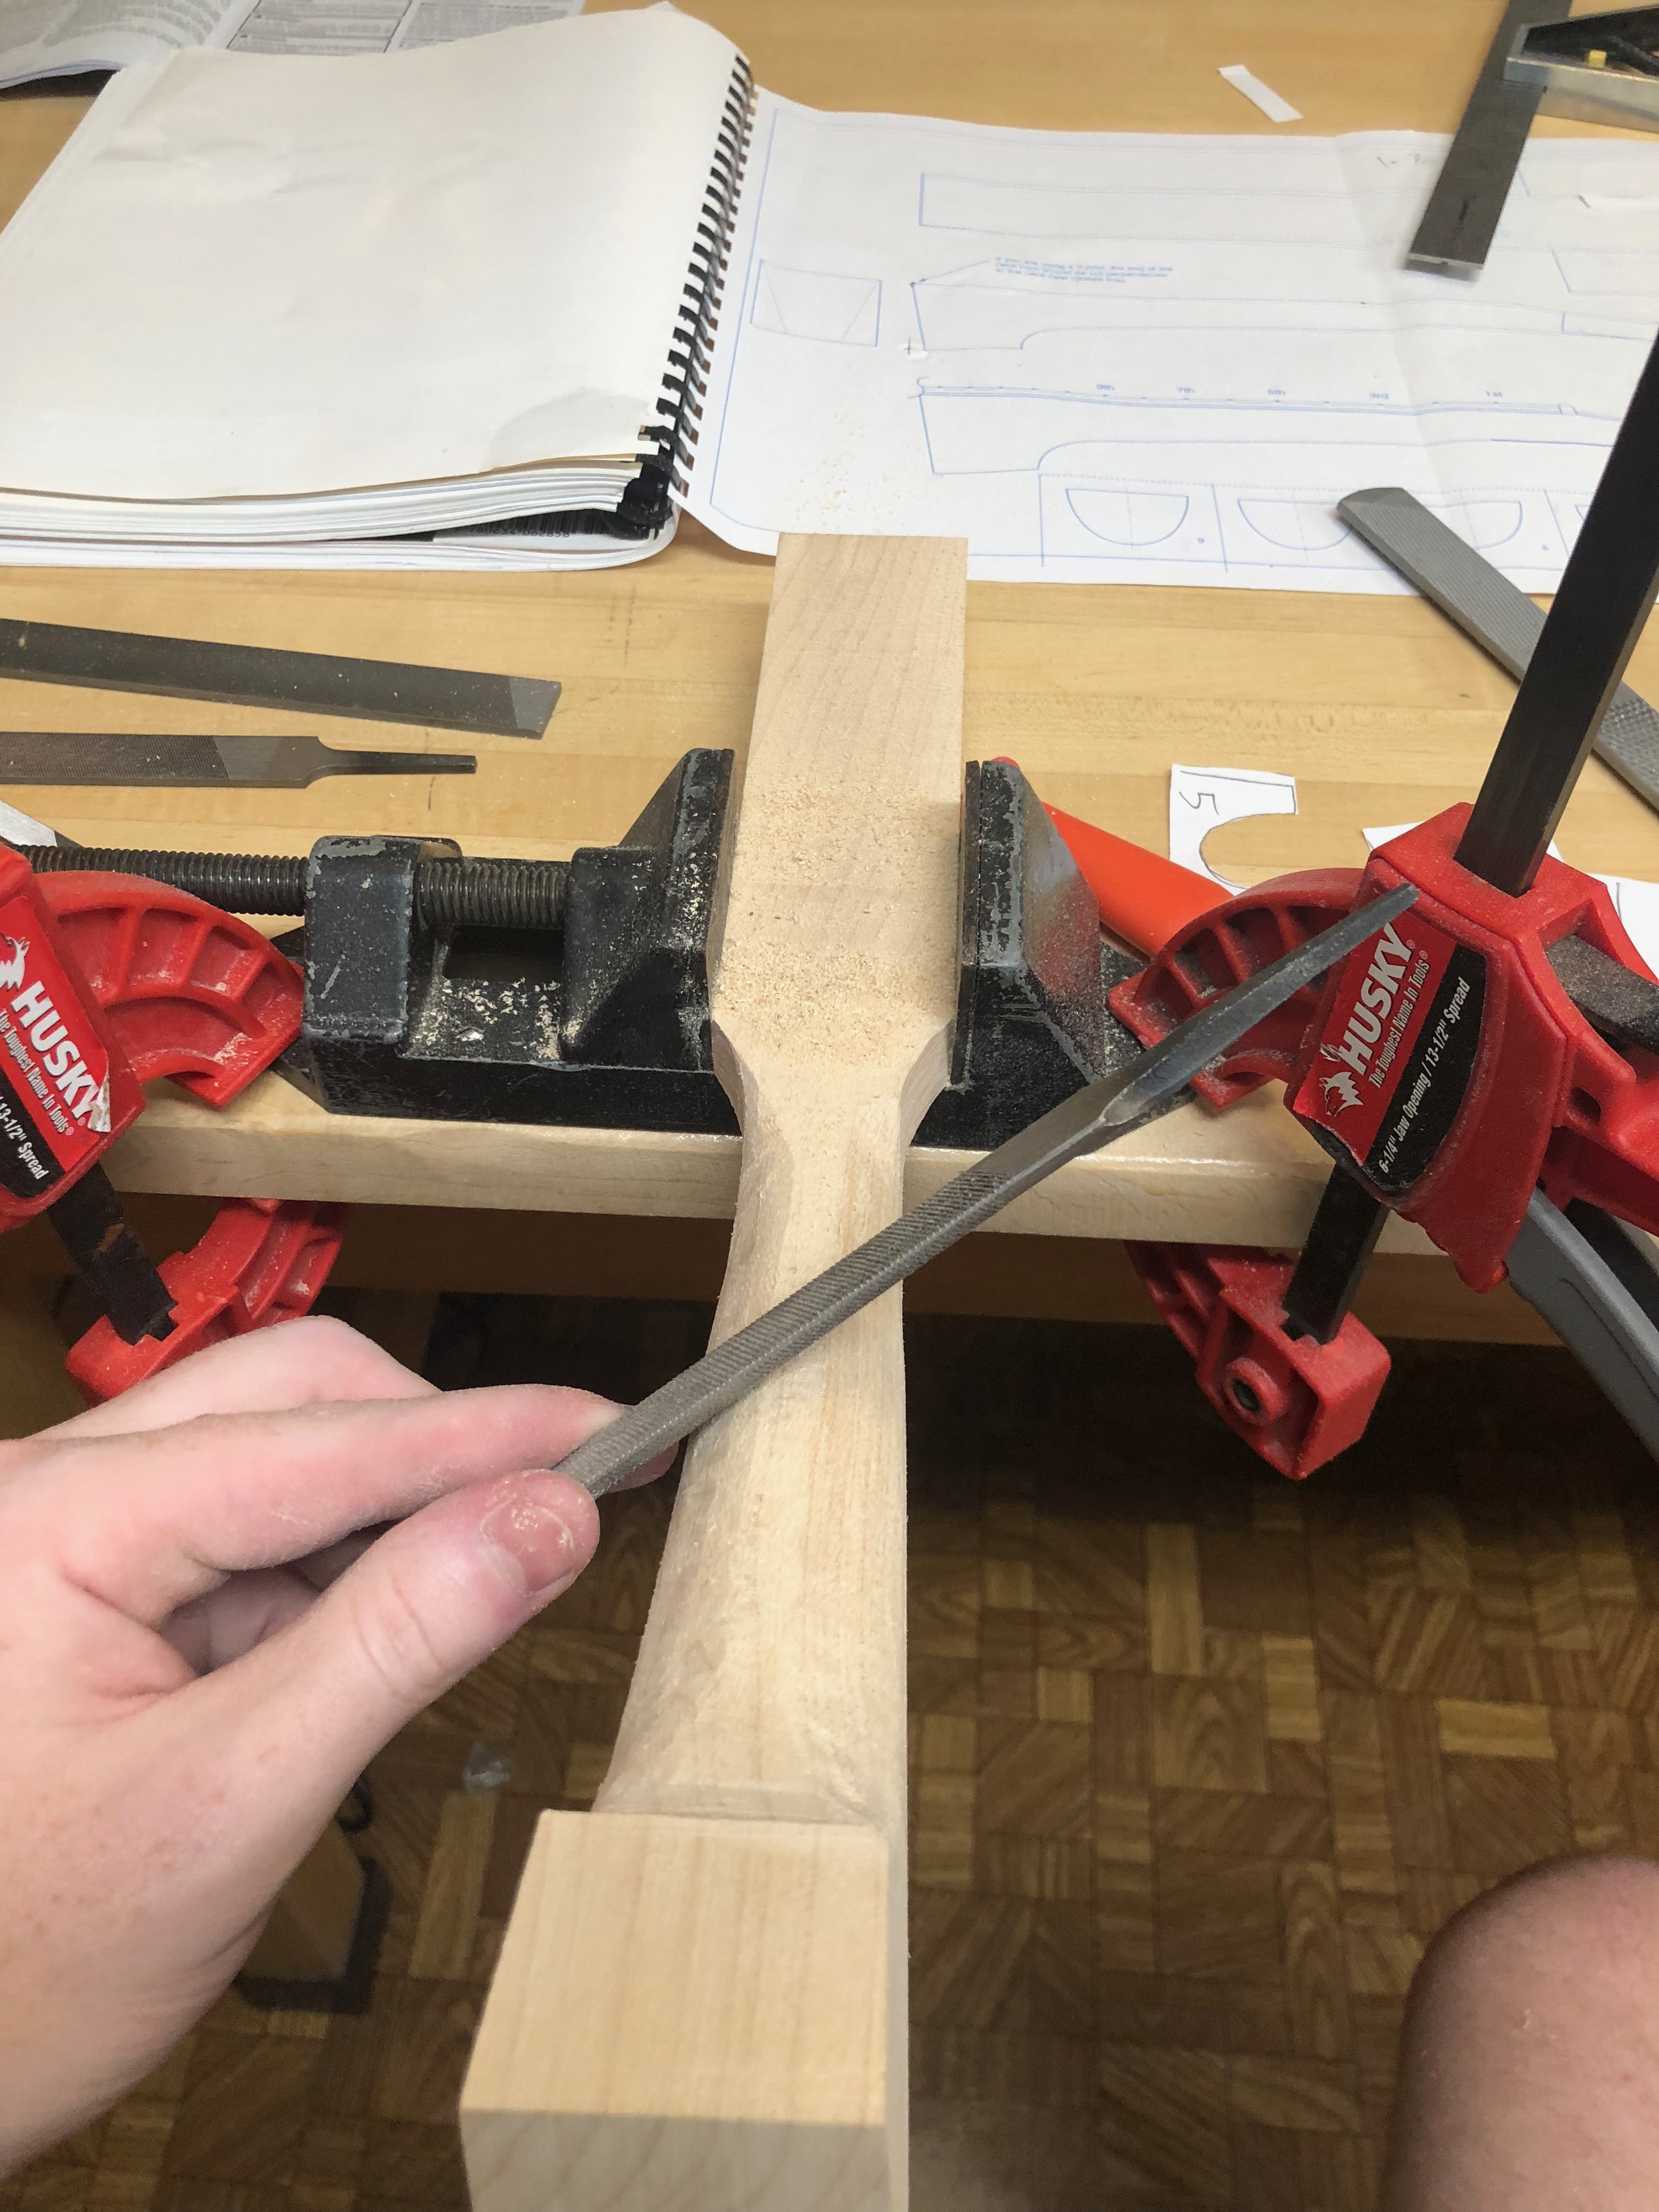
This was a rather grueling process, it took a few hours. The book came with templates of neck profiles that I cut out and checked at certain distances along the fretboard.
The hardest part was the bit near the body end. I wanted the neck to remain rather small so my hand could fit around it well at the high frets.
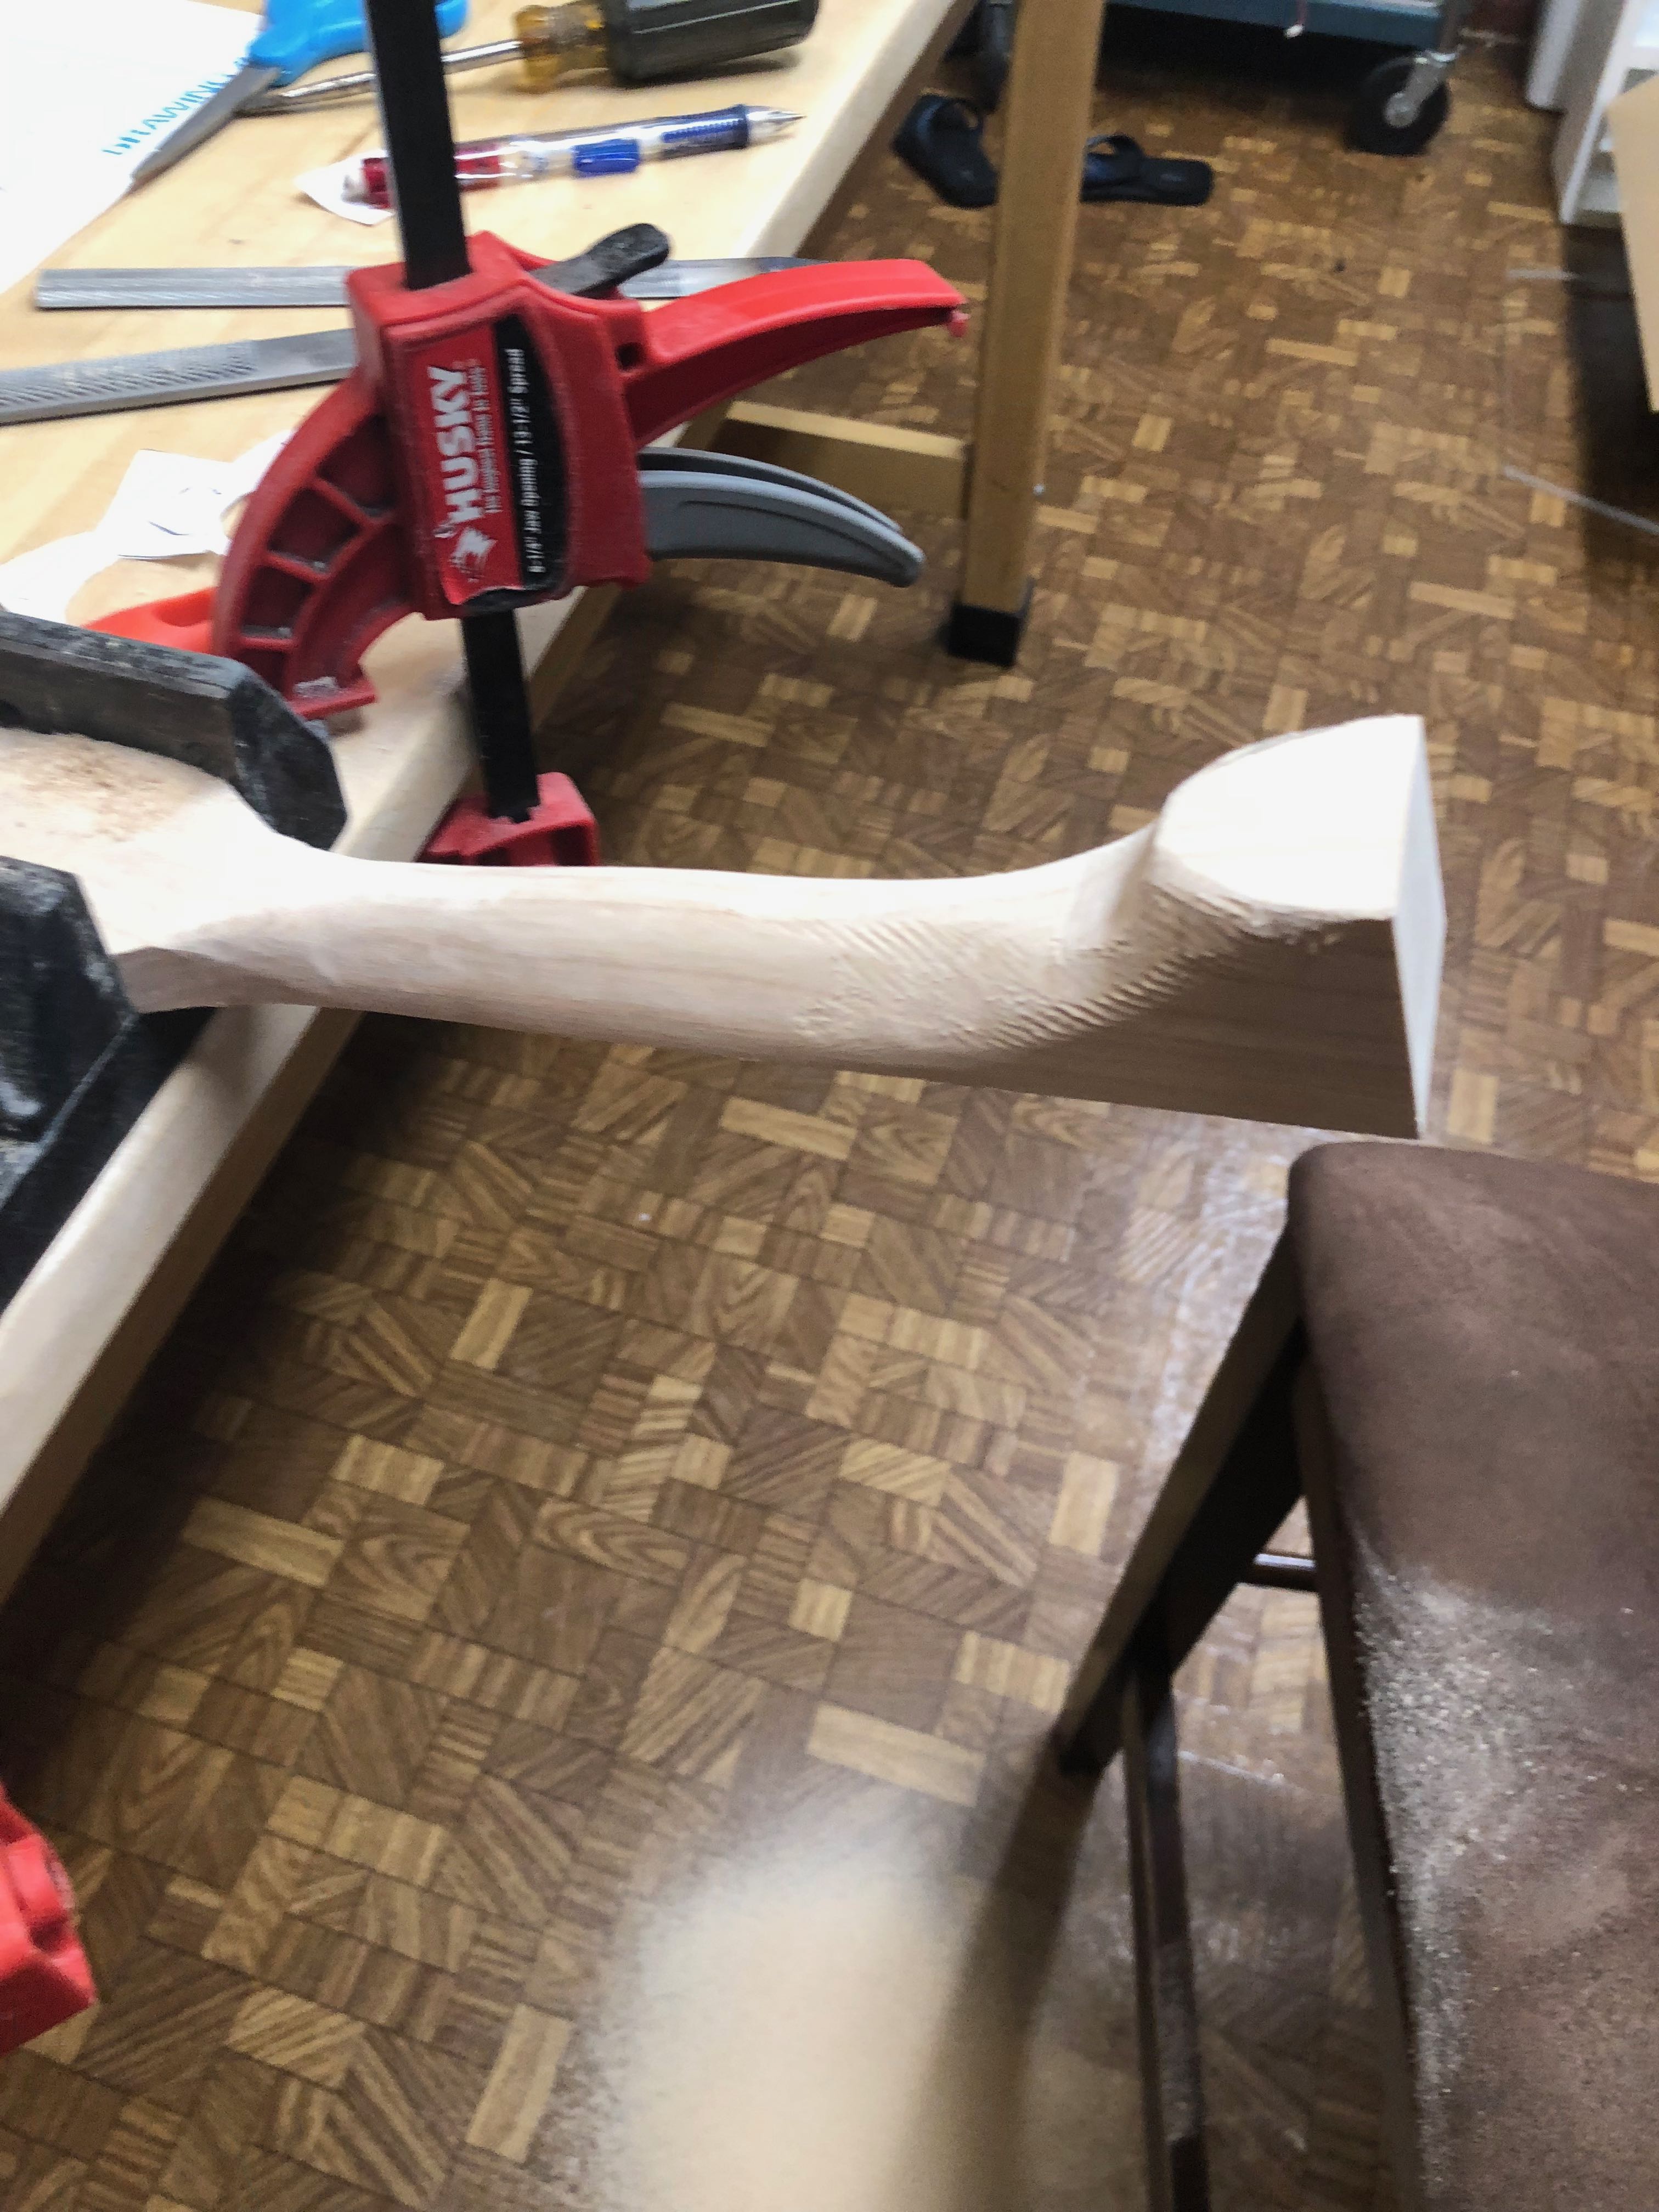
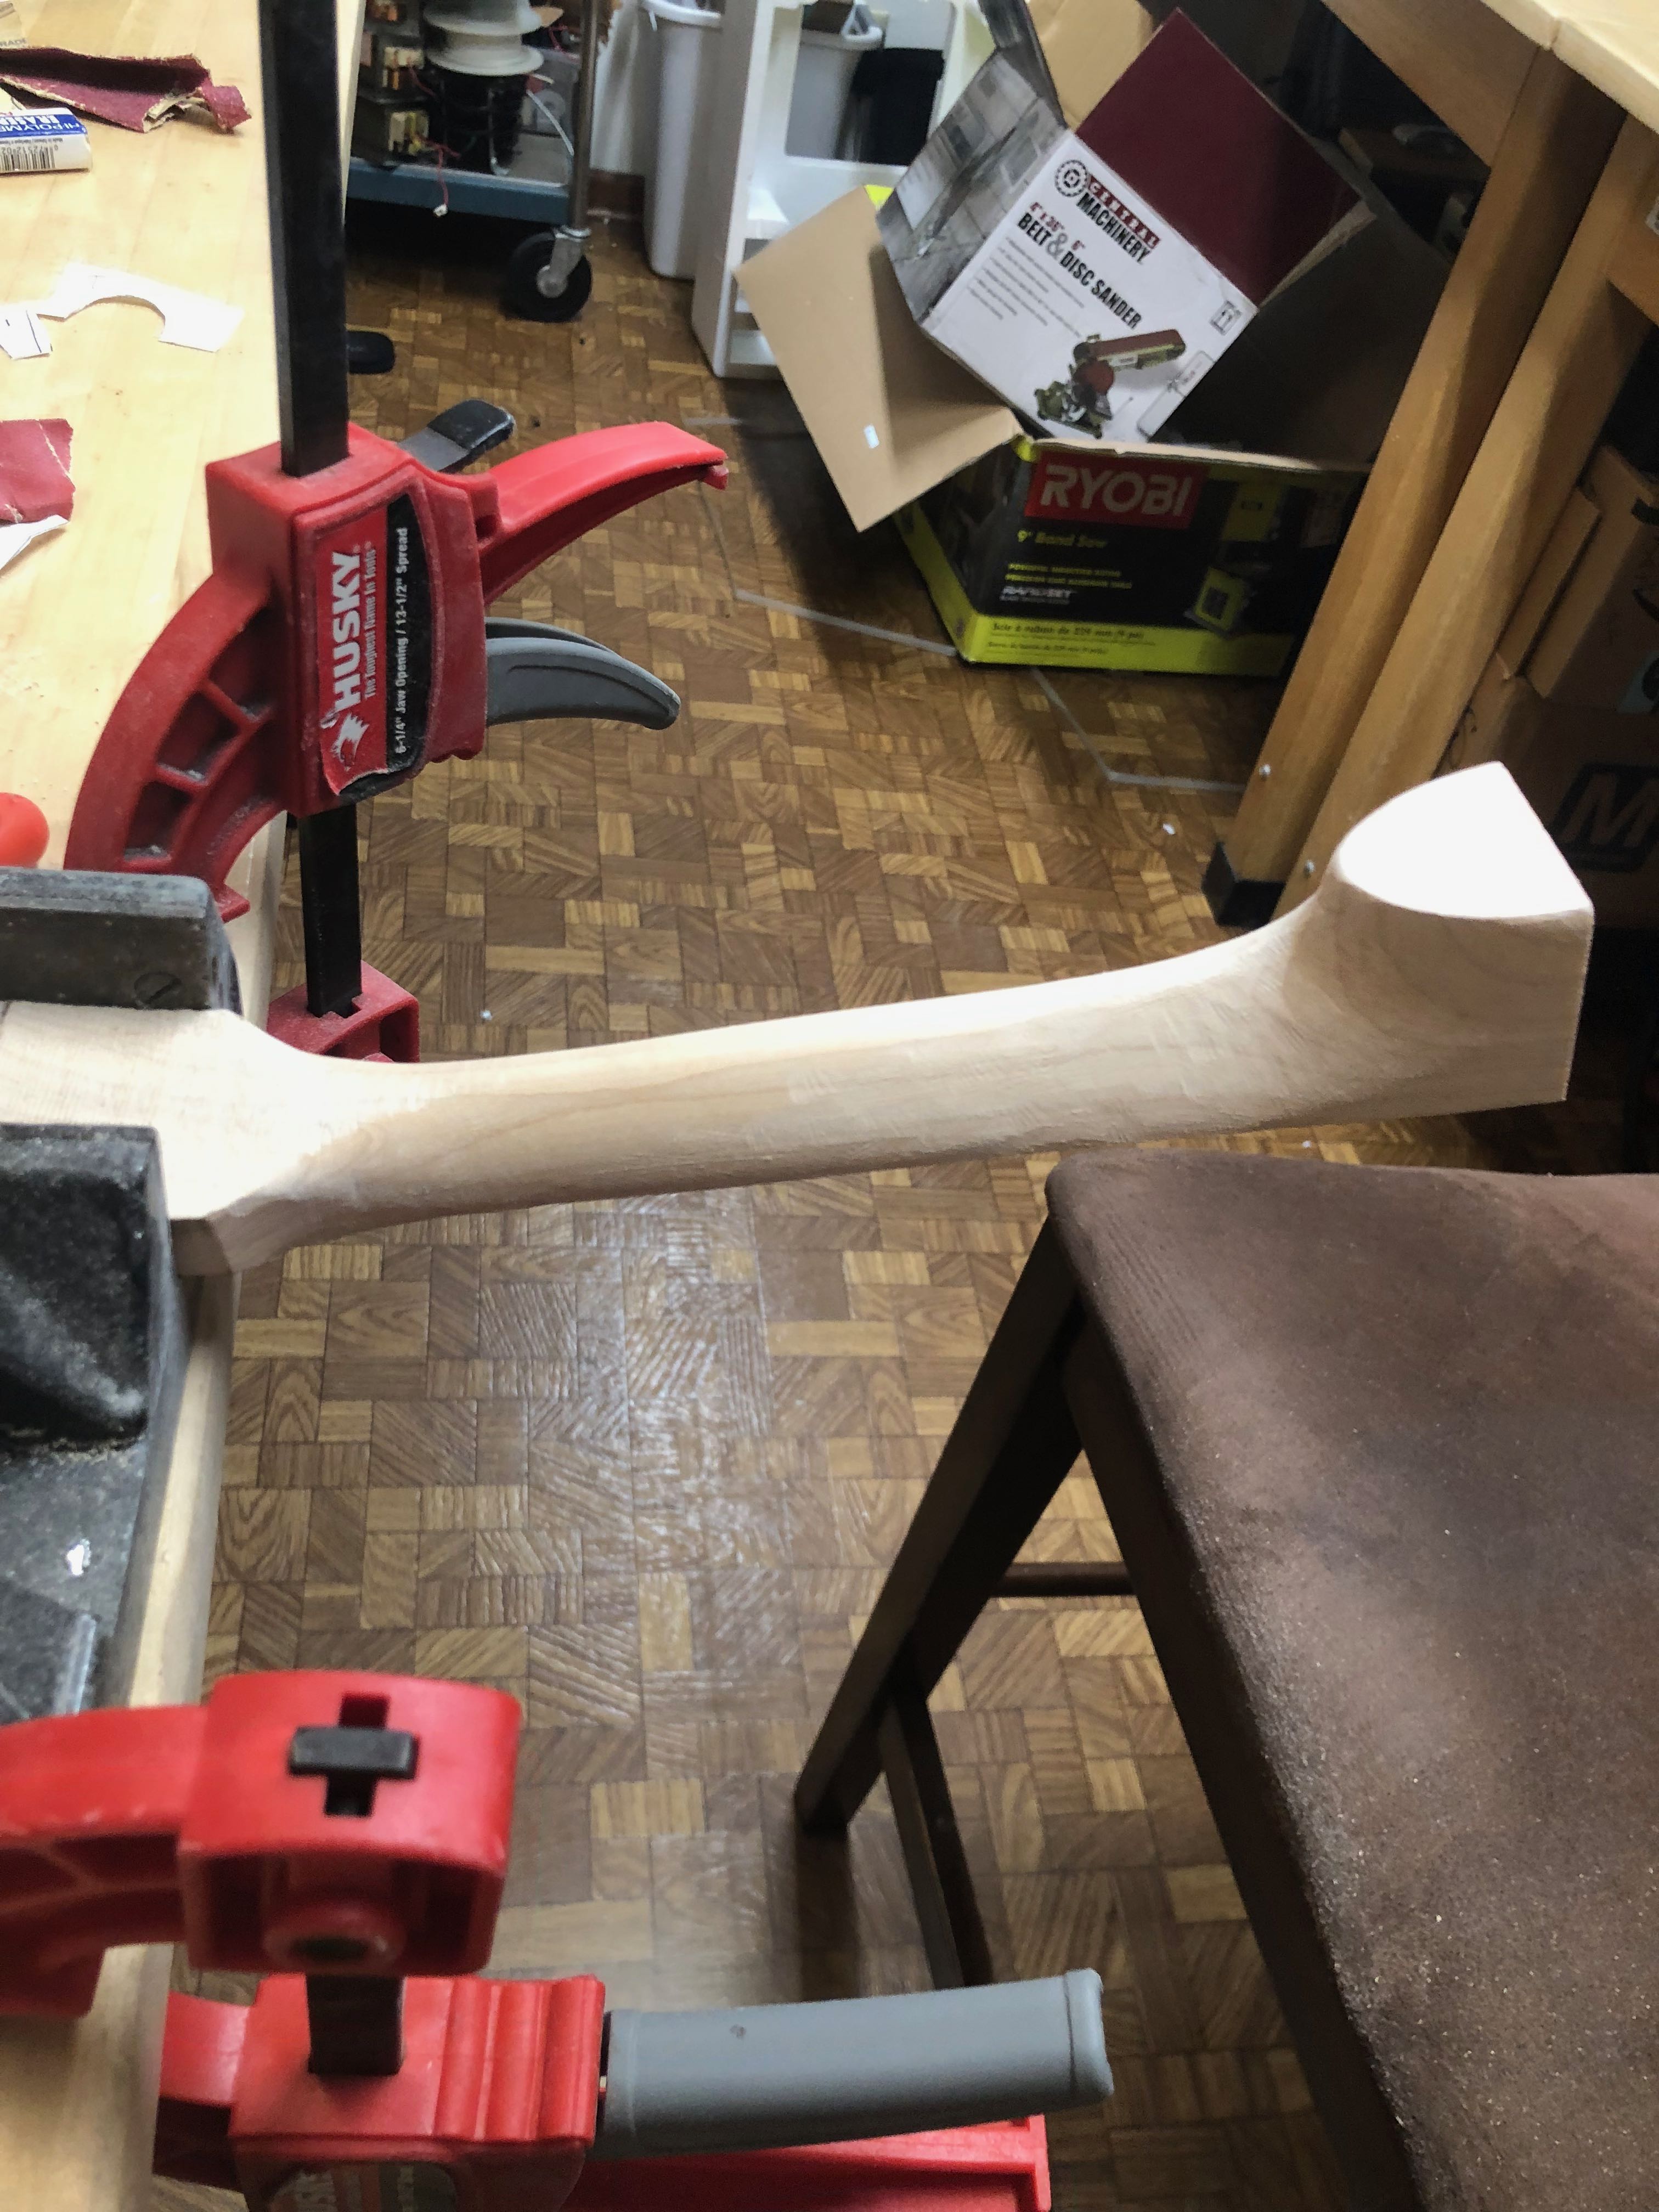
I was pretty happy how it turned out.
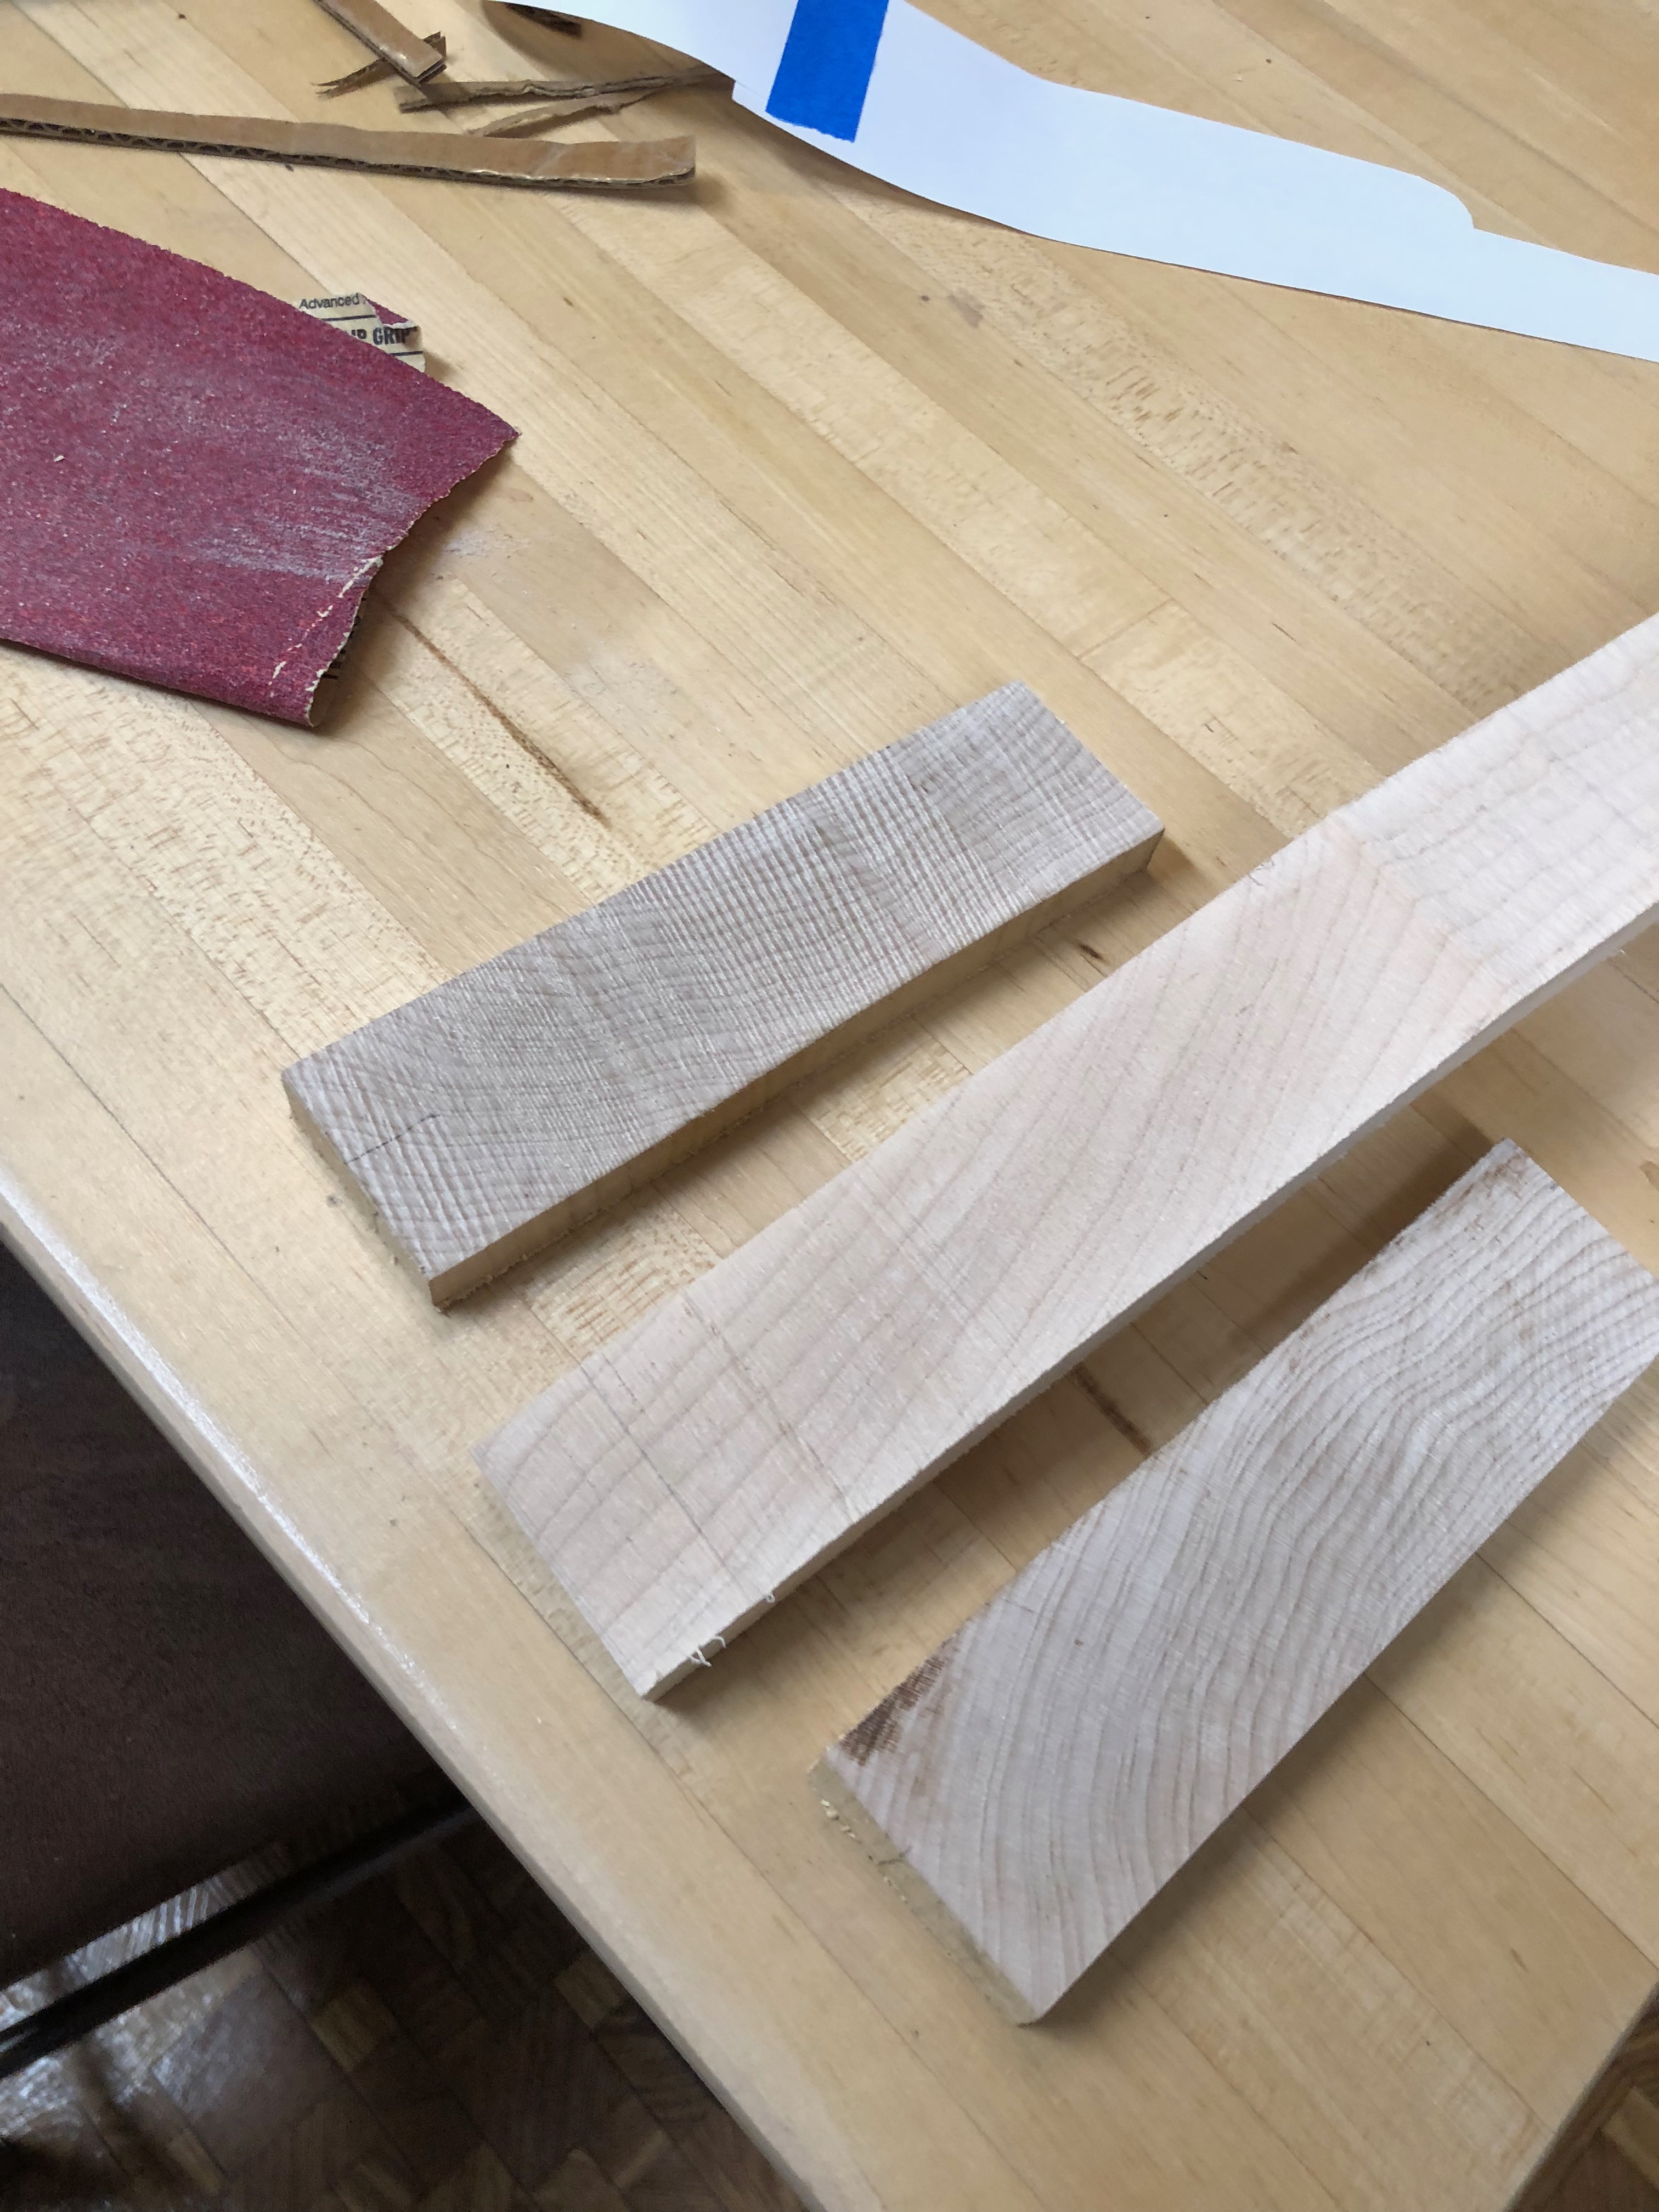
To end the night, I glued the peghead wings to the neck. These pieces widen the neck where the pegs go. I cut them out of the same sugar maple with a contrasting grain direction to increase rigidity.
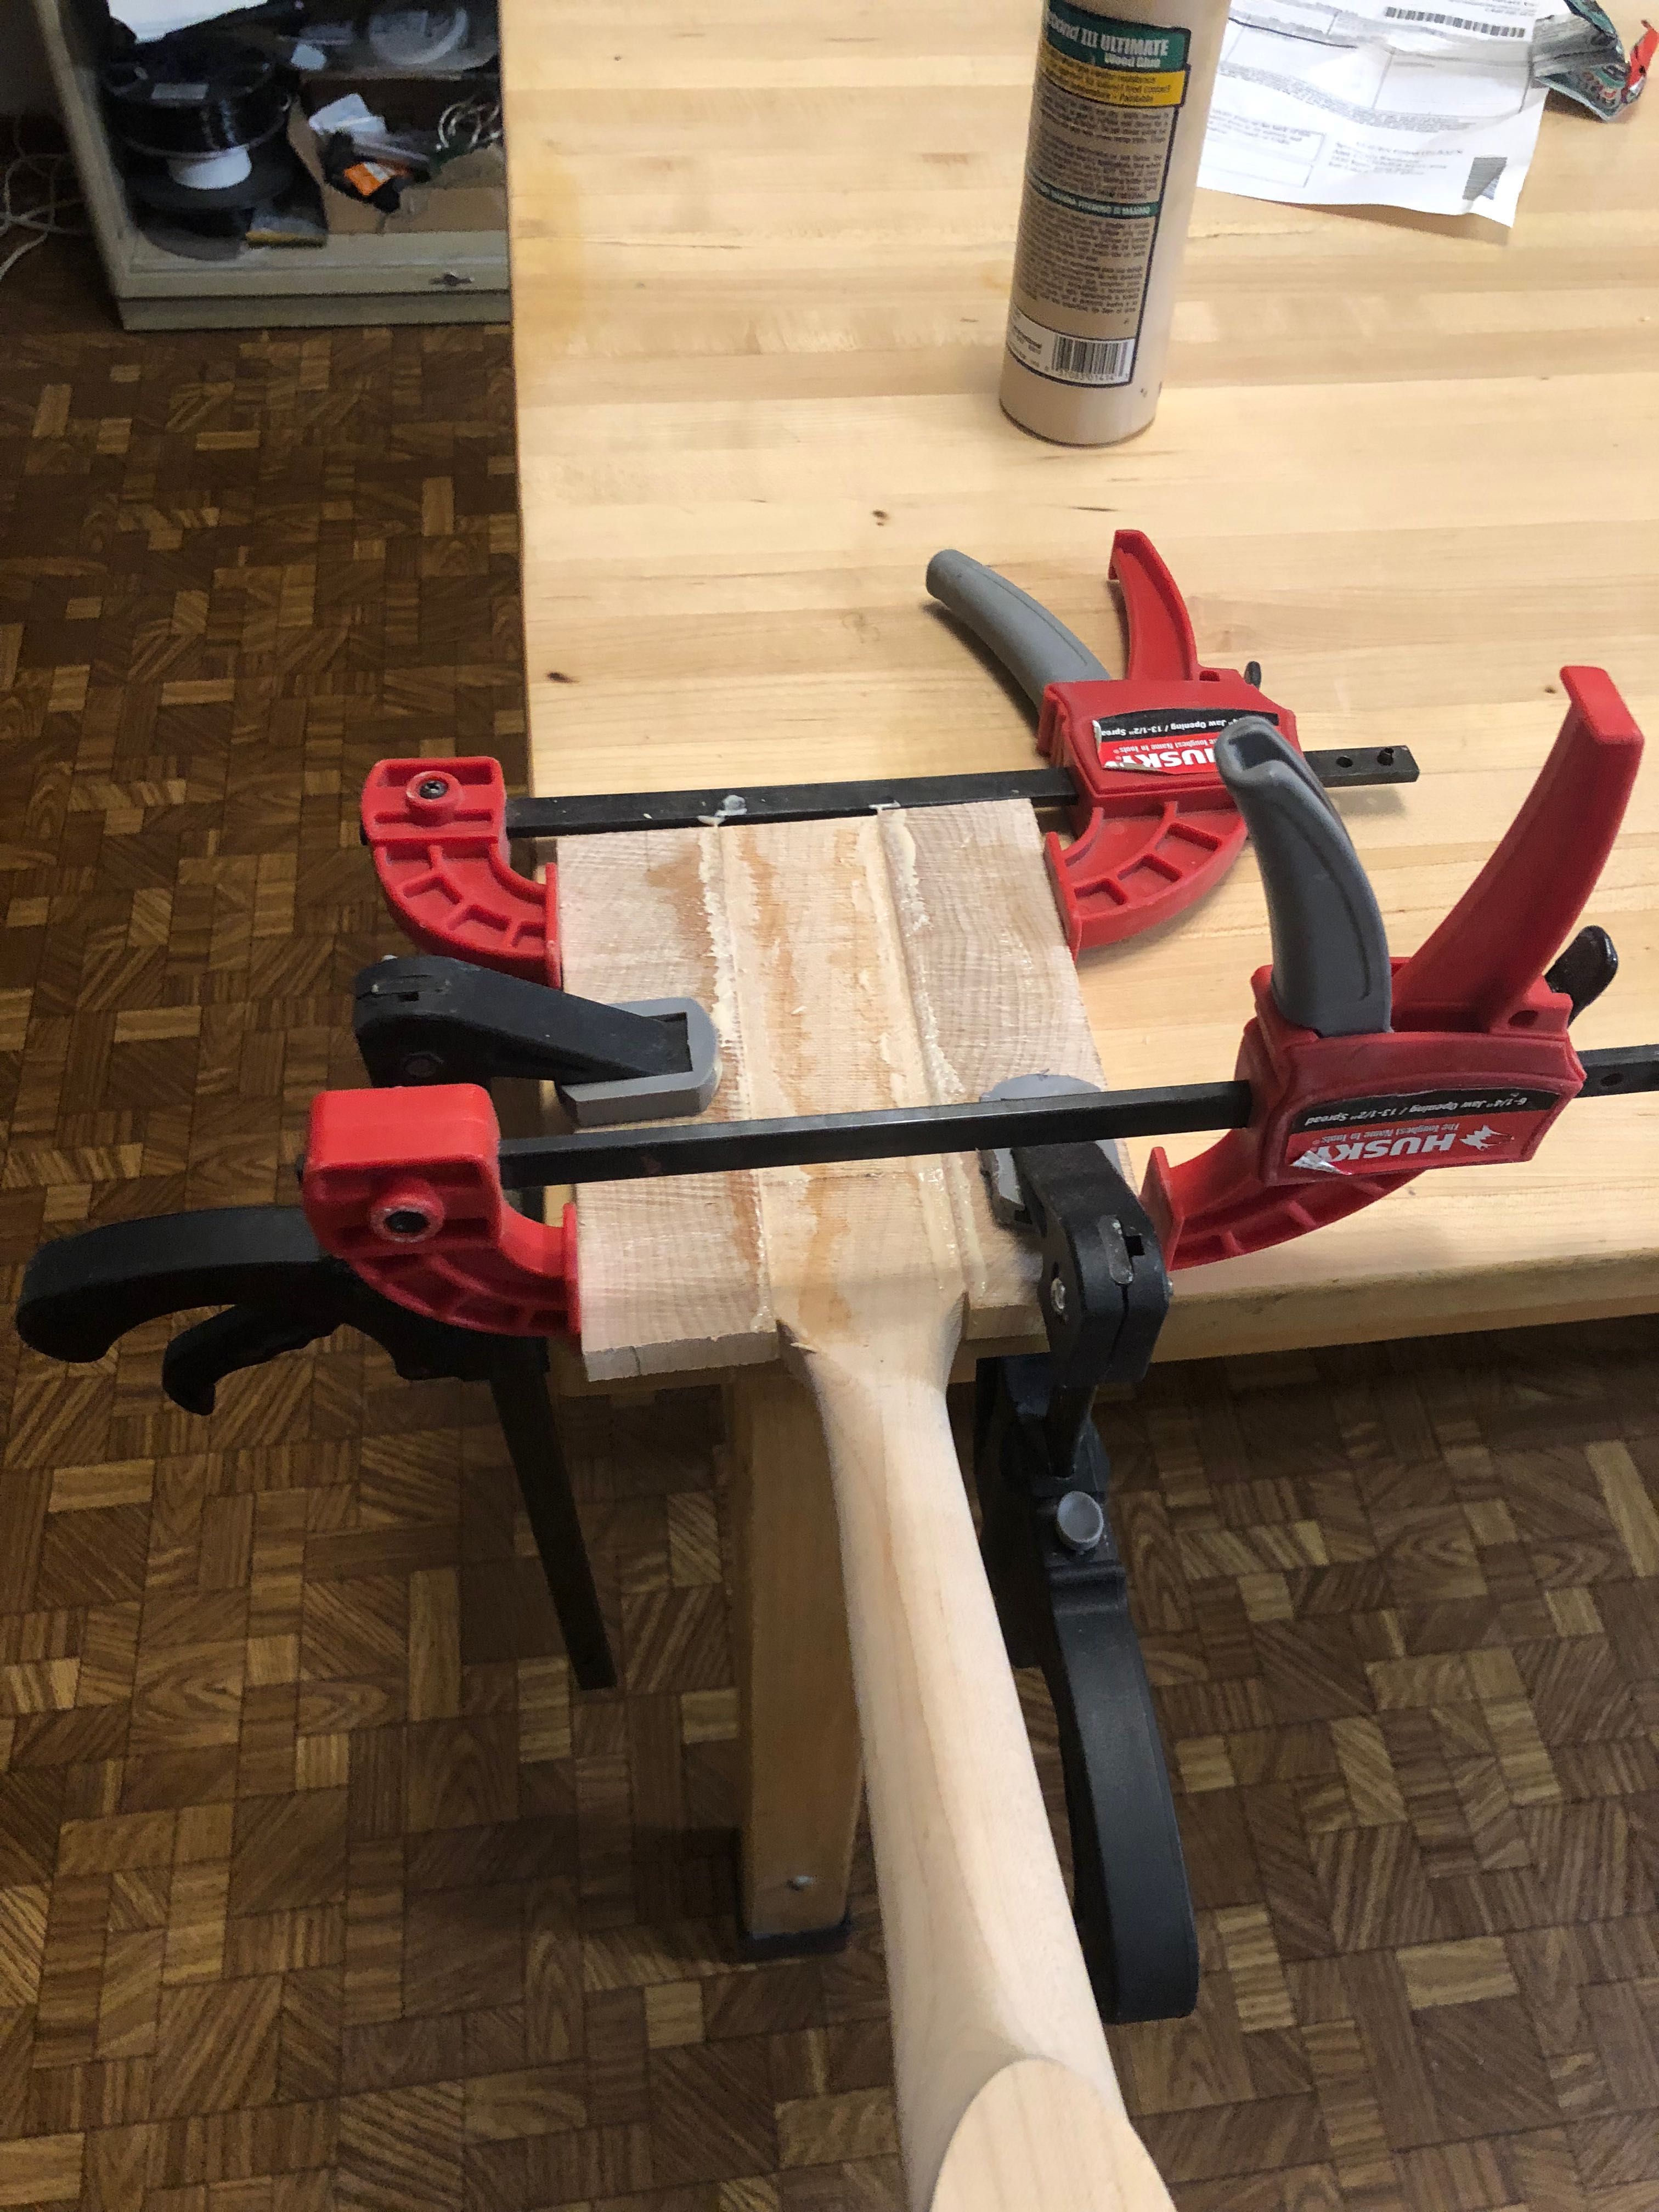
I glued the joints and clamped everything square and true where it will sit overnight.
To finish the neck, I need to finish the peghead side, then install the truss rod and form the dovetail.